Today, I’m sharing the ultimate Yosemite travel guide and some tips for visiting Yosemite with kids.
I am so excited about this post because Yosemite is very, very dear to my heart. I grew up in a Camping Family. We didn’t travel abroad or stay in resorts. We camped. Most of my favorite childhood memories are from our trips to Yosemite. I have been more times than I can count, and it is a place that will always feel like home to me.
Tyler and I have visited Yosemite together a handful of times, early in our marriage and once when Charlotte was a baby. But it had been five years since our last visit!
We decided to spend a few nights in Yosemite this past weekend before driving over to spend Thanksgiving with Tyler’s family in Lodi. My parents joined us for the weekend, and it was so special.
I have written about Yosemite before–in my Half Dome Hiking Guide and my list of tips for camping with a baby in Yosemite–but I have yet to put together a proper, comprehensive Yosemite travel guide.
In this Yosemite travel guide, I am going to share some general information about planning a trip to Yosemite. Then, I’ll share a list of things to do and see. Throughout the post, I’ll share my tips for visiting Yosemite with kids too.
[ez-toc]
Yosemite Travel Guide + Tips for Visiting Yosemite with Kids
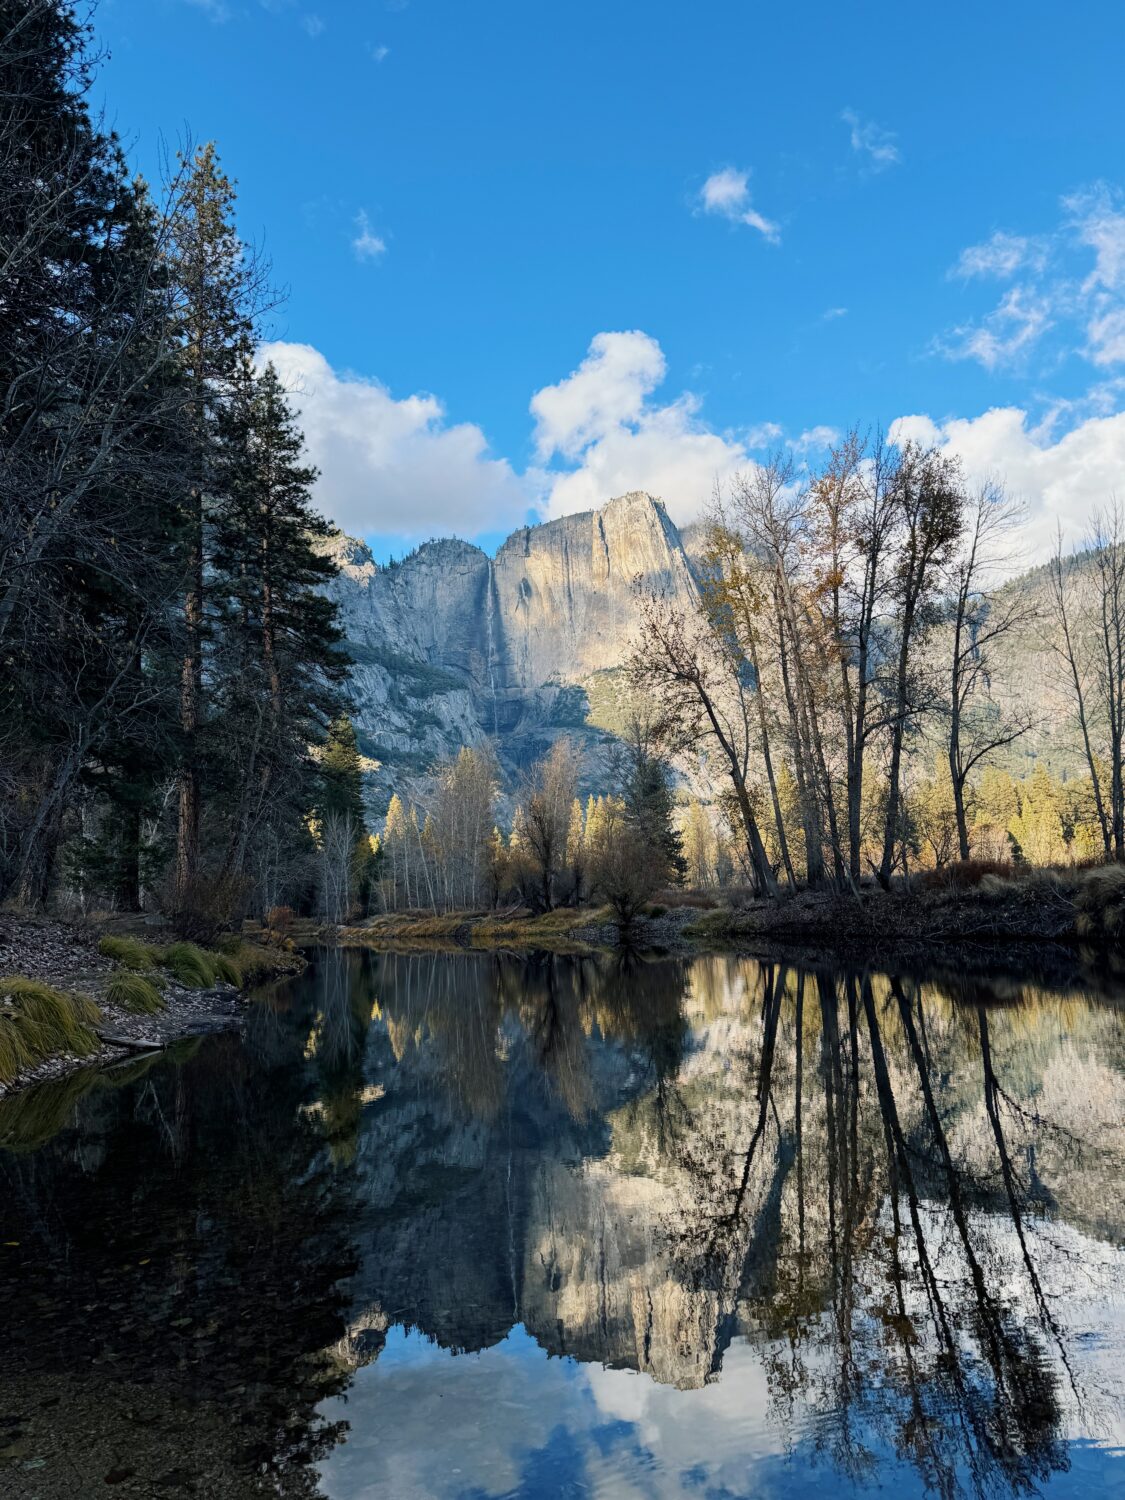
Yosemite National Park is located in California’s Sierra Nevada mountains. With its astonishing granite peaks and cliffs formed by glaciers, dramatic, cascading waterfalls, and vast sequoia groves, Yosemite is inarguably one of the most beautiful places on the planet.
Yosemite attracts visitors from all over the world. One thing my dad always marvels at is how many languages you’ll hear out on the hiking trails. The national park is also a long-renowned mountaineering destination, drawing in the best rock climbers in the world to take on its towering granite rock faces. (In fact, during our last trip, famed climber Alex Honnold was there working on his new endeavor which is to free climb “The Nose” route up El Capitan!)
Yosemite is a place that everyone should visit at least once in their lifetime, and I’m hoping this guide will provide some helpful tips and tricks for planning a trip to Yosemite.
You’ll find that most of this guide focuses on Yosemite Valley. There is much more to the national park–Mariposa Grove, Tuolumne Meadows, and Hetch Hetchy, just to name a few–but if this is your first trip or if you’re traveling to Yosemite with kids, I recommend sticking to Yosemite Valley.
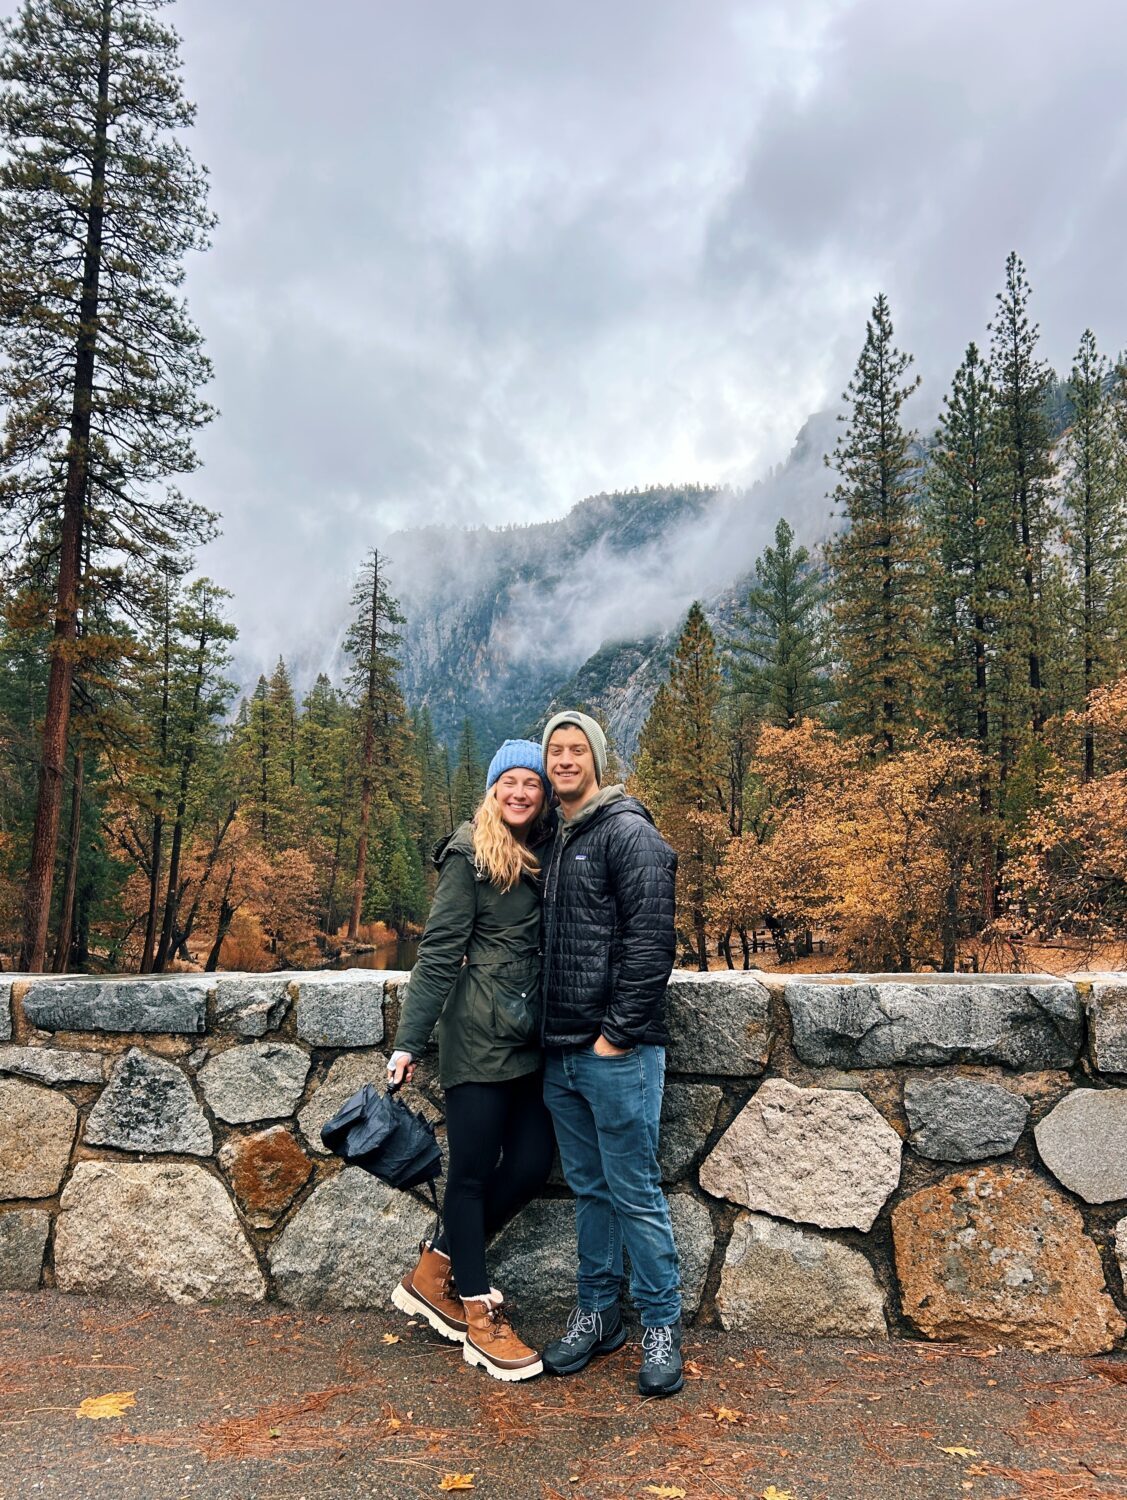
Yosemite Valley Visitor Center
You’ll want to save the Yosemite Valley Visitor Center on your map. This brand new facility has everything you’ll need at the start of your visit and is well worth checking out.
Yosemite Entrance Fee and Reservations
Drivers will need to pay a $35 entrance fee per vehicle at park entrances.
In an effort to manage congestion, reservations are required on certain days and time periods of the year. You will want to cross reference your planning with this page that has all of the details on reservations to get into the park which you may need on certain weekends. These are required through the summer months and during the firefall in February (more on that in minute).
When to Visit Yosemite
Yosemite in the summer
The most popular time by far to visit Yosemite is in the summer when most/all of the hiking areas and attractions are free of ice and open to the public. The weather is the best during the summer (warm during the day, cool in the evenings).
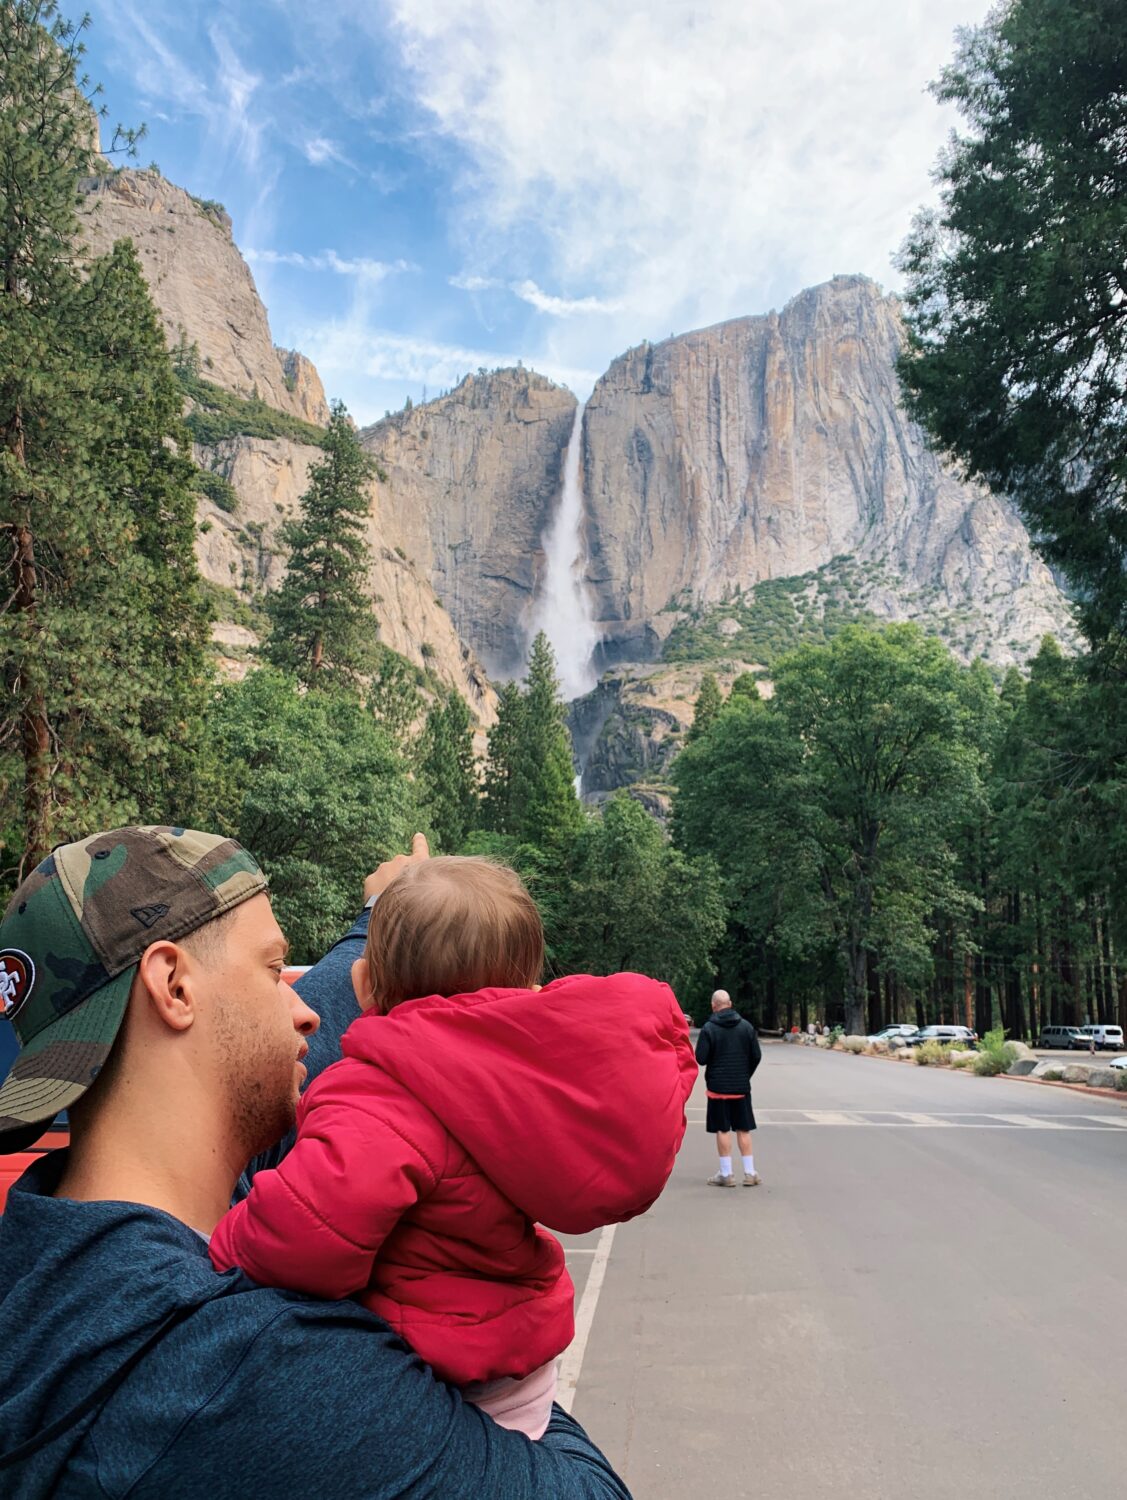
However, Yosemite does get extremely crowded in the summer. I cannot overstate this. It can be harder to find lodging, and the more popular hikes will feel quite congested.
My personal recommendation is to visit Yosemite in the spring or fall.
**The only real caveat to mention is that if you are wanting to hike Half Dome, you’ll need to plan your trip in the summer. I just updated my Half Dome hiking guide which has all of the information you’ll need to plan your hike and reserve your permit. (Yes, you need a permit!). Check out the guide here.
Yosemite in the spring
In the spring, Yosemite’s waterfalls are at their most full, gushing from the snow melt of the previous winter. It is really spectacular, and it isn’t nearly as crowded as it is during the summer. Of course, it can be very chilly–even through the month of June. If you do plan a trip to Yosemite in the spring, you’ll want to pack lots of layers and waterproof hiking boots.
Yosemite in the fall
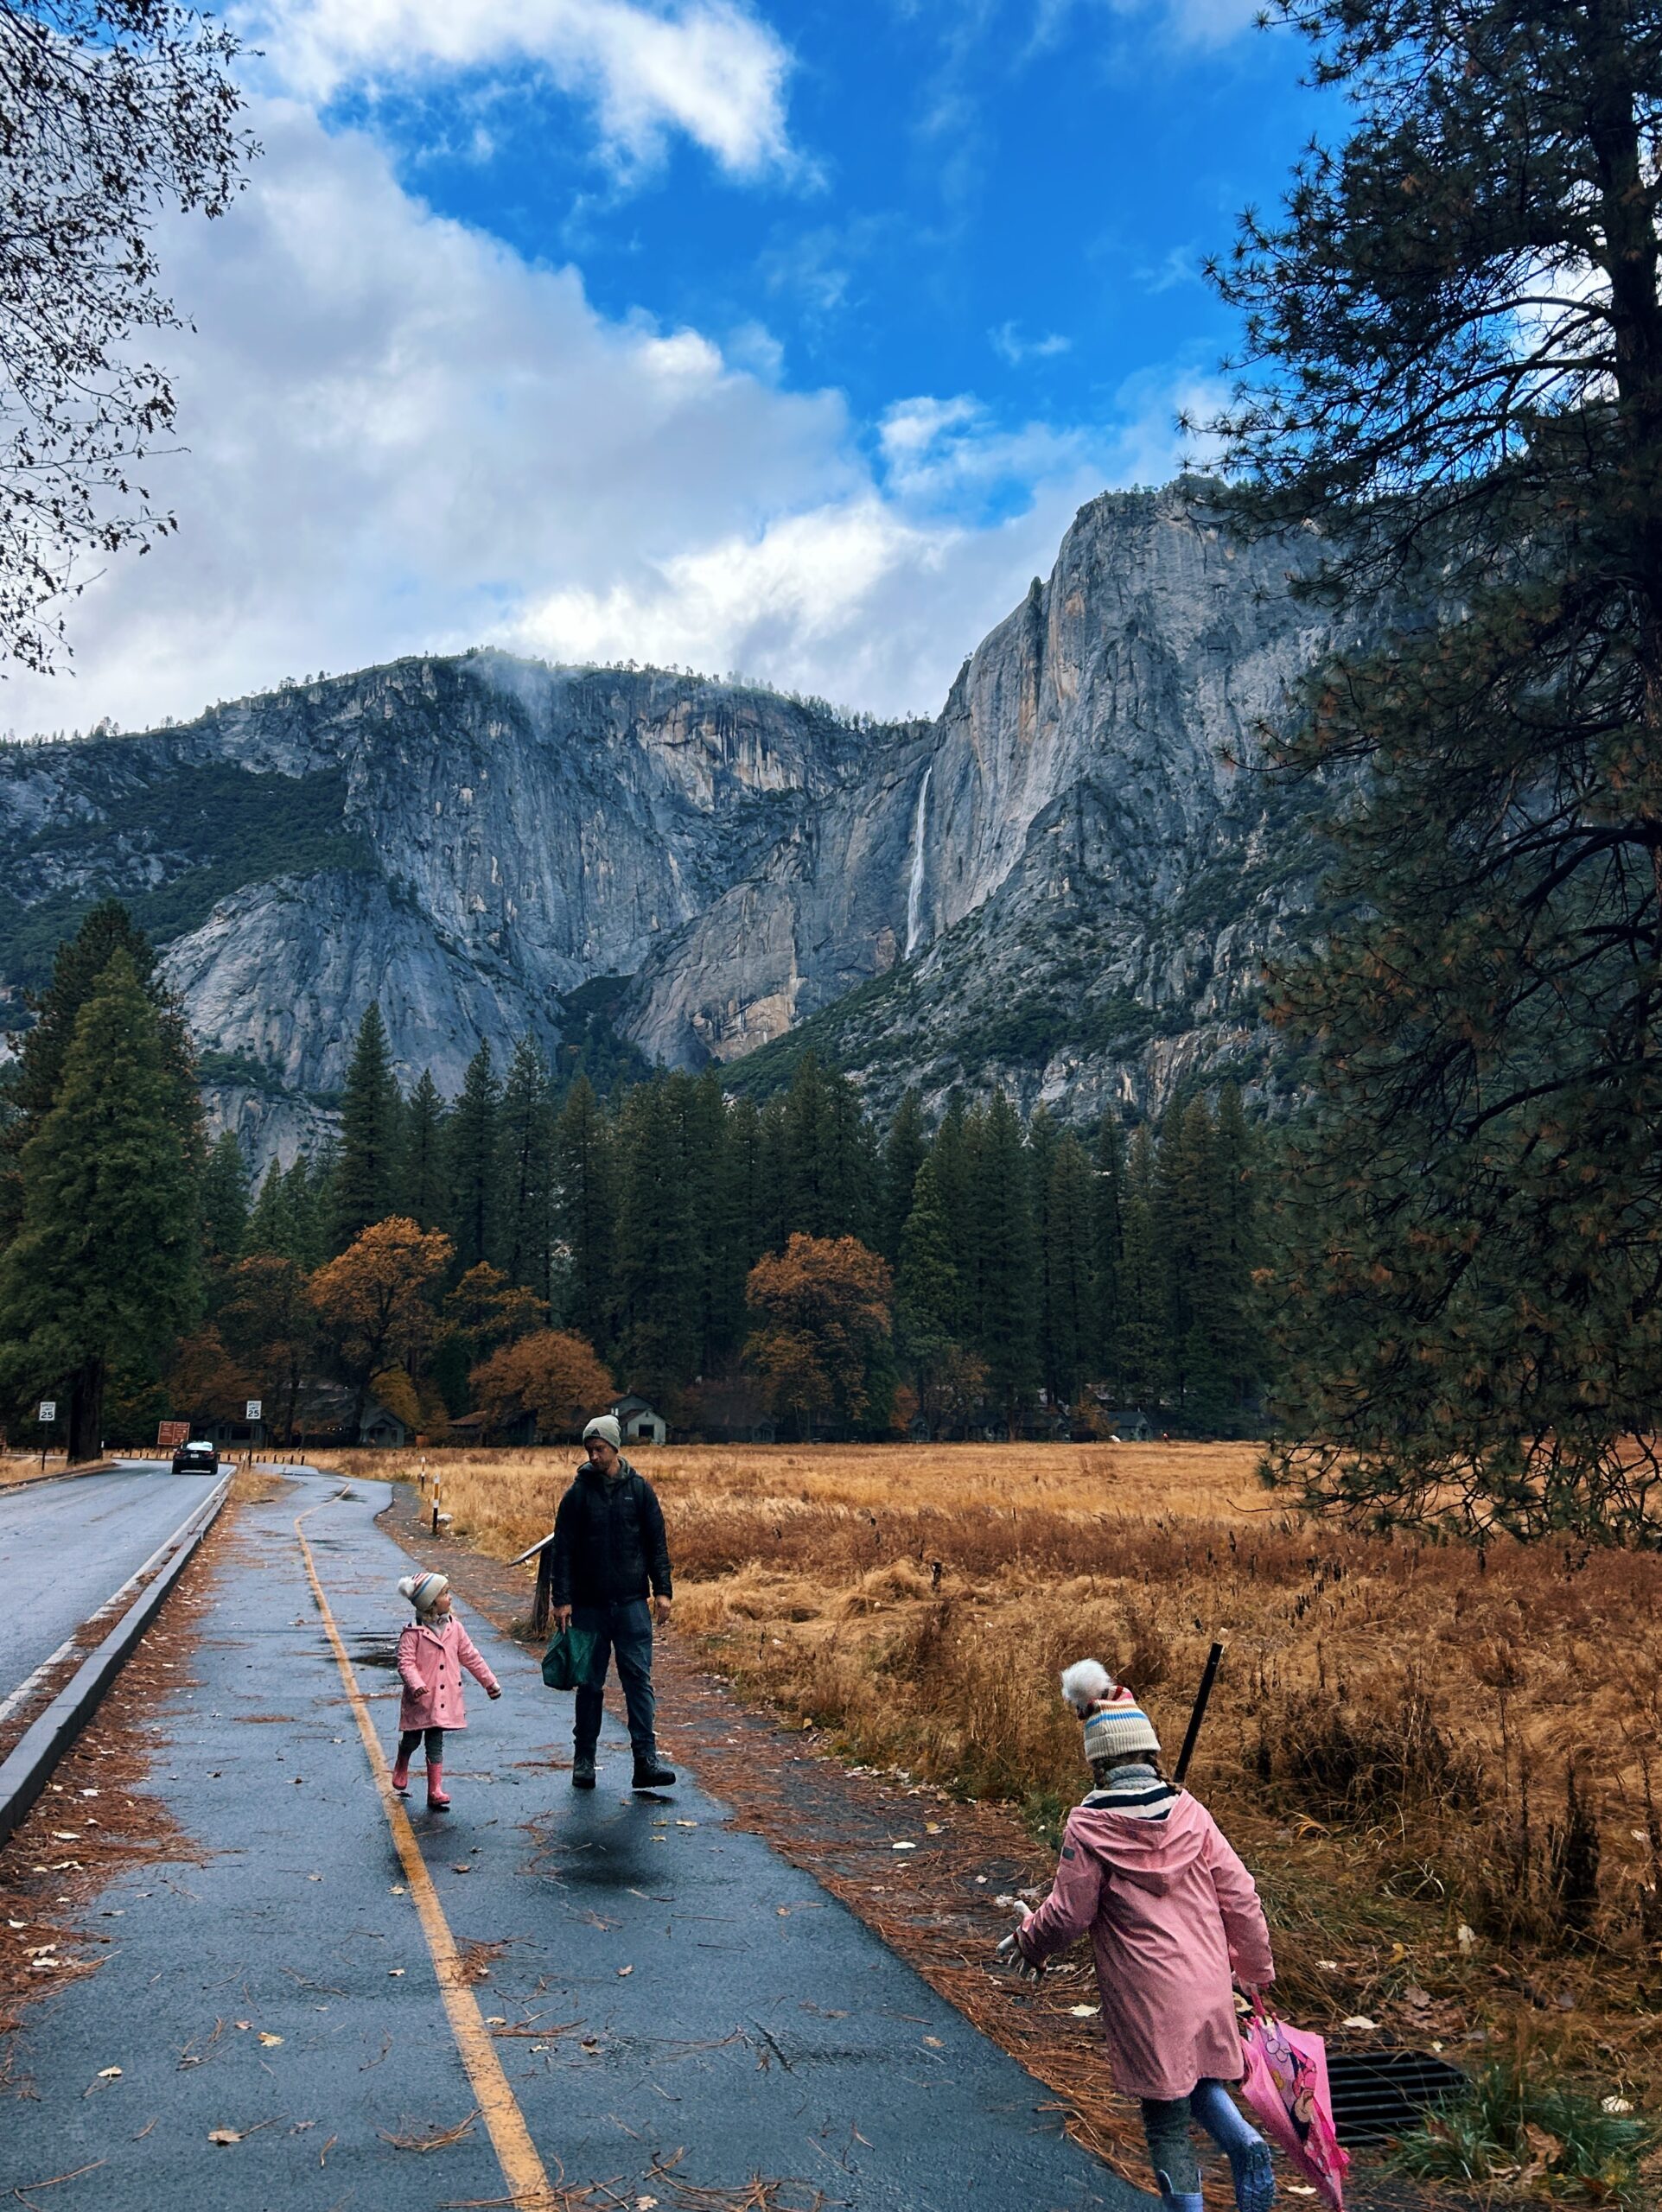
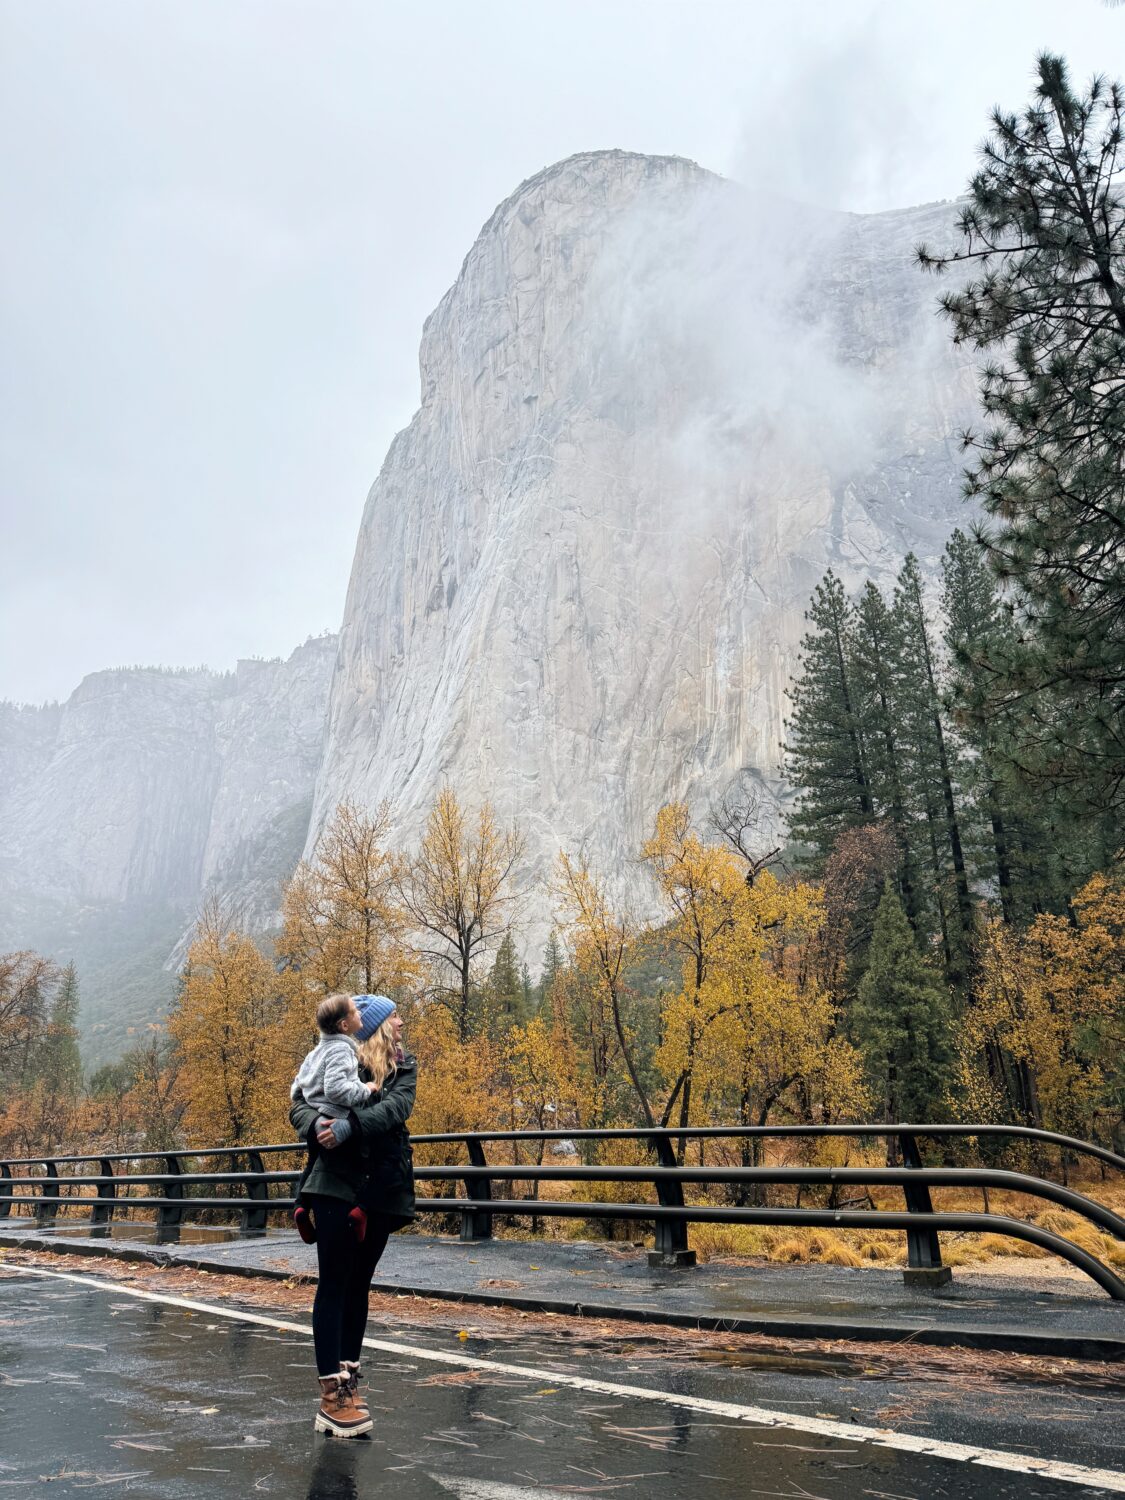
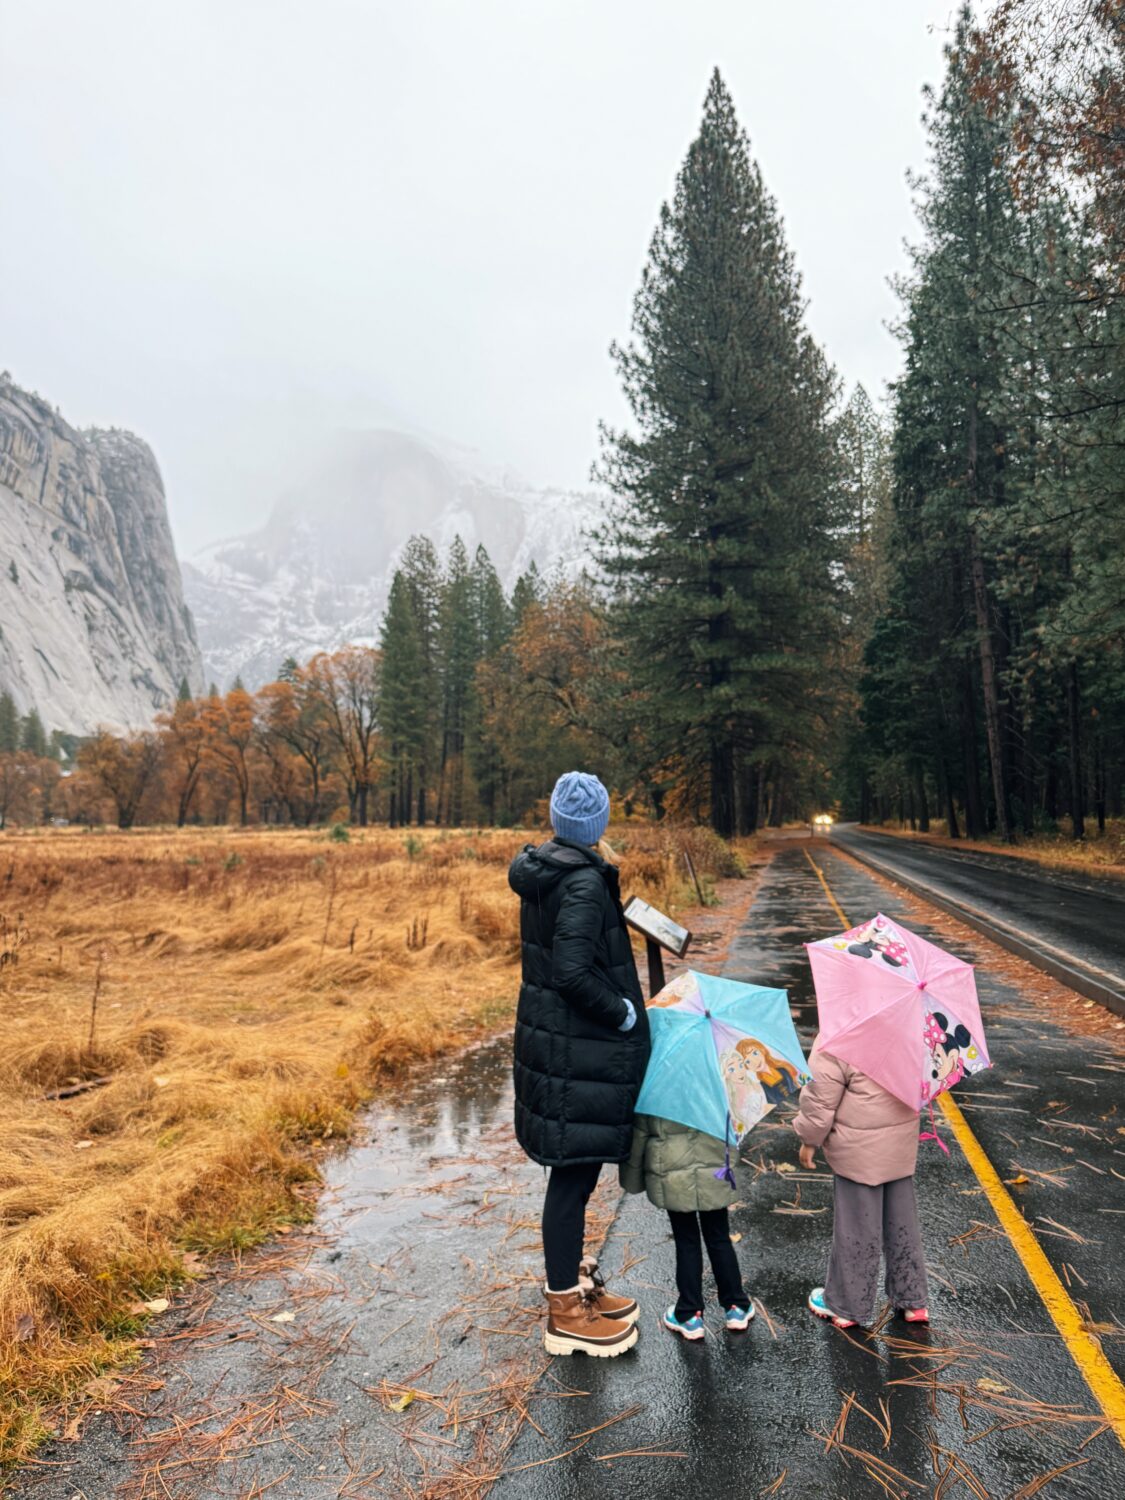
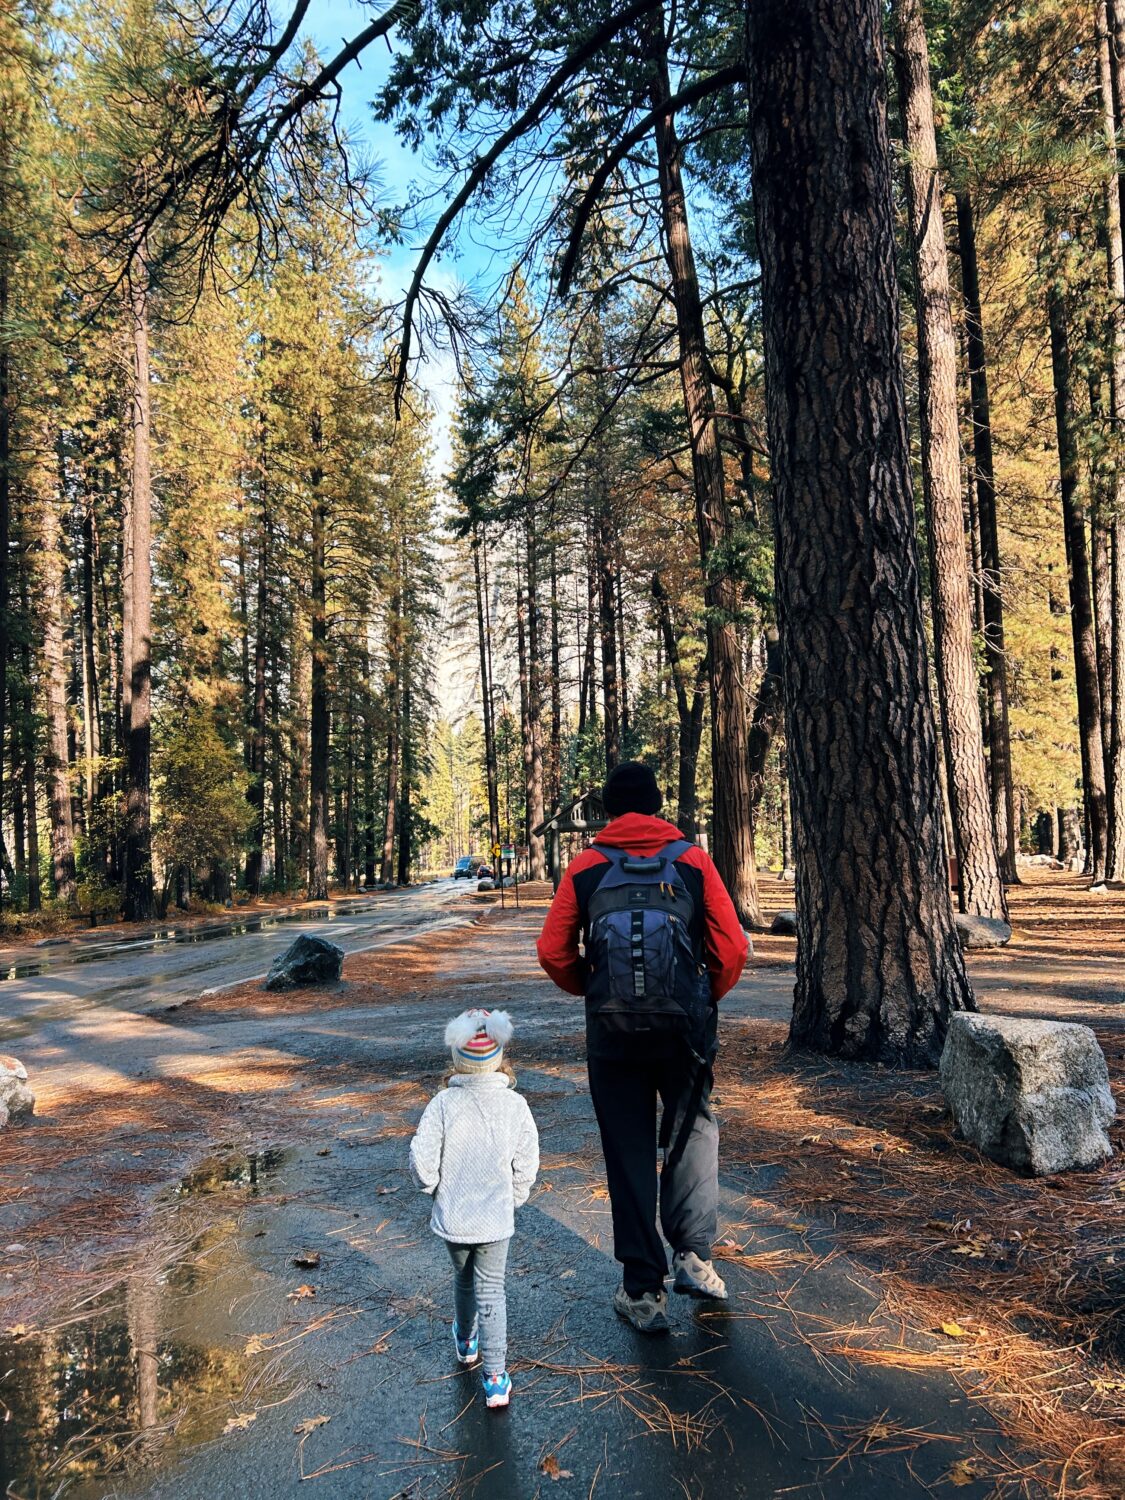
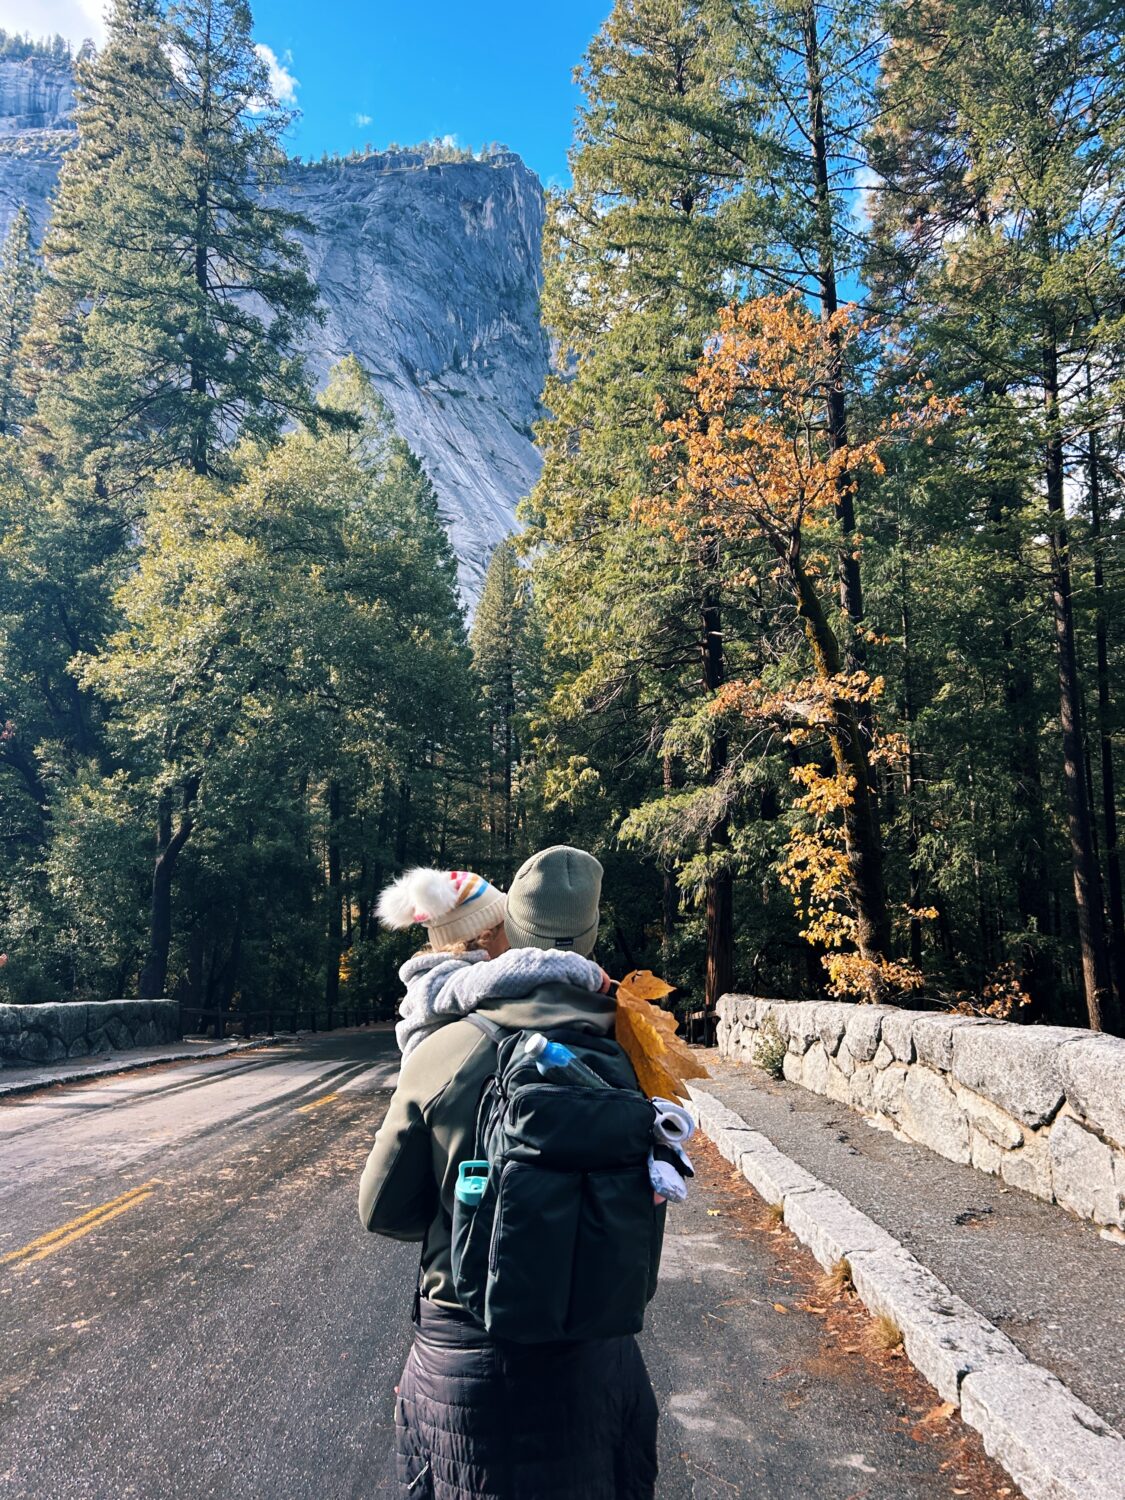
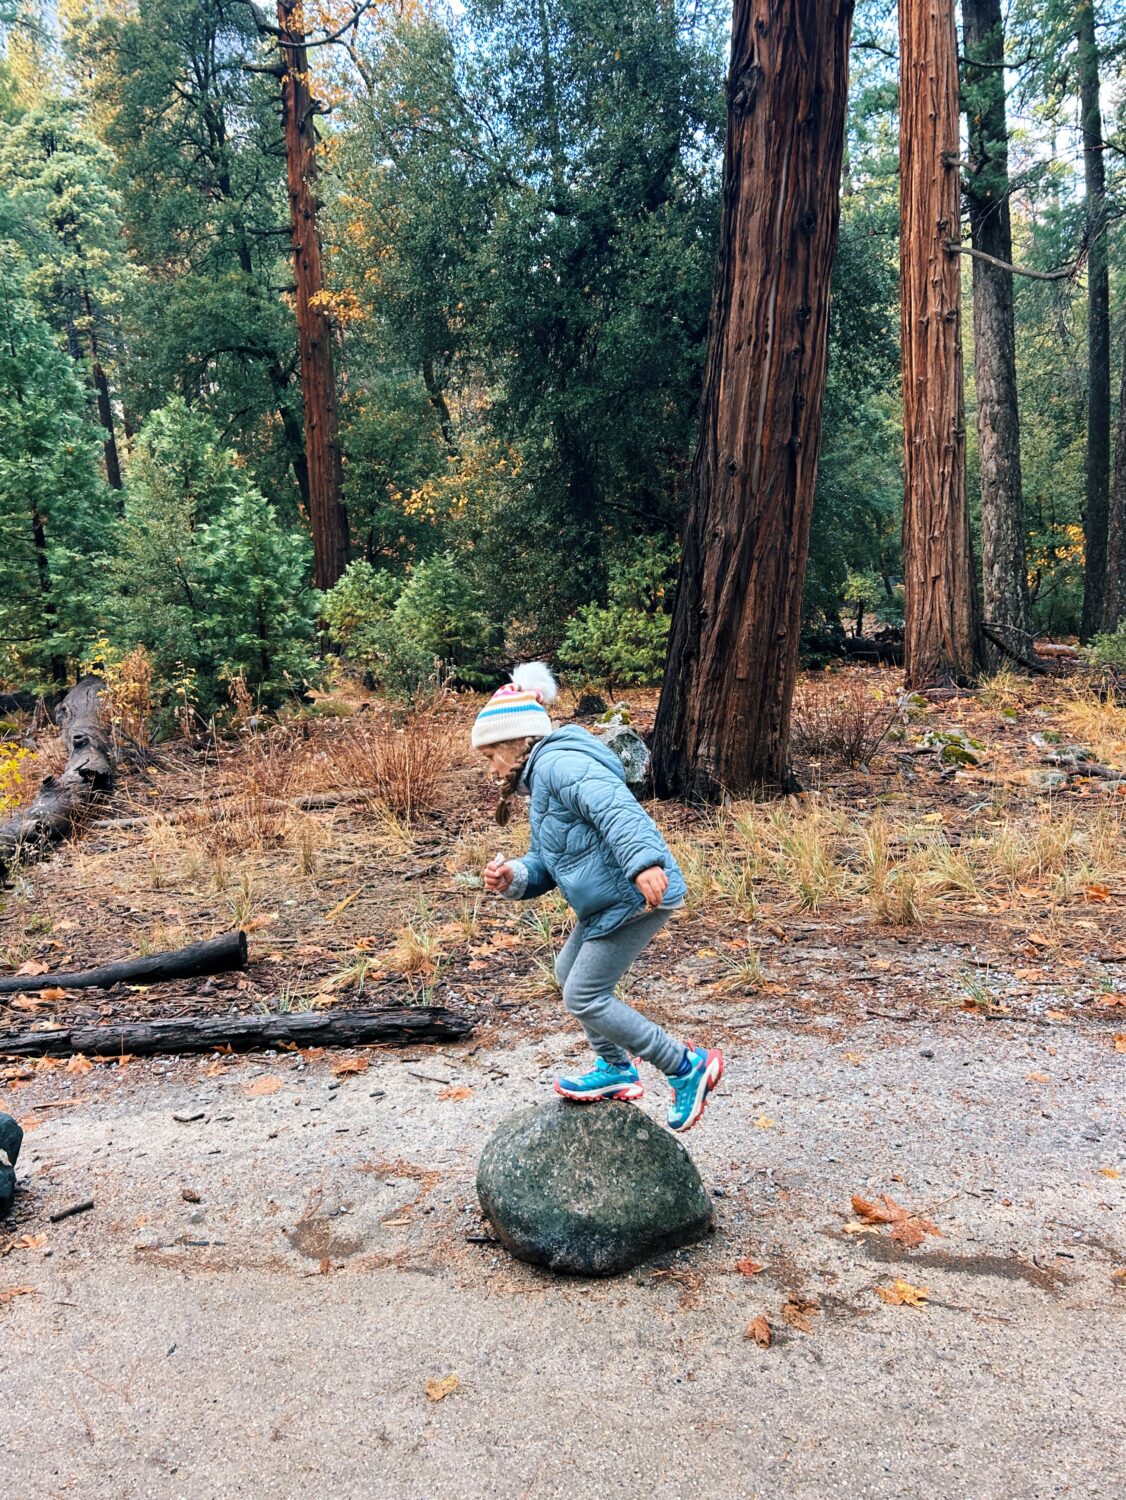
This most recent trip was our first time visiting Yosemite in the fall, and I think it might be my new favorite. The vibrant fall colors made the entire valley floor simply magical. Yosemite on its own is otherworldly, but under the golden caste of fall, it felt like heaven to me. I was just gasping left and right the entire time.
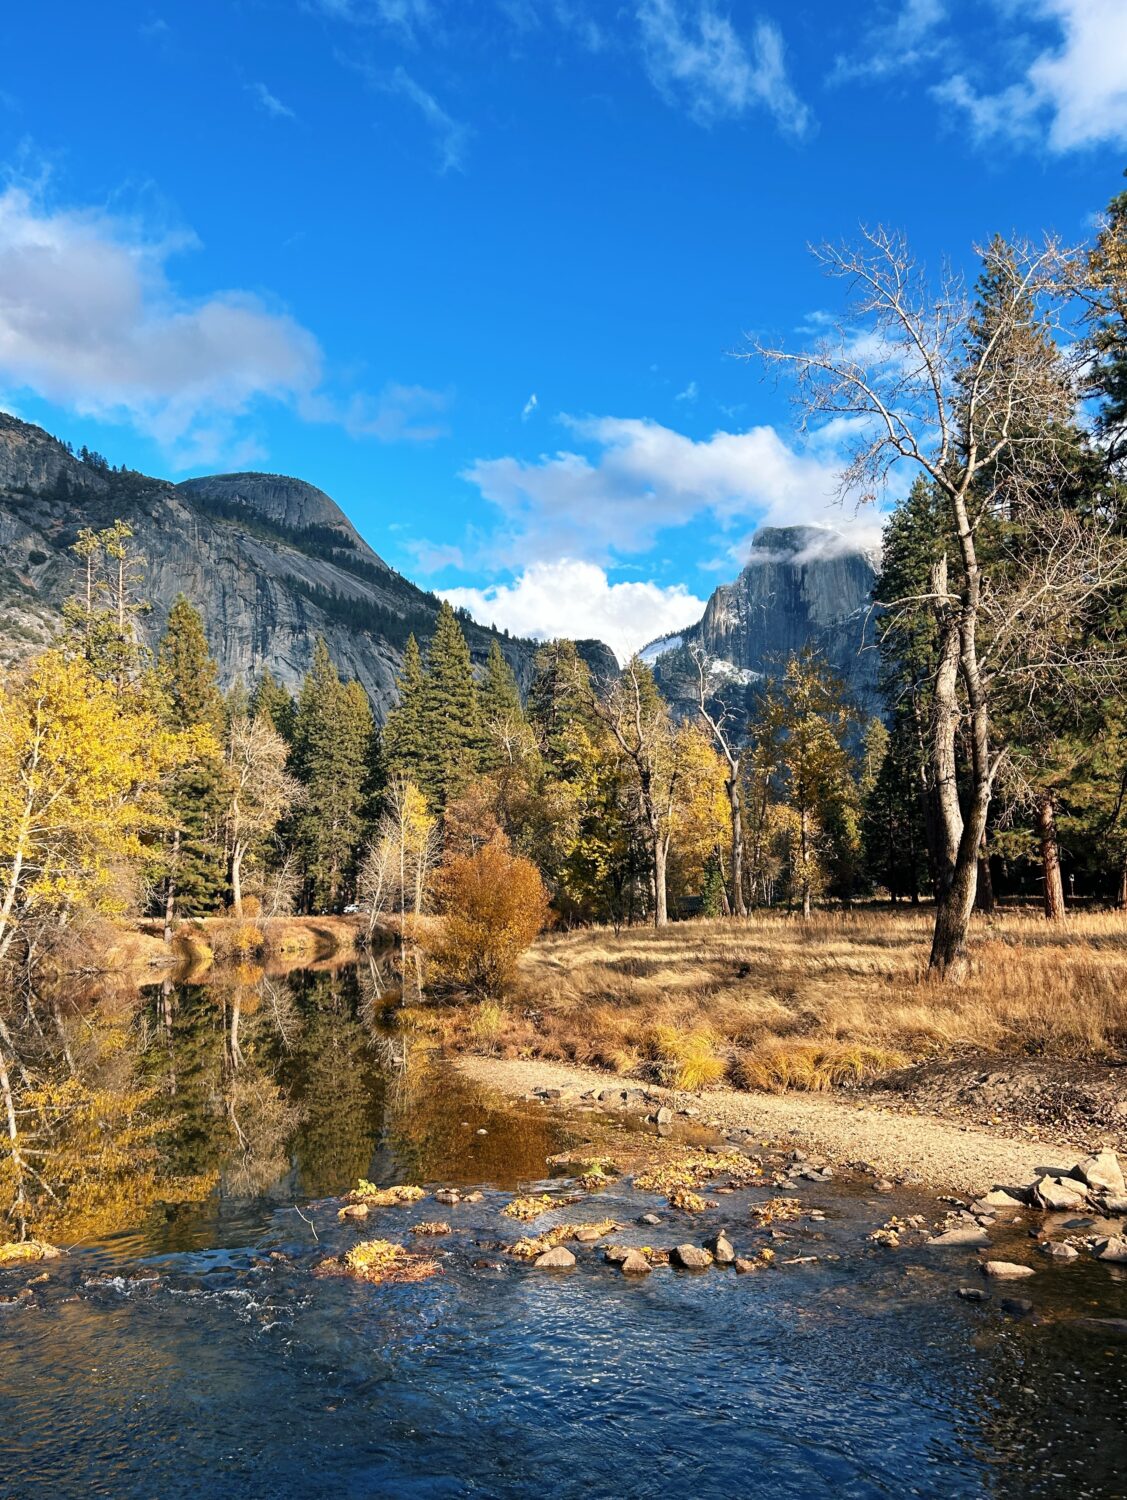
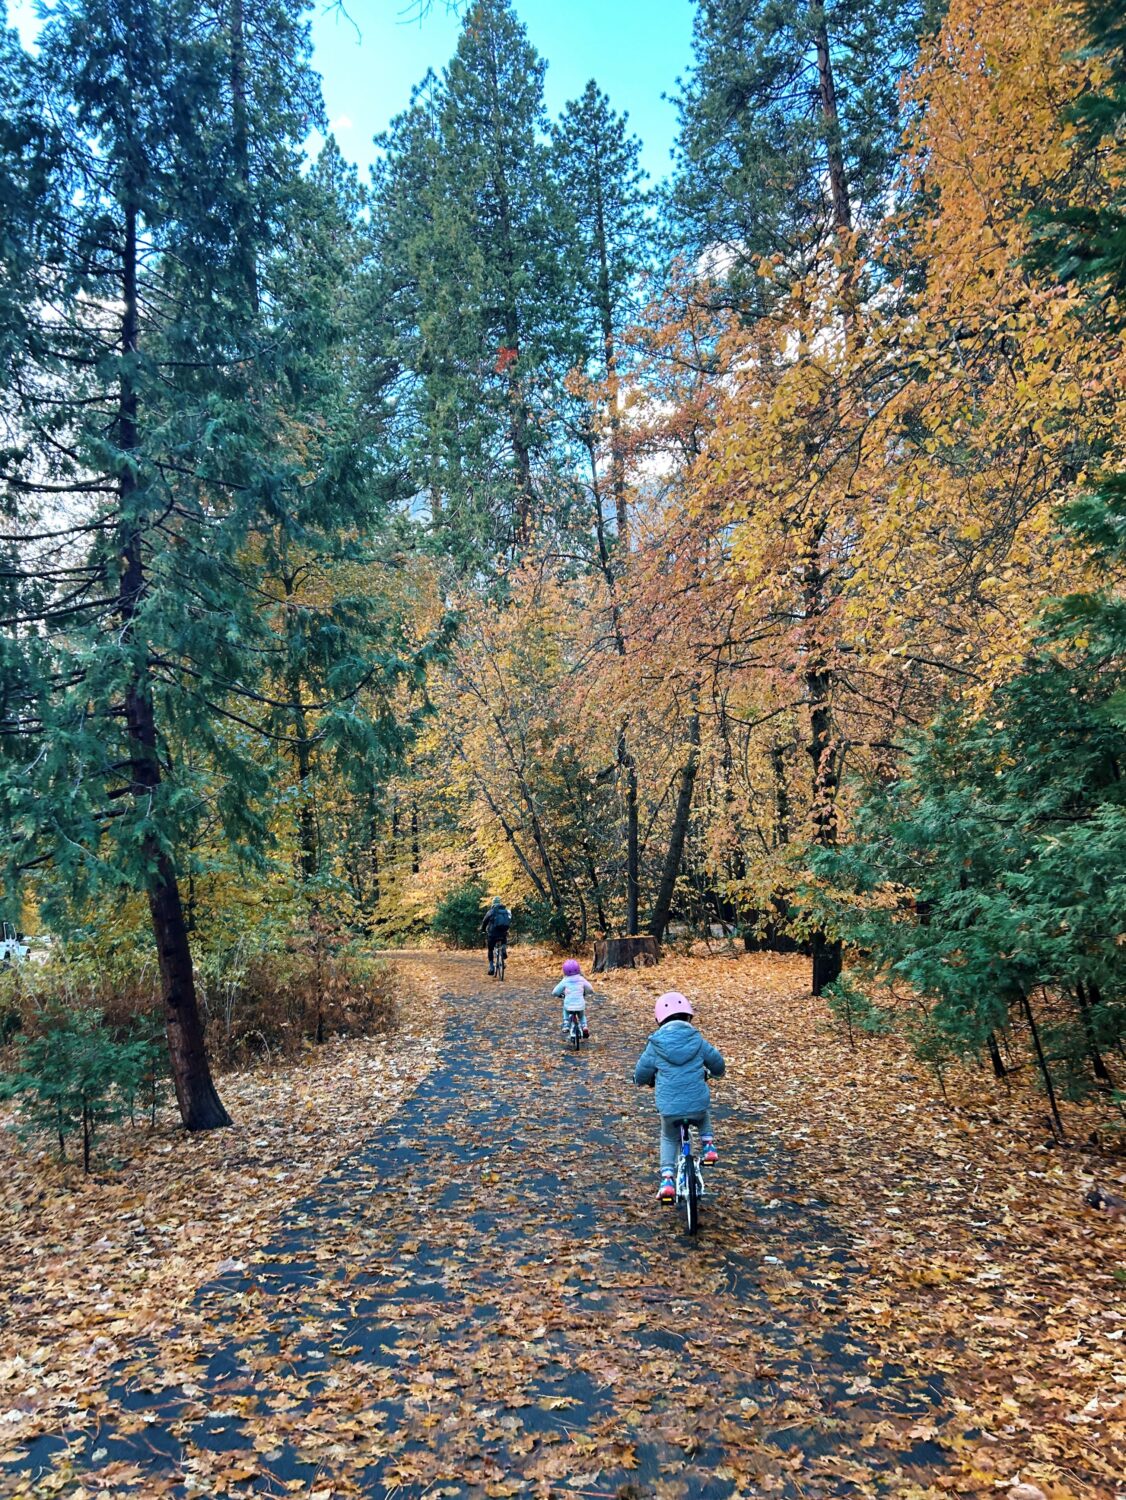
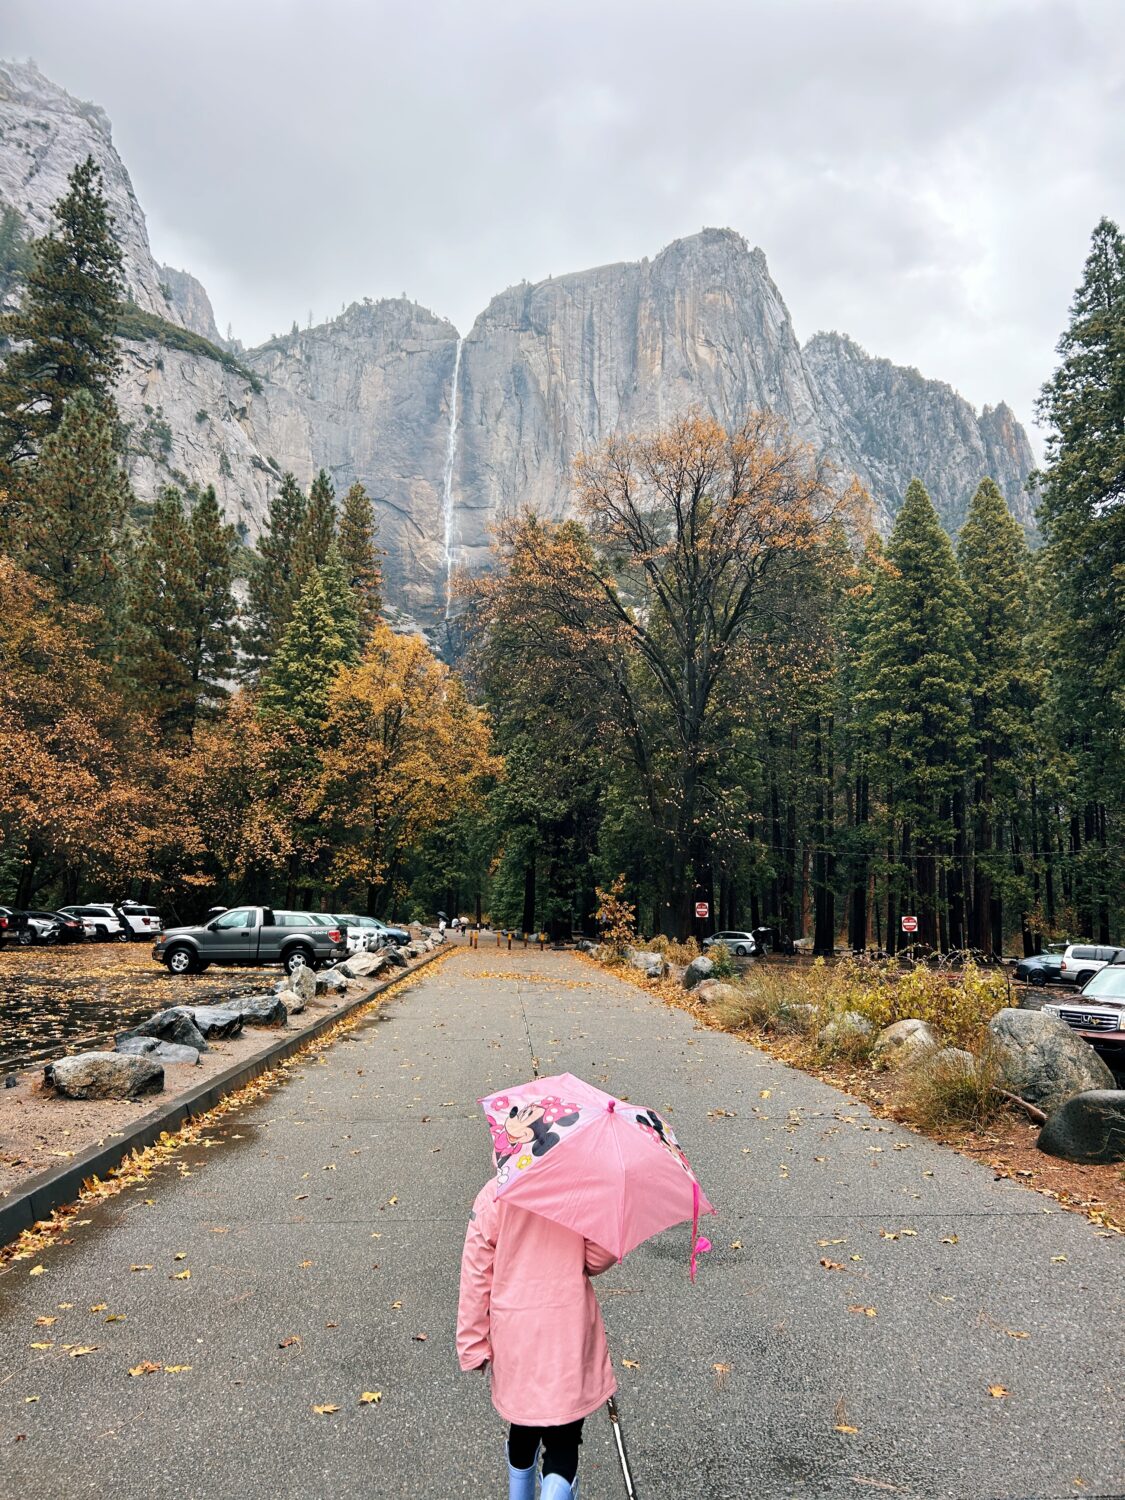
It rained one day, steady, calming showers all day. We were still able to walk around and explore because we had the proper gear. And the rain only added to the ethereal effect to the atmosphere. The second day, it was clear and bright. Just magical.
Yosemite in the winter
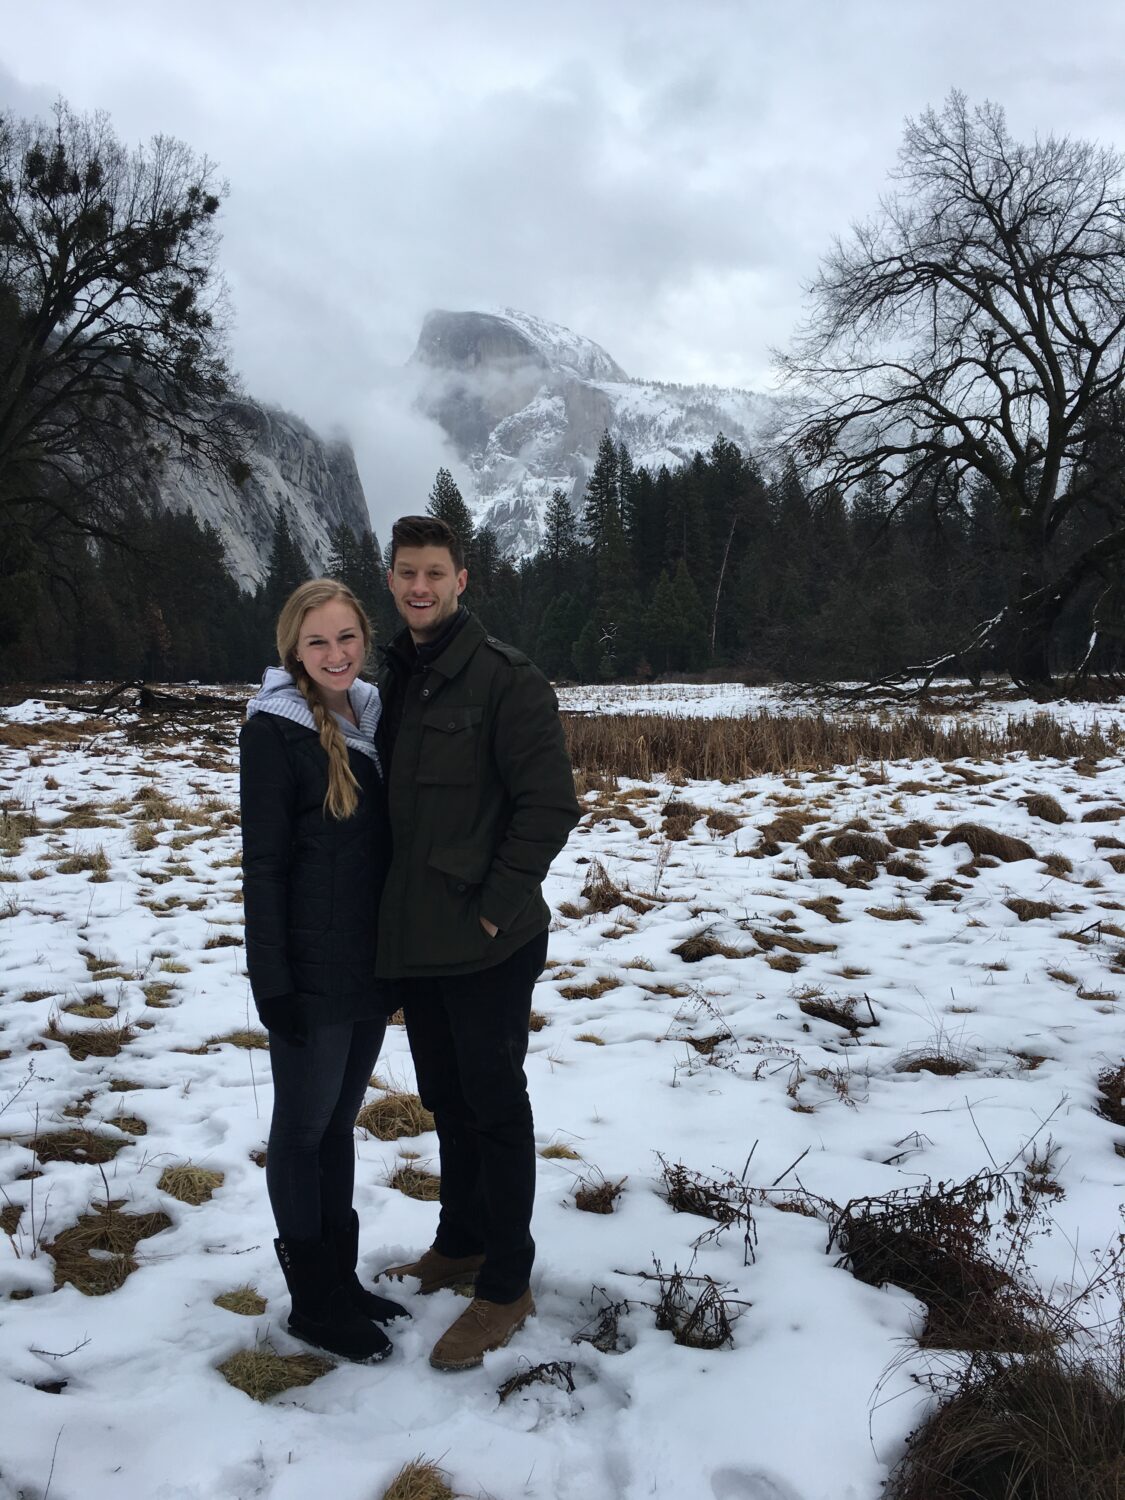
If you have the constitution to handle winter mountain weather, Yosemite is also spectacular in the winter. In fact, there are a couple of weeks in February that draw more visitors than any week of the year, outside of the summer.
Yosemite Firefall in February
During those two particular weeks in February, if the conditions are right, you’ll have the privilege of witnessing the natural firefall at Horsetail Falls just before sunset. Streams of light pore through the thin falls, creating a fire-like effect. Thousands of photographers and nature enthusiasts gather to witness the other-wordly phenomenon. My dad rarely misses a year, lol.
*If you are planning a trip during the fall, winter, or spring months, this helpful link outlines all of the seasonal road, camping, and hiking closures.
How to get to Yosemite
If you’re not local to California, the closest commercial airport to Yosemite is in Fresno. The drive from the Fresno airport (FAT) to Yosemite Valley takes a little over 2 hours. If you fly into San Francisco (SFO), the drive will take around 4 hours. And if you’re traveling from Los Angeles (LAX), you can expect a 5-6 hour drive.
There are a couple of different highways into Yosemite, depending on where you are driving from. If you’re driving from Southern California or Fresno, you’ll take the 41 through Oakhurst. If you’re driving from Northern California, you’ll use either the 120 (also known was Tioga Pass) or the 140.
Please note that if you are traveling to or from Yosemite during the fall, winter, or spring, road conditions may vary. For example, the 120 is closed from winter through June.
During the winter months, they require you to at least have snow chains with you at the park entrances. And if it’s snowing, they may make you pull over and put them on.
Pro tip: If you are driving and need to know which route to take or avoid, call 209-372-0200 (press 1, then 1) for the most up-to-date road conditions. This number will also tell you if snow chains are required.
How many days to spend in Yosemite?
In my opinion, any amount of time in Yosemite is a gift. Whether you are daytripping from the Bay Area or hunkering down in a campsite for a few weeks, it is always worth it to come to Yosemite.
In an ideal world, you’ll want to spend no less than 3 nights in Yosemite to give you 2 full days to hike and explore. That’s what we did on this most recent trip with our girls.
However, the more days the better! You could very easily fill a week.
Where to stay in Yosemite
This is, perhaps, the most important section of this entire guide. If you are planning a trip to Yosemite with kids–or without–I highly recommend staying in Yosemite Valley, otherwise known as the “valley floor”.
Yosemite National Park expands over 1,000 square miles, but many of its most notable attractions and hikes are located within the 7-square-mile radius of Yosemite Valley.
And while the valley floor does get crowded during the day–particularly in the summer months–it’s worth it to be right in the center of Yosemite’s most jaw-dropping views and vantage points. Once you drive in and get settled, you can go without a car for the rest of your trip.
During the summer, daytrippers flood the valley from 9am-7pm during the peak season, but if you are staying in the valley, you’ll enjoy relative peace and quiet during the morning and evenings and won’t have to drive in each day and find parking, etc.
Getting a reservation in Yosemite Valley requires some advance planning–and a fair amount of luck. Most of the options below book out almost instantly as they open (some a year in advance!), so you’ll want to do your research, know your dates, and be ready to book when the time comes.
Pro tip: Since you can reserve lodging at Yosemite at no cost, these bookings fill up quickly. This also means that many people do end up canceling. Oftentimes, you can find cancellations on the website if you check diligently. The best time to do this is around two weeks before your planned trip, when people start dropping their reservations to avoid the 7 day cancellation window before their booking. This is especially true for the hotels and even more common in the off-peak season.
You’ll also want to temper your expectations. Most of the lodging in Yosemite is unfussy and not very glamorous. Some places are more expensive than others, but you are paying for the location and front-seat access to one of the most beautiful places on the planet, not a five star luxury experience.
Ahwahnee Hotel
That said, if you are in the market for a luxury experience, the Ahwahnee hotel is definitely your best bet. As the only upscale resort in Yosemite, The Ahwahnee has hosted many celebrities and public figures (including Prince William and Kate Middleton) and is on my own personal hotel bucket list. This historic, stately property is really beautiful and fun to walk around even if you aren’t staying there.
Curry Village
Curry Village is located at the base of Glacier Point and is less than a mile from the Happy Isles trailhead, the take-off point for the Half Dome trail and all of the hikes leading up to it such as Vernal Falls and Nevada Falls.
Curry Village boasts a rich history. Opened as Camp Curry in 1899, it was the first affordable lodging option in Yosemite Valley. Curry Village is also known for the famous man made firefall ritual that began in 1872. The staff would quite literally push a ball of embers off Glacier Point. The ritual continued until 1968 when the National Park Service decided “enough was enough,” LOL.
Curry Village still has that same homey feel that its founders intended for the property. There are a few different lodging options: heated and unheated canvas tent cabins with shared public bathrooms and showers, standalone cabins, and motel-style cabin rooms called Stoneman Cottage.
We stayed in the Stoneman Cottage at Curry Village this most recent trip and had a great experience. For one thing, we had a heater and our own bathroom–a win in my book. The room was small but fit two double beds and had everything we needed. It cost a little over $200 a night which I thought was fair compared to some of the other options on the valley floor.
My parents stayed in one of Curry Village’s Yosemite Cabins, and it was really, really cute. The only downside was that their cabin shared a wall with the cabin next door, and the walls were paper thin.
I love Curry Village because of the location, amenities (the pizza place is my favorite spot to eat at in the park!), and cozy atmosphere. It’s not fancy, but it has that nostalgic, summer camp feel which only adds to the Yosemite experience.
Ice Skating at Curry Village
If you’re in Yosemite anywhere between mid-November to early March, make sure to put ice skating at Curry Village on your to-do list! This is so dreamy.
Yosemite Valley Lodge
Yosemite Valley Lodge is located right at the bottom of Yosemite Falls and offers both hotel room and cabin style lodging. Yosemite Lodge is a fine option if you can’t find anything else but is famously overpriced for the quality. What Yosemite Lodge lacks in hospitality it makes up for with its staggering location beneath one of the biggest waterfalls in the world.
Housekeeping Camp
I wouldn’t call Housekeeping Camp “glamping” by any means, but it does save the hassle of bringing and pitching your own tent. The lodging is half structured, half canvas. This is a good budget option and gets the job done but doesn’t exude “homey” by any stretch of the imagination.
Camping in Yosemite
Securing a campsite on the valley floor is an Olympic feat, so be prepared, and good luck! Reservations open on the 15th of the month, exactly five months in advance. (For instance, on January 15, arrival dates for the period May 15 to June 14 open up). Reservations usually sell out in minutes. I recommend making an account beforehand and logging in 15 minutes prior to 7am. At that point, you should preselect the sites you want. You must be logged into an account to book.
Upper Pines Campground
If you are looking for a true camping experience, look no further than the Upper Pines Campground. Nestled beneath Half Dome and Glacier Point, Upper Pines is home to hundreds of spacious campsites. It is the closest campground to the Happy Isles trailhead. There are bathrooms on each loop, but no showers. We use the showers at Curry Village nearby.
This is my family’s favorite camping spot–in fact, my brother will probably ask me to take this section off the blog post so as to not create more competition for campsites. HA.
Lower Pines Campground
This is the sister campground to Upper Pines. Lower Pines is a little closer to the amenities at Curry Village, but the sites aren’t quite as spacious and desirable as those in Upper Pines.
North Pines
North Pines is just across the Merced River from Lower Pines.
*One thing to note about North Pines is there is a lottery they run to offer early booking access.
Camp 4
Camp 4 is a historic, tent-only campground located near Yosemite Falls and the Yosemite Falls trailhead. This is kind of the cool kids campground–full of rock climbers and chronic adventurers. The only downside to note at Camp 4 is that you can’t keep a car at the site, so you’ll have to park over at Yosemite Lodge and carry your stuff over.
*Camp 4 does not offer reservations and has returned to a first-come-first-serve basis.
Getting around Yosemite
While getting into Yosemite Valley can be a hassle, it is quite easy to get around once you’re there.
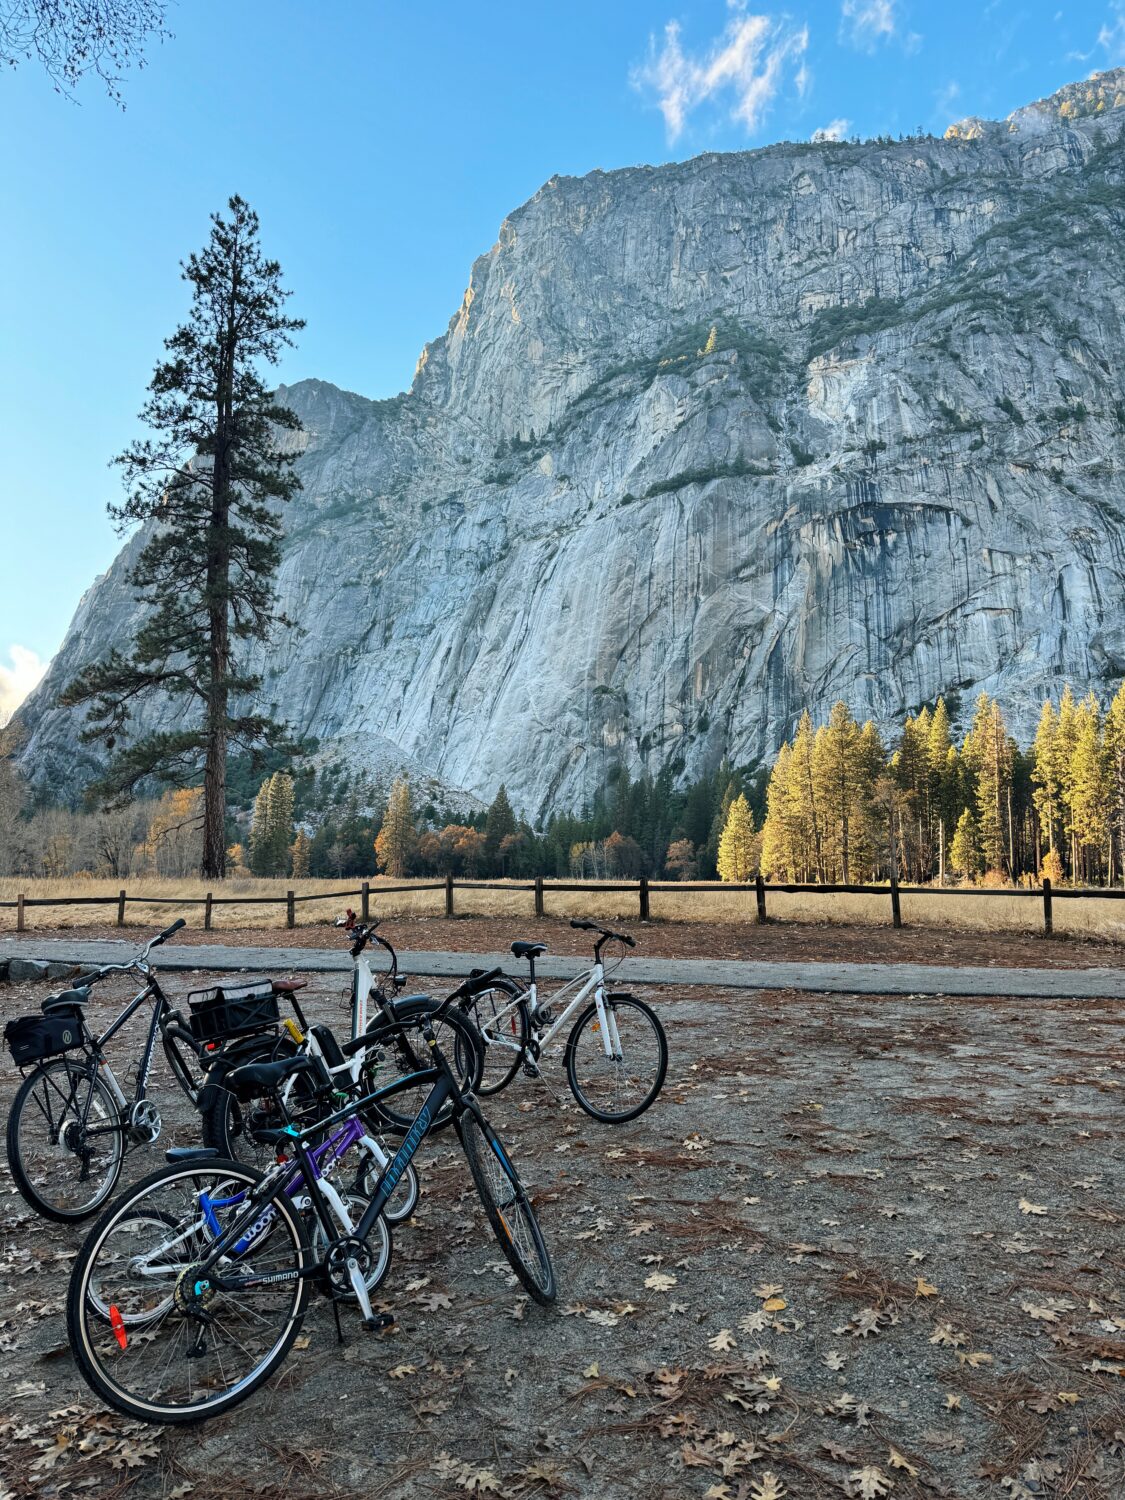
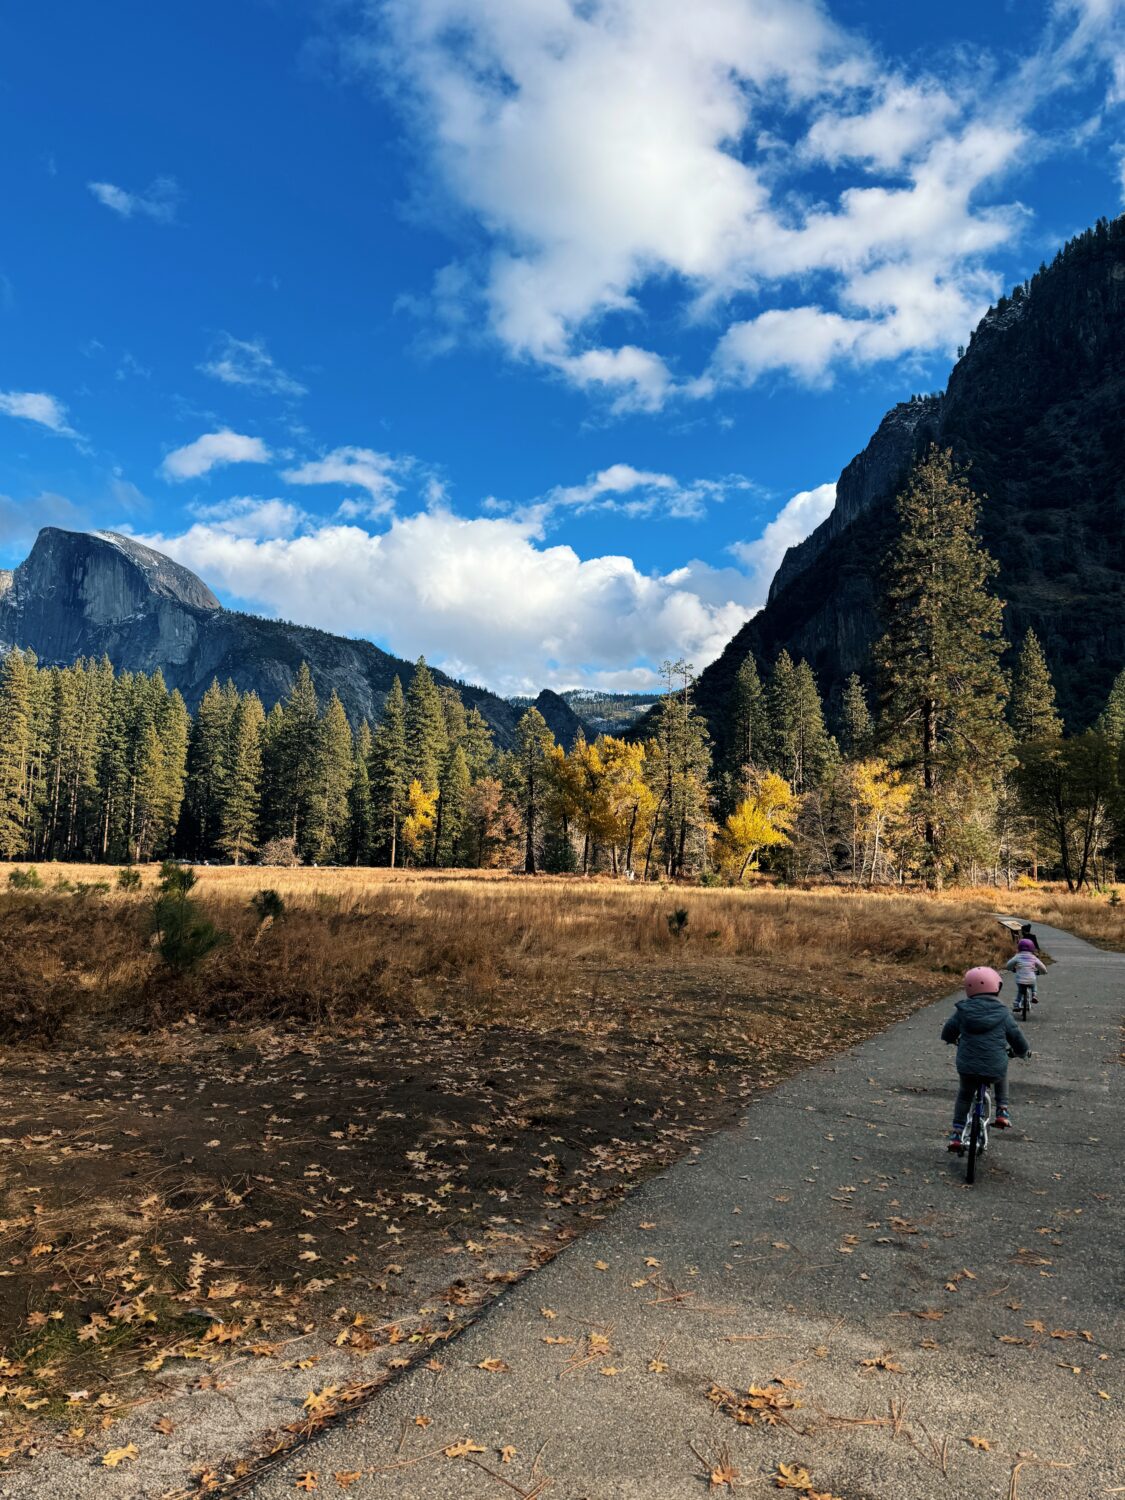
My first recommendation is to bring a bike. There is nothing–and I do mean nothing–more magical than biking around Yosemite. There are paved bike paths all around the valley floor, and since the roads get backed up with cars driving in for the day, biking can actually be the most efficient way to get around (again, especially in the summer).
If you don’t want to bring a bike, you can easily get around by foot or Yosemite’s FREE shuttle service–or a mix of the two! The shuttle service circulates between all of Yosemite’s main sites and is easy to navigate. The shuttles run quite frequently too, so you won’t have to wait too long.
Cell Service in Yosemite
The cell service in Yosemite is famously bad–I’ll leave it to you to decide if that’s a good thing or a bad thing. You can access WiFi at any of the hotels, and service is a little better out in the meadows in the middle of the valley (lol).
The signs around the park are helpful enough, but I would definitely suggest bringing a physical map with you or asking for one at the park entrance on your way in.
Bears in Yosemite
Yosemite is also famous for its increasingly aggressive black bear population. Black bears are most active during the summer, so it’s really important to follow all of the suggested precautions. You’ll want to keep all of your food and scented products out of your vehicle and tent if you’re camping.
My dad has this one certain loud yell that he reserves for two purposes: breaking up fights (he is a former educator) and warding off bears. I have witnessed first hand only the latter, once on a hike when we found ourselves mixed up with a mother-cub duo just past the Nevada Falls summit. We made it out without a scratch, but the bear stole our packed sandwiches right out of my dad’s backpack. I’ll spare you the whole story but, believe me, you don’t want to mess around with these guys.
I recommend familiarizing yourself with this page of helpful bear safety tips.
Where to Eat in Yosemite
Food options are somewhat limited in Yosemite. If you’re camping, you can obviously cook most of your meals in your campsite. There are a few little stores on the valley floor: one in Curry Village and a bigger one in Yosemite Village. They have all of the basics, but you might want to do a grocery run in Oakhurst if you’re driving in on the 41, especially if you plan to cook most of your own meals.
My favorite place to eat in Yosemite Valley is the Pizza Deck at Curry Village. Tyler and I both love the Half Dome pizza. There is also a little bar inside the lodge at Curry Village that serves up tacos, nachos, and the like as well as a bunch of fun beers. The big dining cafeteria at Curry Village is fine but nothing to write home about.
The stores at Curry Village and Yosemite Village have a few grab-n-go food items. This is so random, but the egg salad sandwich is actually amazing. And don’t forget to grab an It’s It mint ice cream sandwich–a NorCal staple that never ceases to wow me.
Degnan’s Deli over at Yosemite Village is another family staple–they serve breakfast and lunch sandwiches. Again, not groundbreaking, but it does the job.
Base Camp at Yosemite Lodge is a no frills dining hall that serves up a similar menu to that of the dining hall at Curry Village: eggs, sausage, and pancakes for breakfast and hearty, straightforward meals for the rest of the day. There is also a Starbucks adjacent to Base Camp which we love.
I have personally never eaten at The Mountain Room at Yosemite Lodge, but it looks like a better sit down option. And I have heard amazing things about the Ahwahnee Dining Room too.
Things to do in Yosemite:
There are a million worthwhile things to do in Yosemite. In this list, I will focus on the sites that I believe to be absolute MUSTS, the “stars of the show,” if you will. And as I mentioned earlier, this list revolves around Yosemite Valley as opposed to the entire national park.
As I go through the list, I will be sure to point out how “kid friendly” each activity or area is.
Bike or walk around the valley floor at dusk
I am starting this list with one of my favorite ways to experience Yosemite. There is nothing more magical than bike riding in Yosemite, and biking around the valley floor is one of the best ways to take it all in. You can easily drive the valley floor loop, but I recommend slowing down at some point and either walking or biking around with no agenda. You can see so much more when you’re not in the car.
And if I could micromanage, I’d make sure to do this in the early evening at least once during your trip. There is something particularly grand about Yosemite at dusk. Enjoy the alpenglow on Half Dome and watch the sky change from golden to purple and blue as the minutes pass.
Hiking Yosemite Falls
Yosemite Falls is one of the park’s most jaw dropping sites and the park’s tallest waterfall. The falls drop a total of 2,425 feet from the top of the Upper Falls to the base of the Lower Falls.
If you’re looking to summit the top of the Upper Falls, the trail is 7.6 miles from start to finish and will take anywhere from 6-8 hours to complete (plus a bit extra if you go a bit further up to Yosemite Point). I have done this hike several times, and it always shocks me how hard it is. It’s totally doable, but long. It is a GREAT thing to do a few days before Half Dome to help get your body acclimated.
To hike Yosemite Falls, head just beyond the Camp 4 parking lot to this trailhead. If you’re taking the shuttle, get off on stop #7 at Yosemite Lodge.
Colombia Rock
A way to make the Yosemite Falls hike easier would be to hike to Colombia Rock instead of going all the way to the top of the Upper Falls. Colombia Rock provides 180 degree views of Yosemite but not the falls themselves.
Oh My Gosh Point on Yosemite Falls Trail
Now this is the pro tip of all pro tips, if I do say so myself. Just past Colombia Rock, there is an unmarked trail off to the right. This path leads to the appropriately named Oh My Gosh lookout point which provides an absolutely insane view of the Lower Falls below and the Upper Falls above. But please be careful!
Yosemite Point
This is a little extra excursion that many hikers tack onto their Yosemite Falls hike. This lookout point is spectacular and well worth the extra mile if you have it in you.
Lower Yosemite Falls loop walk
This is a great thing to do with kids or if you aren’t keen on a big long hike. There is an easy and mostly flat walking loop that will take you right to the base of the Lower Yosemite Falls. The walk is a little over a mile and will take just around 30 minutes, depending on your speed and how many pictures you take along the way. The Lower Yosemite Falls trail starts here. If you’re taking the shuttle, hop off at the Lower Yosemite Falls shuttle stop.
Bike or walk to Mirror Lake
Nestled right below Half Dome, Mirror Lake reflects Half Dome looming above and provides one of the coolest vantage points on the valley floor.
You can begin the walk to Mirror Walk at the Mirror Lake Trailhead (shuttle stop #17), or you can walk or bike from Curry Village or wherever you are staying. If you choose to shuttle to the trailhead, the walk is around a mile each way to get all the way to the lake. From Curry Village, it is just under 2 miles each way.
This is a great trail to do with kids because it is relatively flat. And if you’re in Yosemite in the summer, Mirror Lake is a wonderful place to (safely) wade around in and cool off.
Yosemite Valley Floor Loop + El Capitan + Bridalveil Falls
I have not hiked the full valley floor loop, but I have done many sections of it over the years. This link is super helpful and shows both the full and half loop routes–you can opt for the full 11.5 mile loop or the half loop 7.2 mile option.
Picnic at El Capitan Meadow
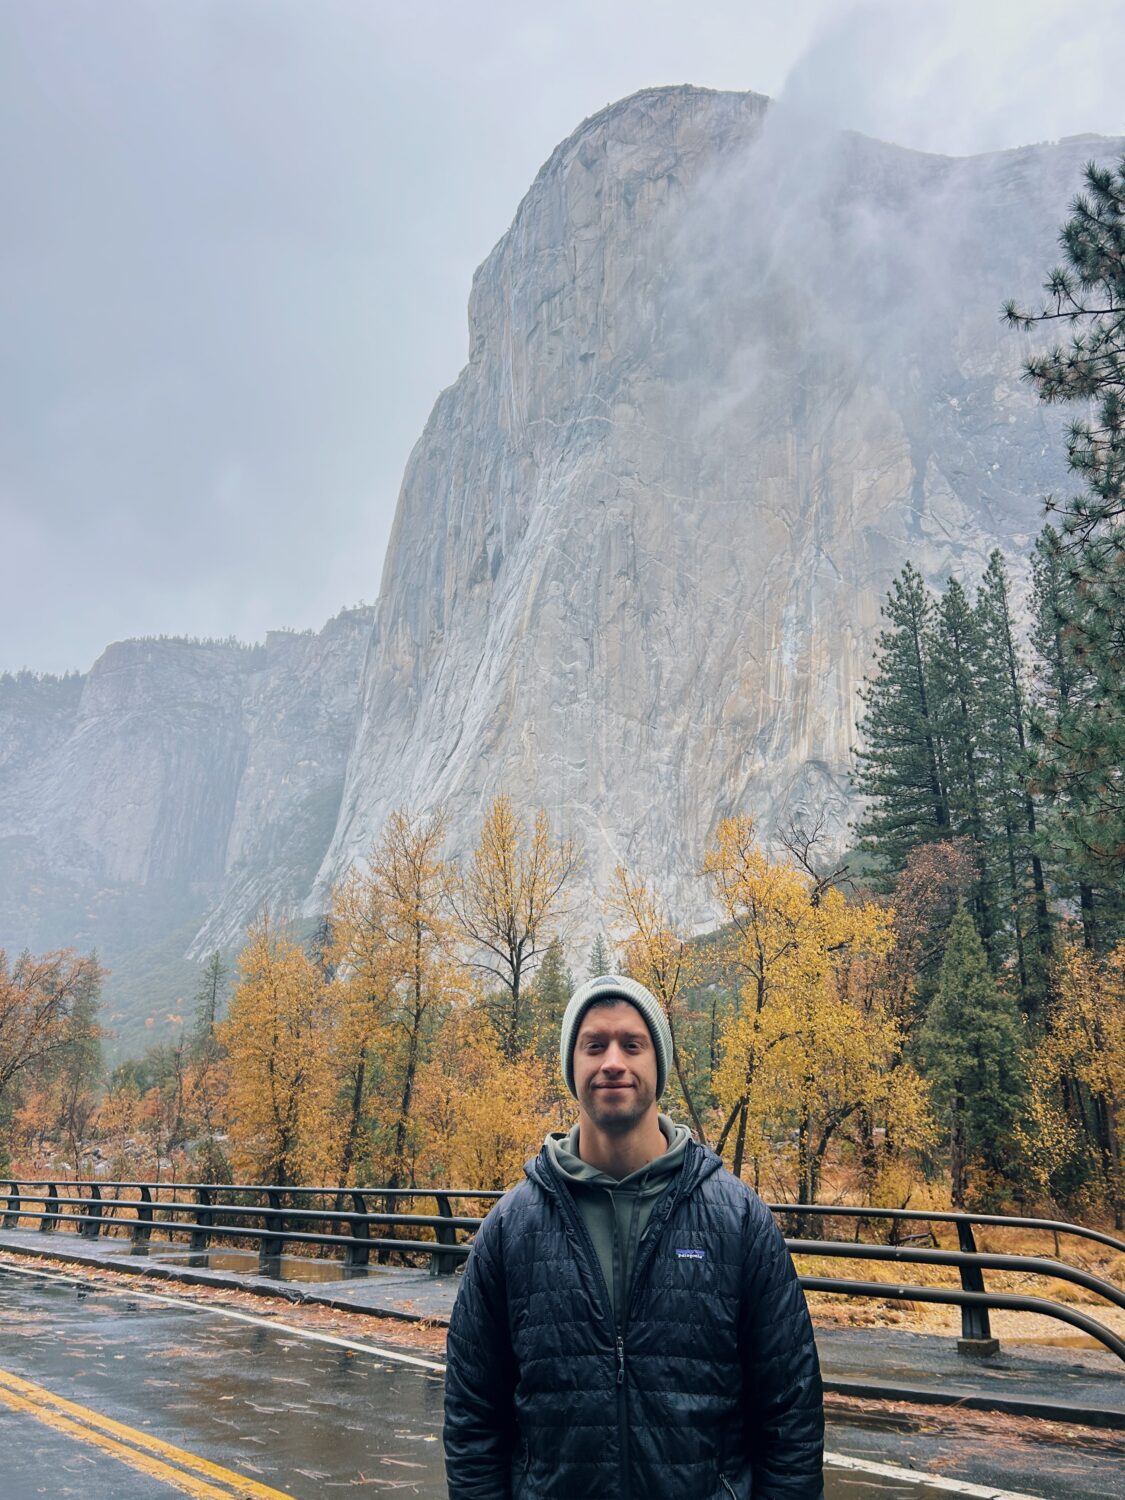
You’ll want to make space in your itinerary to take in El Capitan. Pack a lunch or snack and either drink, walk, or bike to El Capitan meadow. This spot is breathtaking and provides the perfect view of El Cap. See if you can spot any rock climbers!
Bridalveil Falls Half Mile Walk
You might also add the Bridalveil Fall half mile walk to your agenda. This easy half mile loop starts here.
Vernal Falls + Mist Trail Hike
The Vernal Falls hike is the first leg of the Half Dome hike and is absolutely beautiful.
Both the Vernal Falls and Nevada Falls trails below begin at the Happy Isles trailhead–Happy Isles shuttle stop #16. (The Happy Isles trailhead also marks the beginning of the iconic John Muir trail which stretches over 211 miles from Yosemite Valley to Mt. Whitney!!). If you’re staying at Upper Pines or Curry Village, you can walk the mile or so to the trailhead.
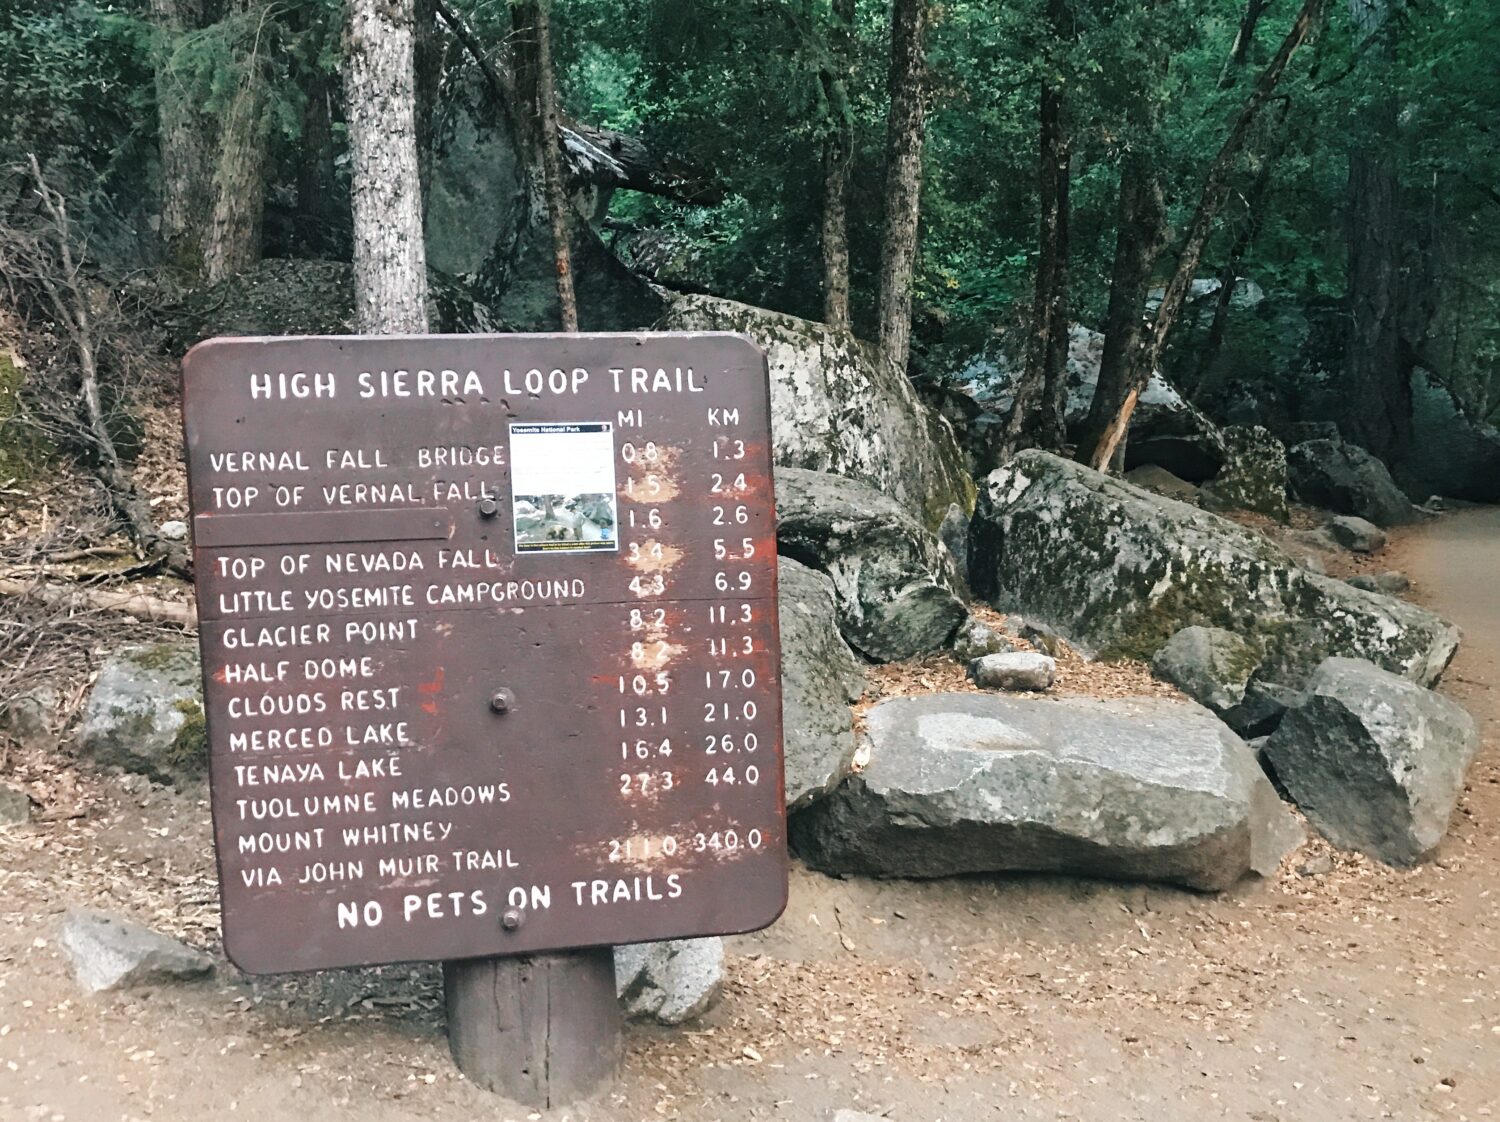
If you want to keep things simple, you can do just the very first portion of the trail which is 1.5 miles to the Vernal Falls Footbridge. This path does have a fair amount of incline but is well worth the trek. My daughters (ages 4 and 6 at the time of this trip) did this hike with almost no issues. It took us about an hour or even less to get to the footbridge.
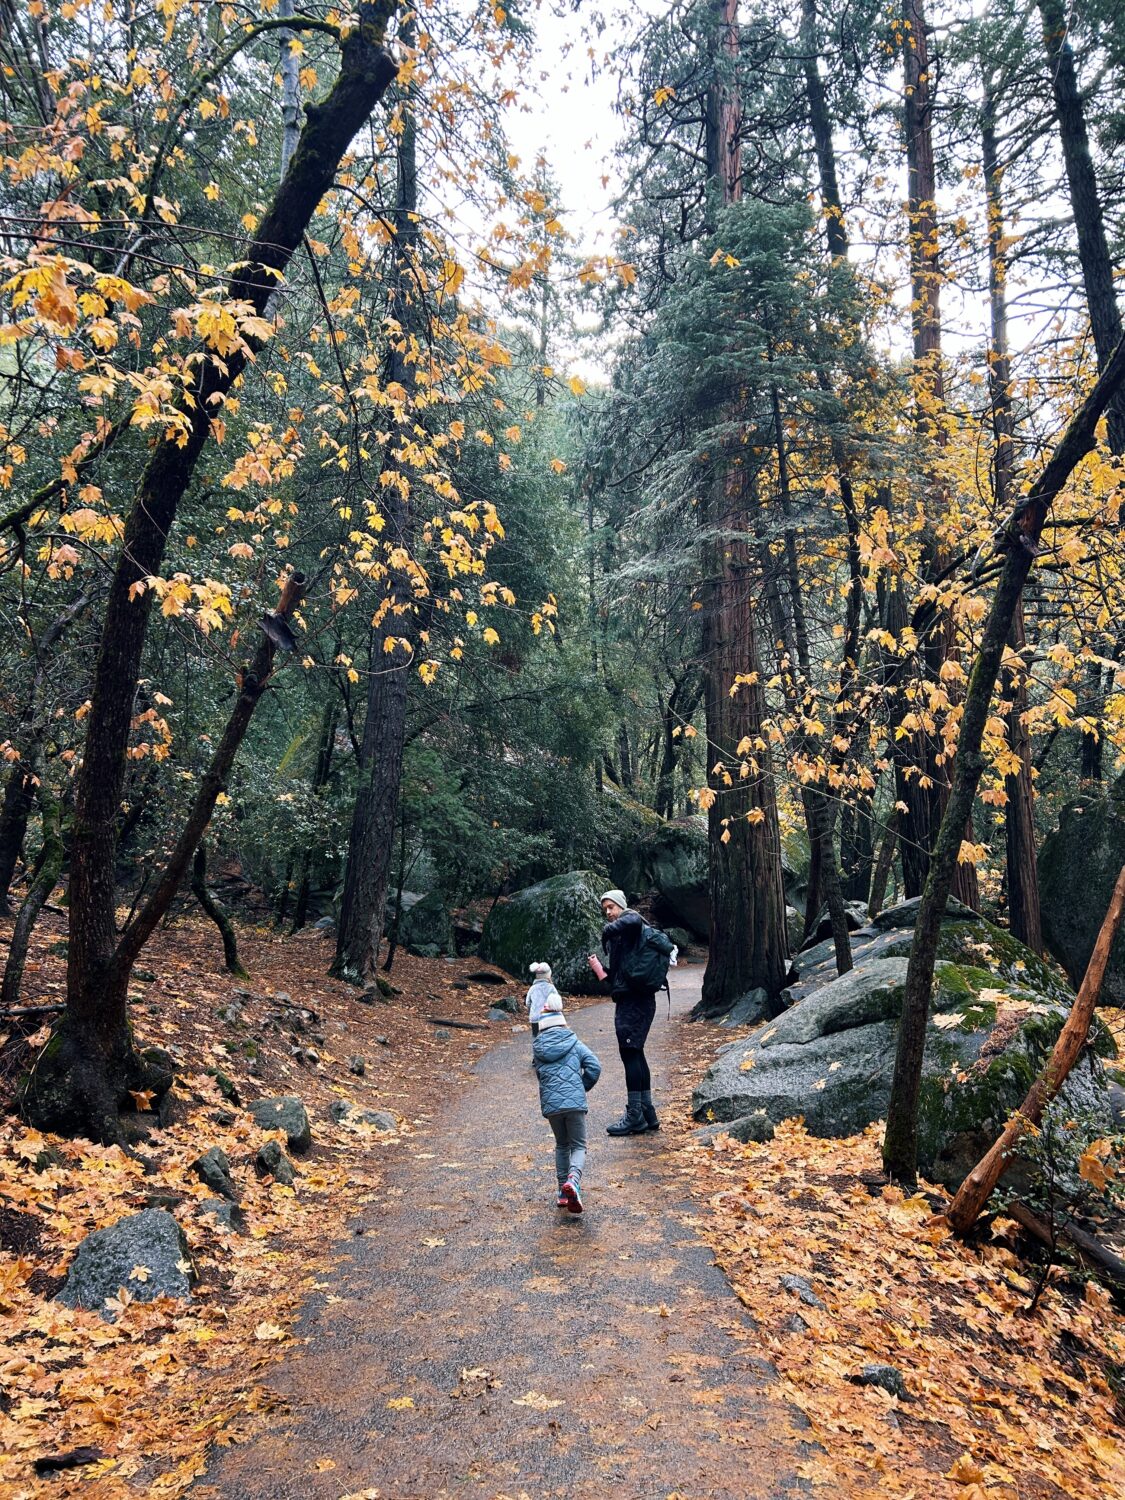
Once you make it to the bridge and take in the stunning view of Vernal Falls, you can choose to keep going up the trail towards the top of Vernal Falls.
The path will lead you to the portion of the trail often referred to as the Mist Trail which, in my opinion, is one of the coolest hikes you can do in the world. The Mist Trail will take you to the top of Vernal Falls. The steep, uneven rock stair path takes hikers right alongside the waterfall.
It is SO cool, but please be aware that this portion of the hike can be slippery and dangerous–especially in the spring and summer when the waterfall is the most full. Wear good shoes and take care as you pass other hikers. Some hikers choose to bring a rain poncho to stay dry under the mist of the waterfall.
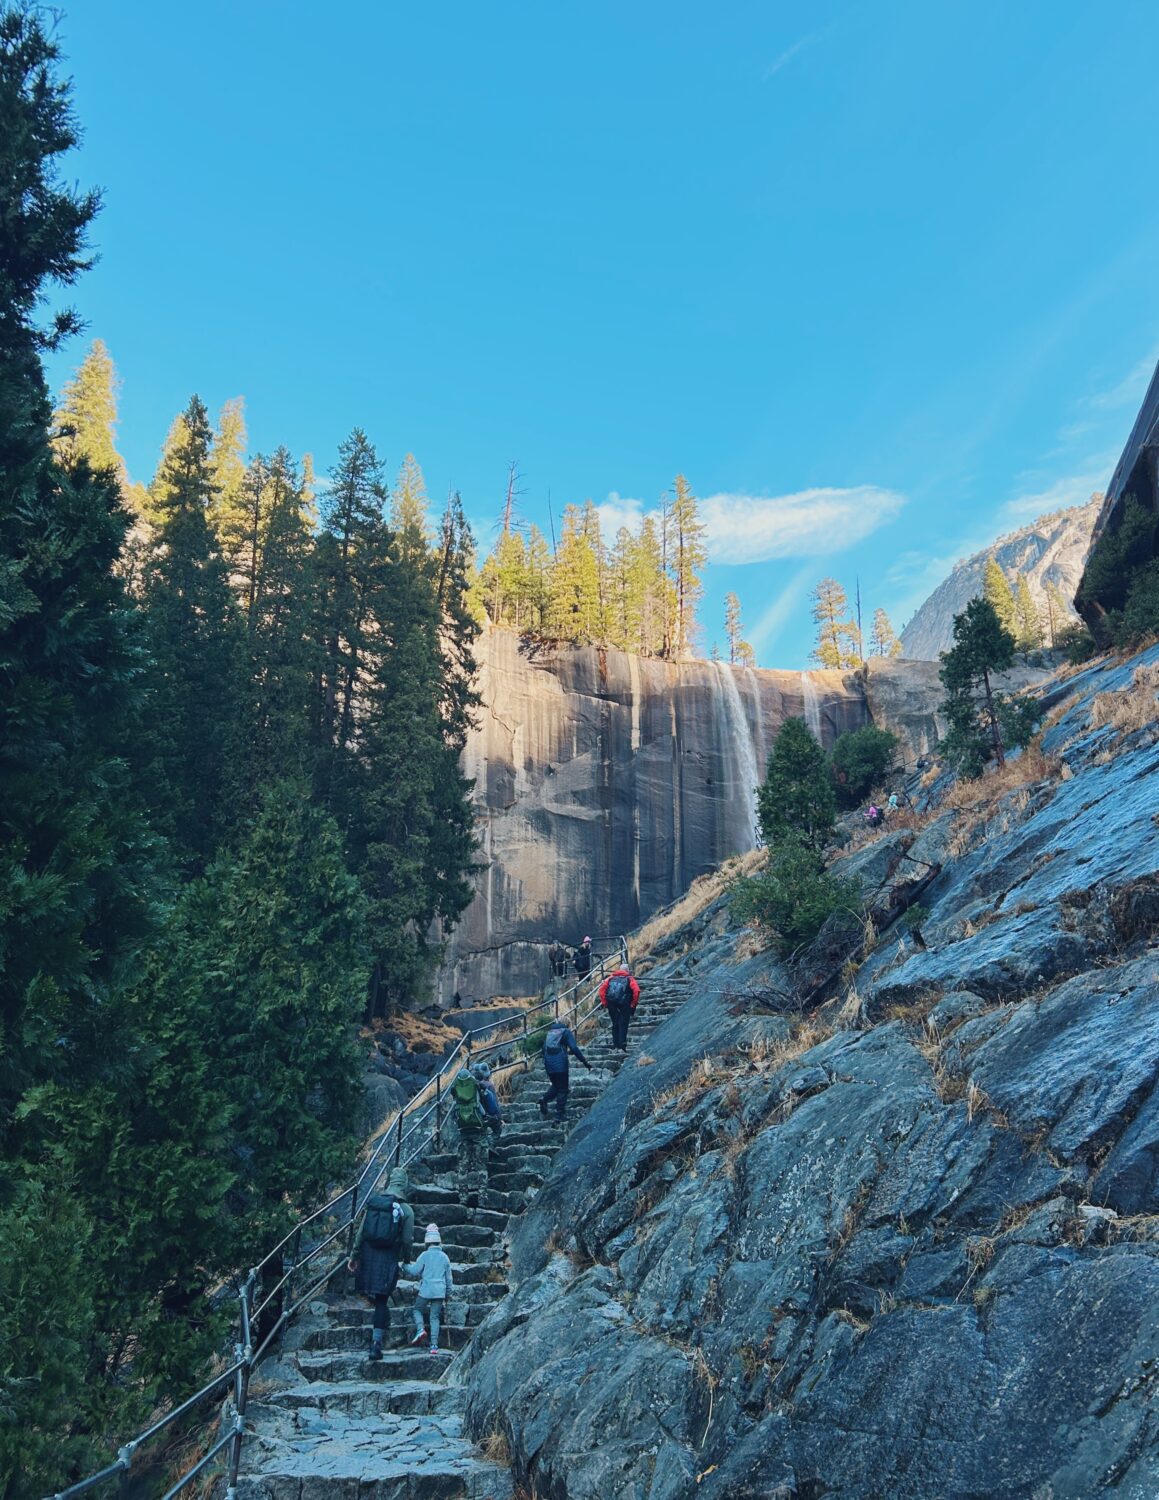
We took our daughters about halfway up the Mist Trail. We wanted them to experience hiking right next to the waterfall but didn’t want to necessarily go all the way to the top because it would have added quite a bit of time to our hike. (I really wanted their first big Yosemite hike to be a positive experience!). They did great on the stairs, and we just made sure to hold their hands the entire time, go slow, and have them walk on the inside or mountain side of the trail so we were always between them and the dropoff.
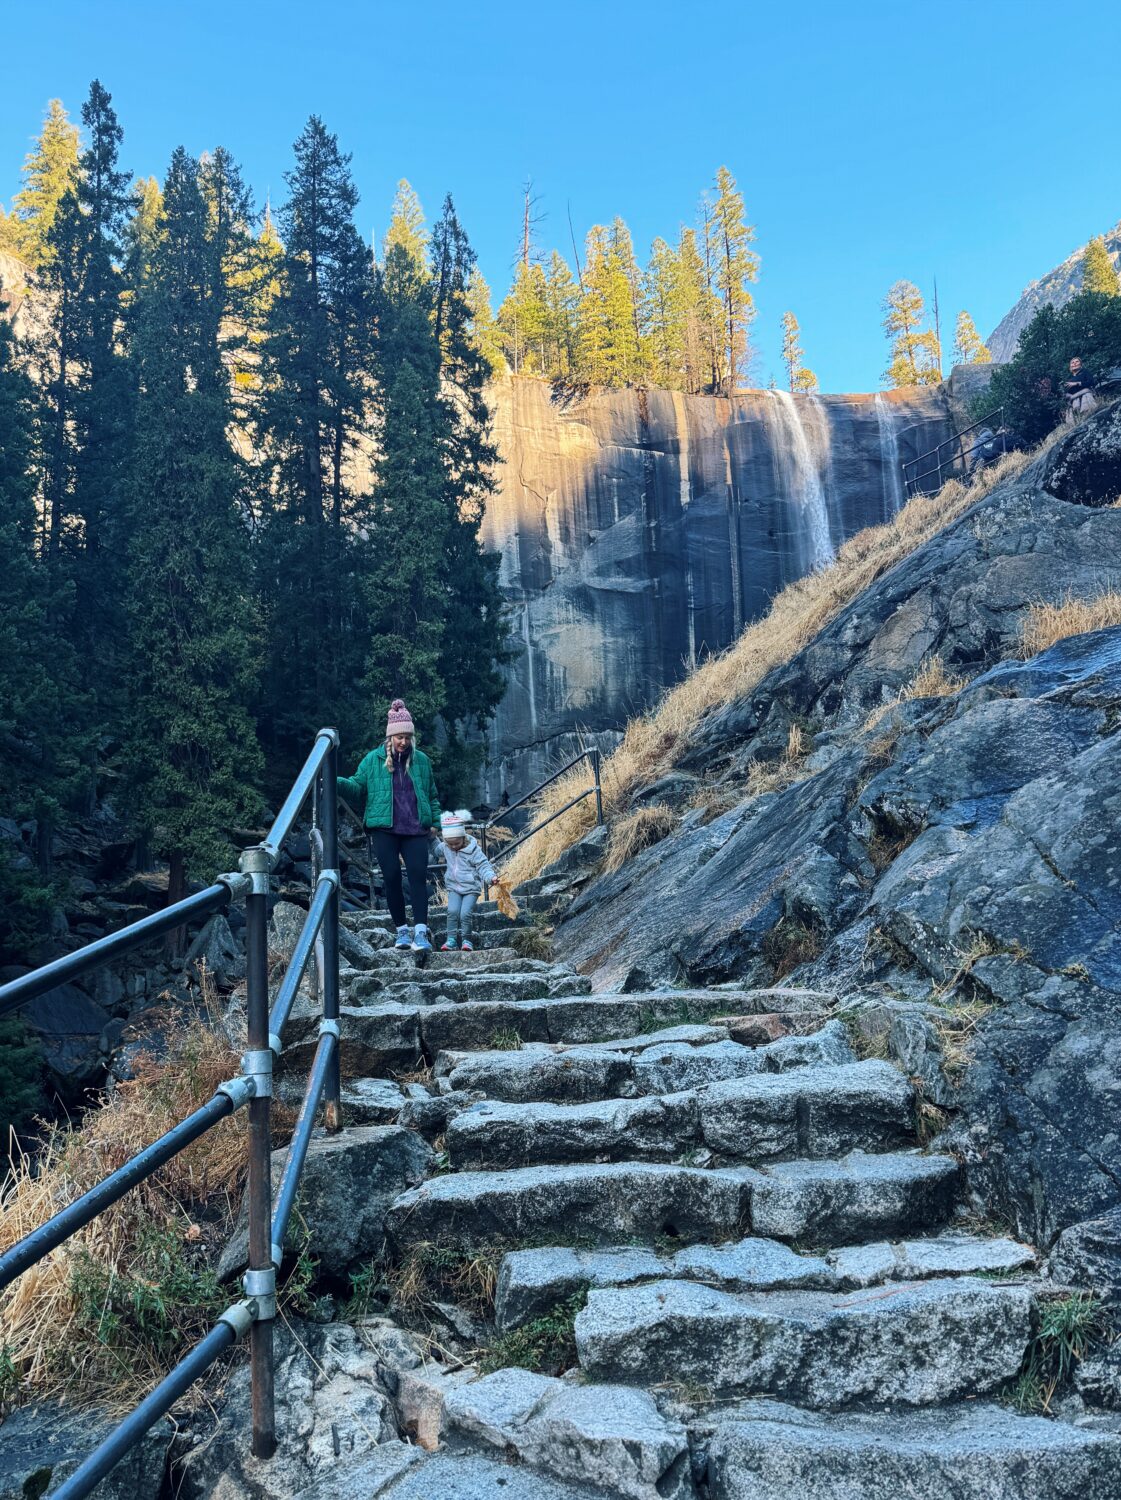
One way to keep your trek up the Mist Trail as safe as possible is to get an early start. As you might imagine, the trail gets really crowded through the middle of the day. The best way to experience the Mist Trail is when you have it to yourself and don’t have to worry about bumping into anyone.
If you are hiking to the top of Vernal Falls via the Mist Trail, you can expect this to take around 3 hours total.
Hopefully this isn’t too confusing…BUT most of the time, my family will go up the Mist Trail and loop around to the John Muir trail to go back down. This involves walking further past the Emerald Pool, up to Clark Point, and then down the switchbacks of the John Muir trail. This takes much longer than going back down the Mist Trail, but it’s safer than walking down the slippery rock steps. My dad always makes us go that way, lol. Check out this link for a more thorough explanation and map of the route I’m referring to.
*Note that portions of the Mist Trail do close during the winter due to ice on the path. You can stay up to date on seasonal closures at this link.
**Please do not, under any circumstances, swim in the pool at the top of the Vernal Falls or anywhere along that river. People die all the time doing this. It’s so crazy.
Nevada Falls Hike
Once you summit the top of Vernal Falls, you have the option to keep going! If you’re really ambitious and have a good amount of daylight before you still, you can trek on to the top of Nevada Falls. You’ll want to reserve 5-6 hours total to do the entire Nevada Falls hike. Head back to this link to map out your route!
4 Mile Trail + Glacier Point
I’ll wrap this list up with a hike that I have not done yet but is high on my to-do list: the Four Mile Trail. This hike begins at the trailhead near the base of Sentinel Rock and ends at Glacier Point.
Don’t be fooled by the name: this trail is 4.8 miles one way. You’ll want to plan to hike all day unless you have arranged to have someone pick you up at the top. (This is one of the only big hikes in Yosemite Valley where this is possible, as cars can drive up Glacier Point Road).
There are bathrooms and a snack stand at the top of Glacier Point. Where do I sign?
Hike Half Dome
This is, of course, the ultimate bucket list item. Hiking Half Dome is not only physically challenging but also requires some advance planning. Check out my complete guide to hiking Half Dome here.
Thank you so, so much for checking out my Yosemite travel guide! I hope this was helpful!! Please let me know how your trip goes.
Check out my other Yosemite Posts:
It’s a pre-weekend pick me up: just a little note with links to the latest blog posts, what I’m reading lately, and products I’m obsessed with. Think of it as a friend dropping off a surprise latte in the morning--you know?
