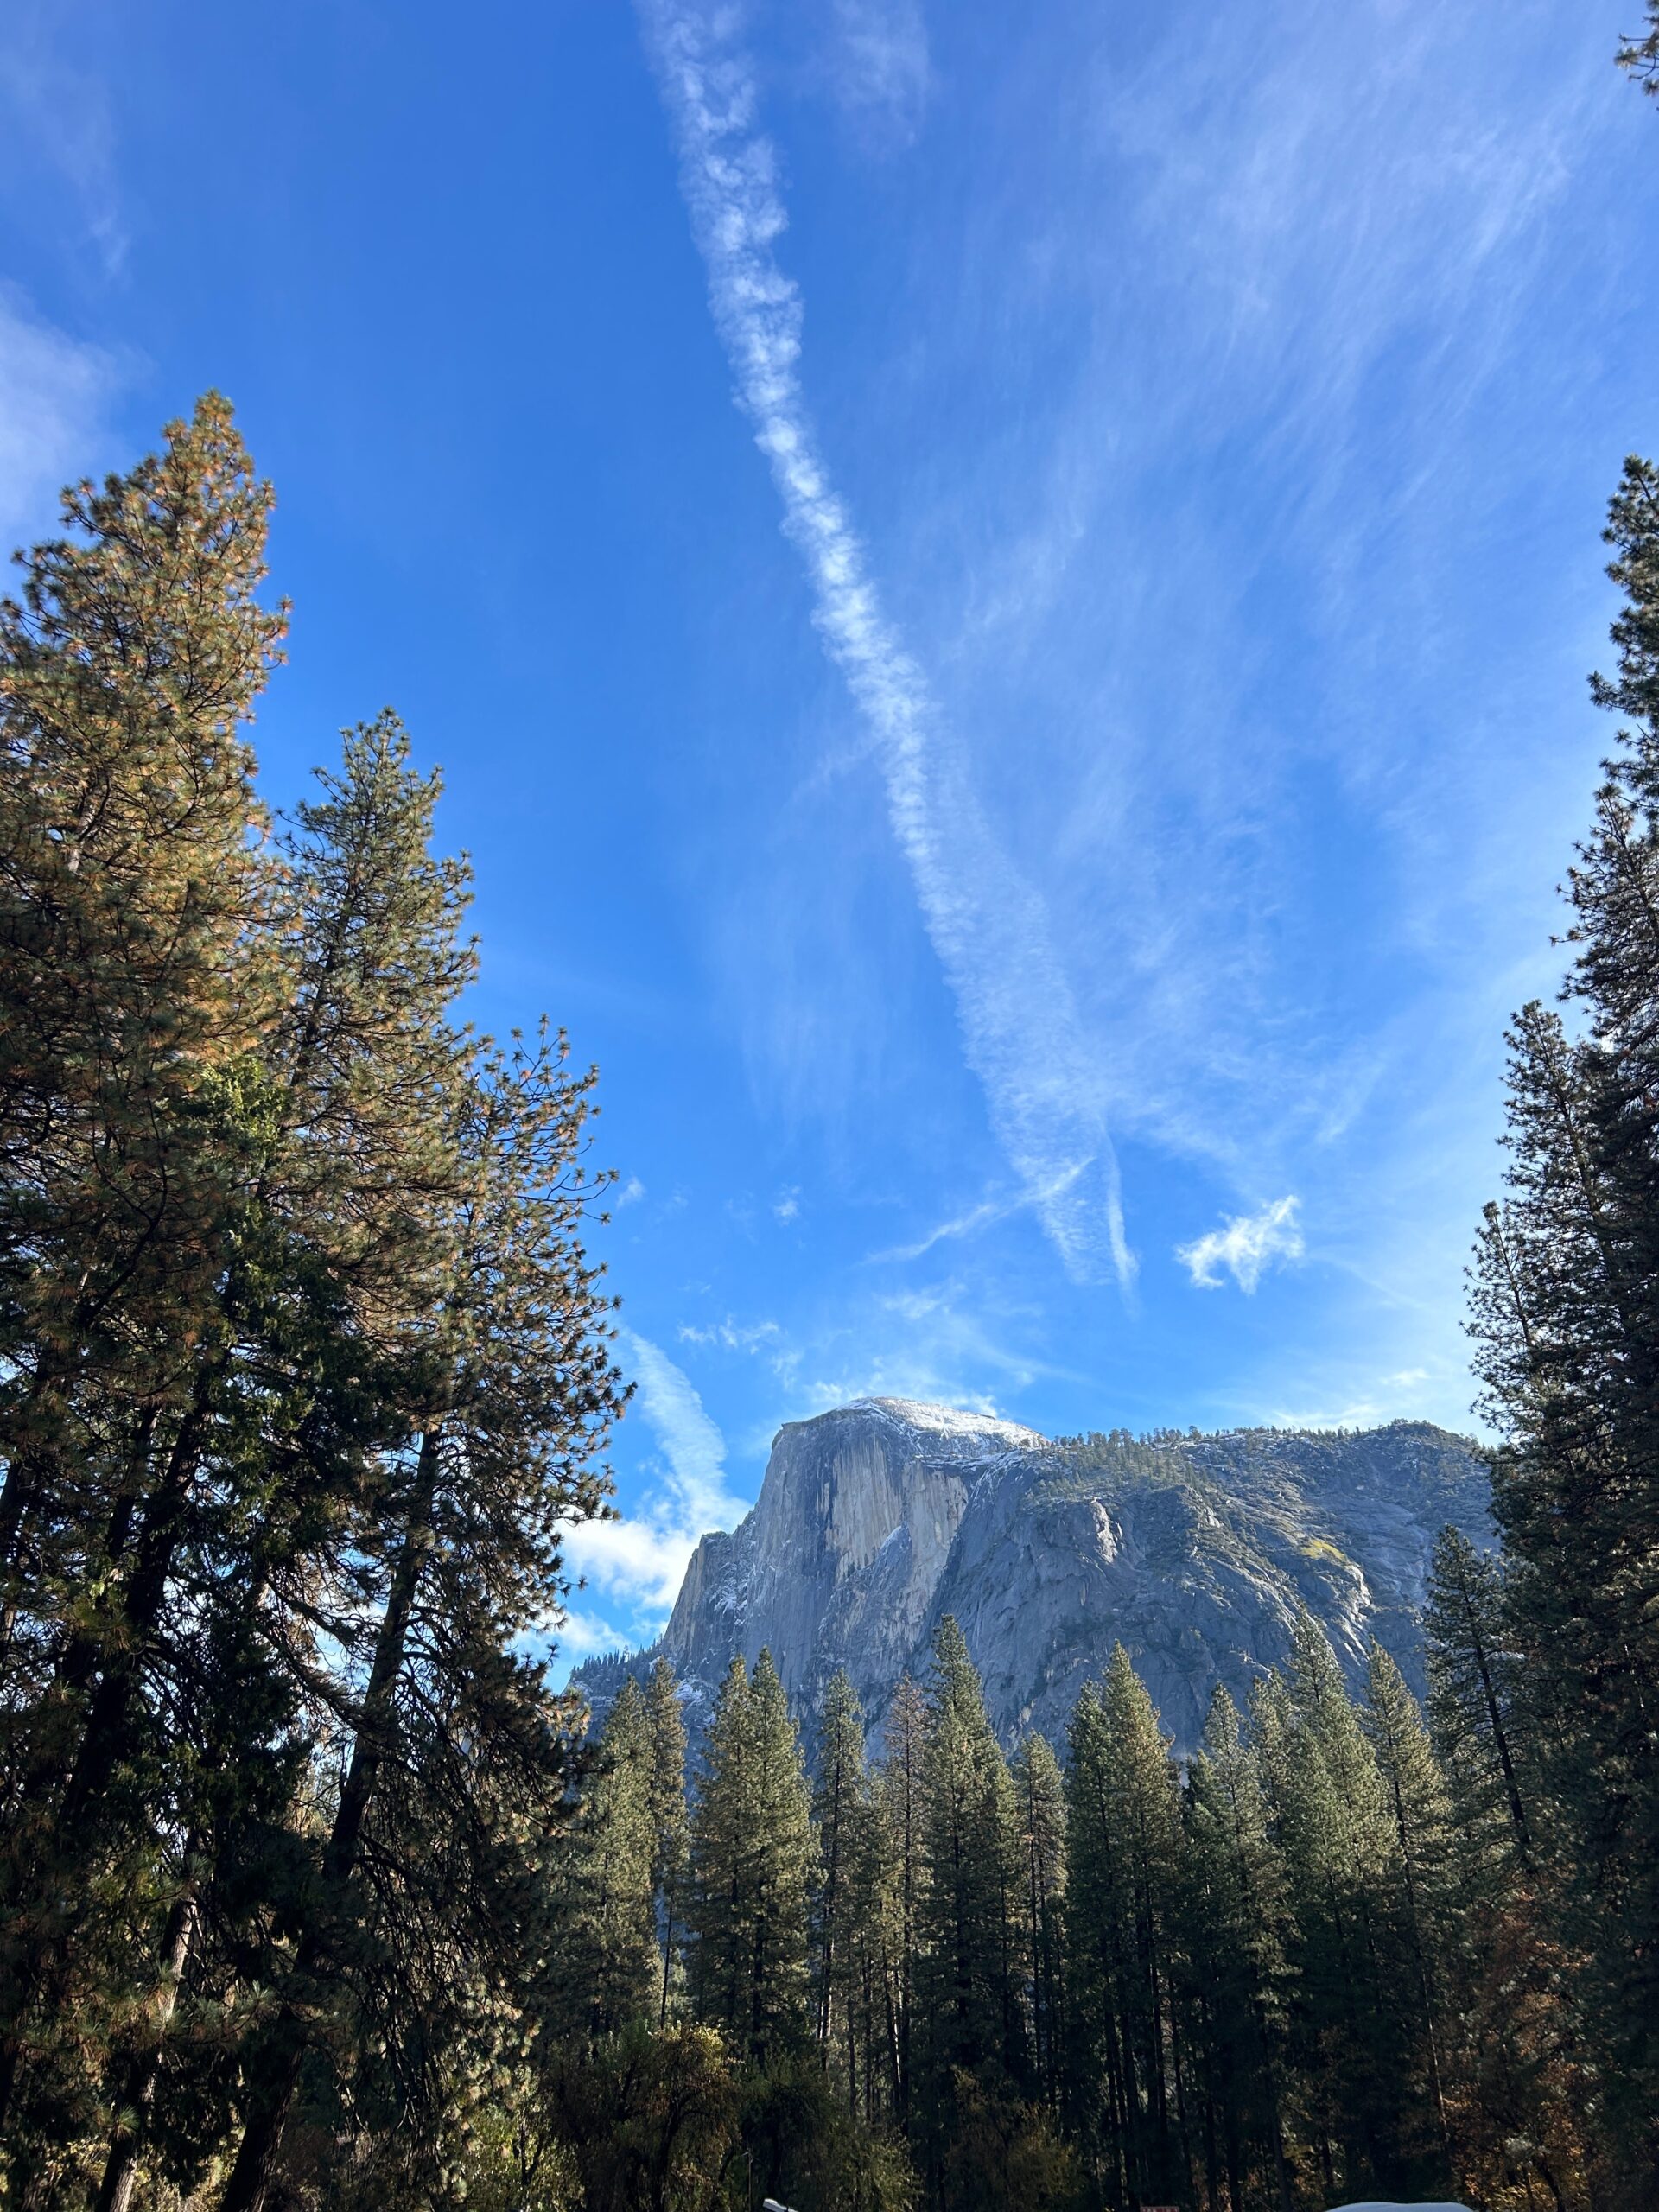
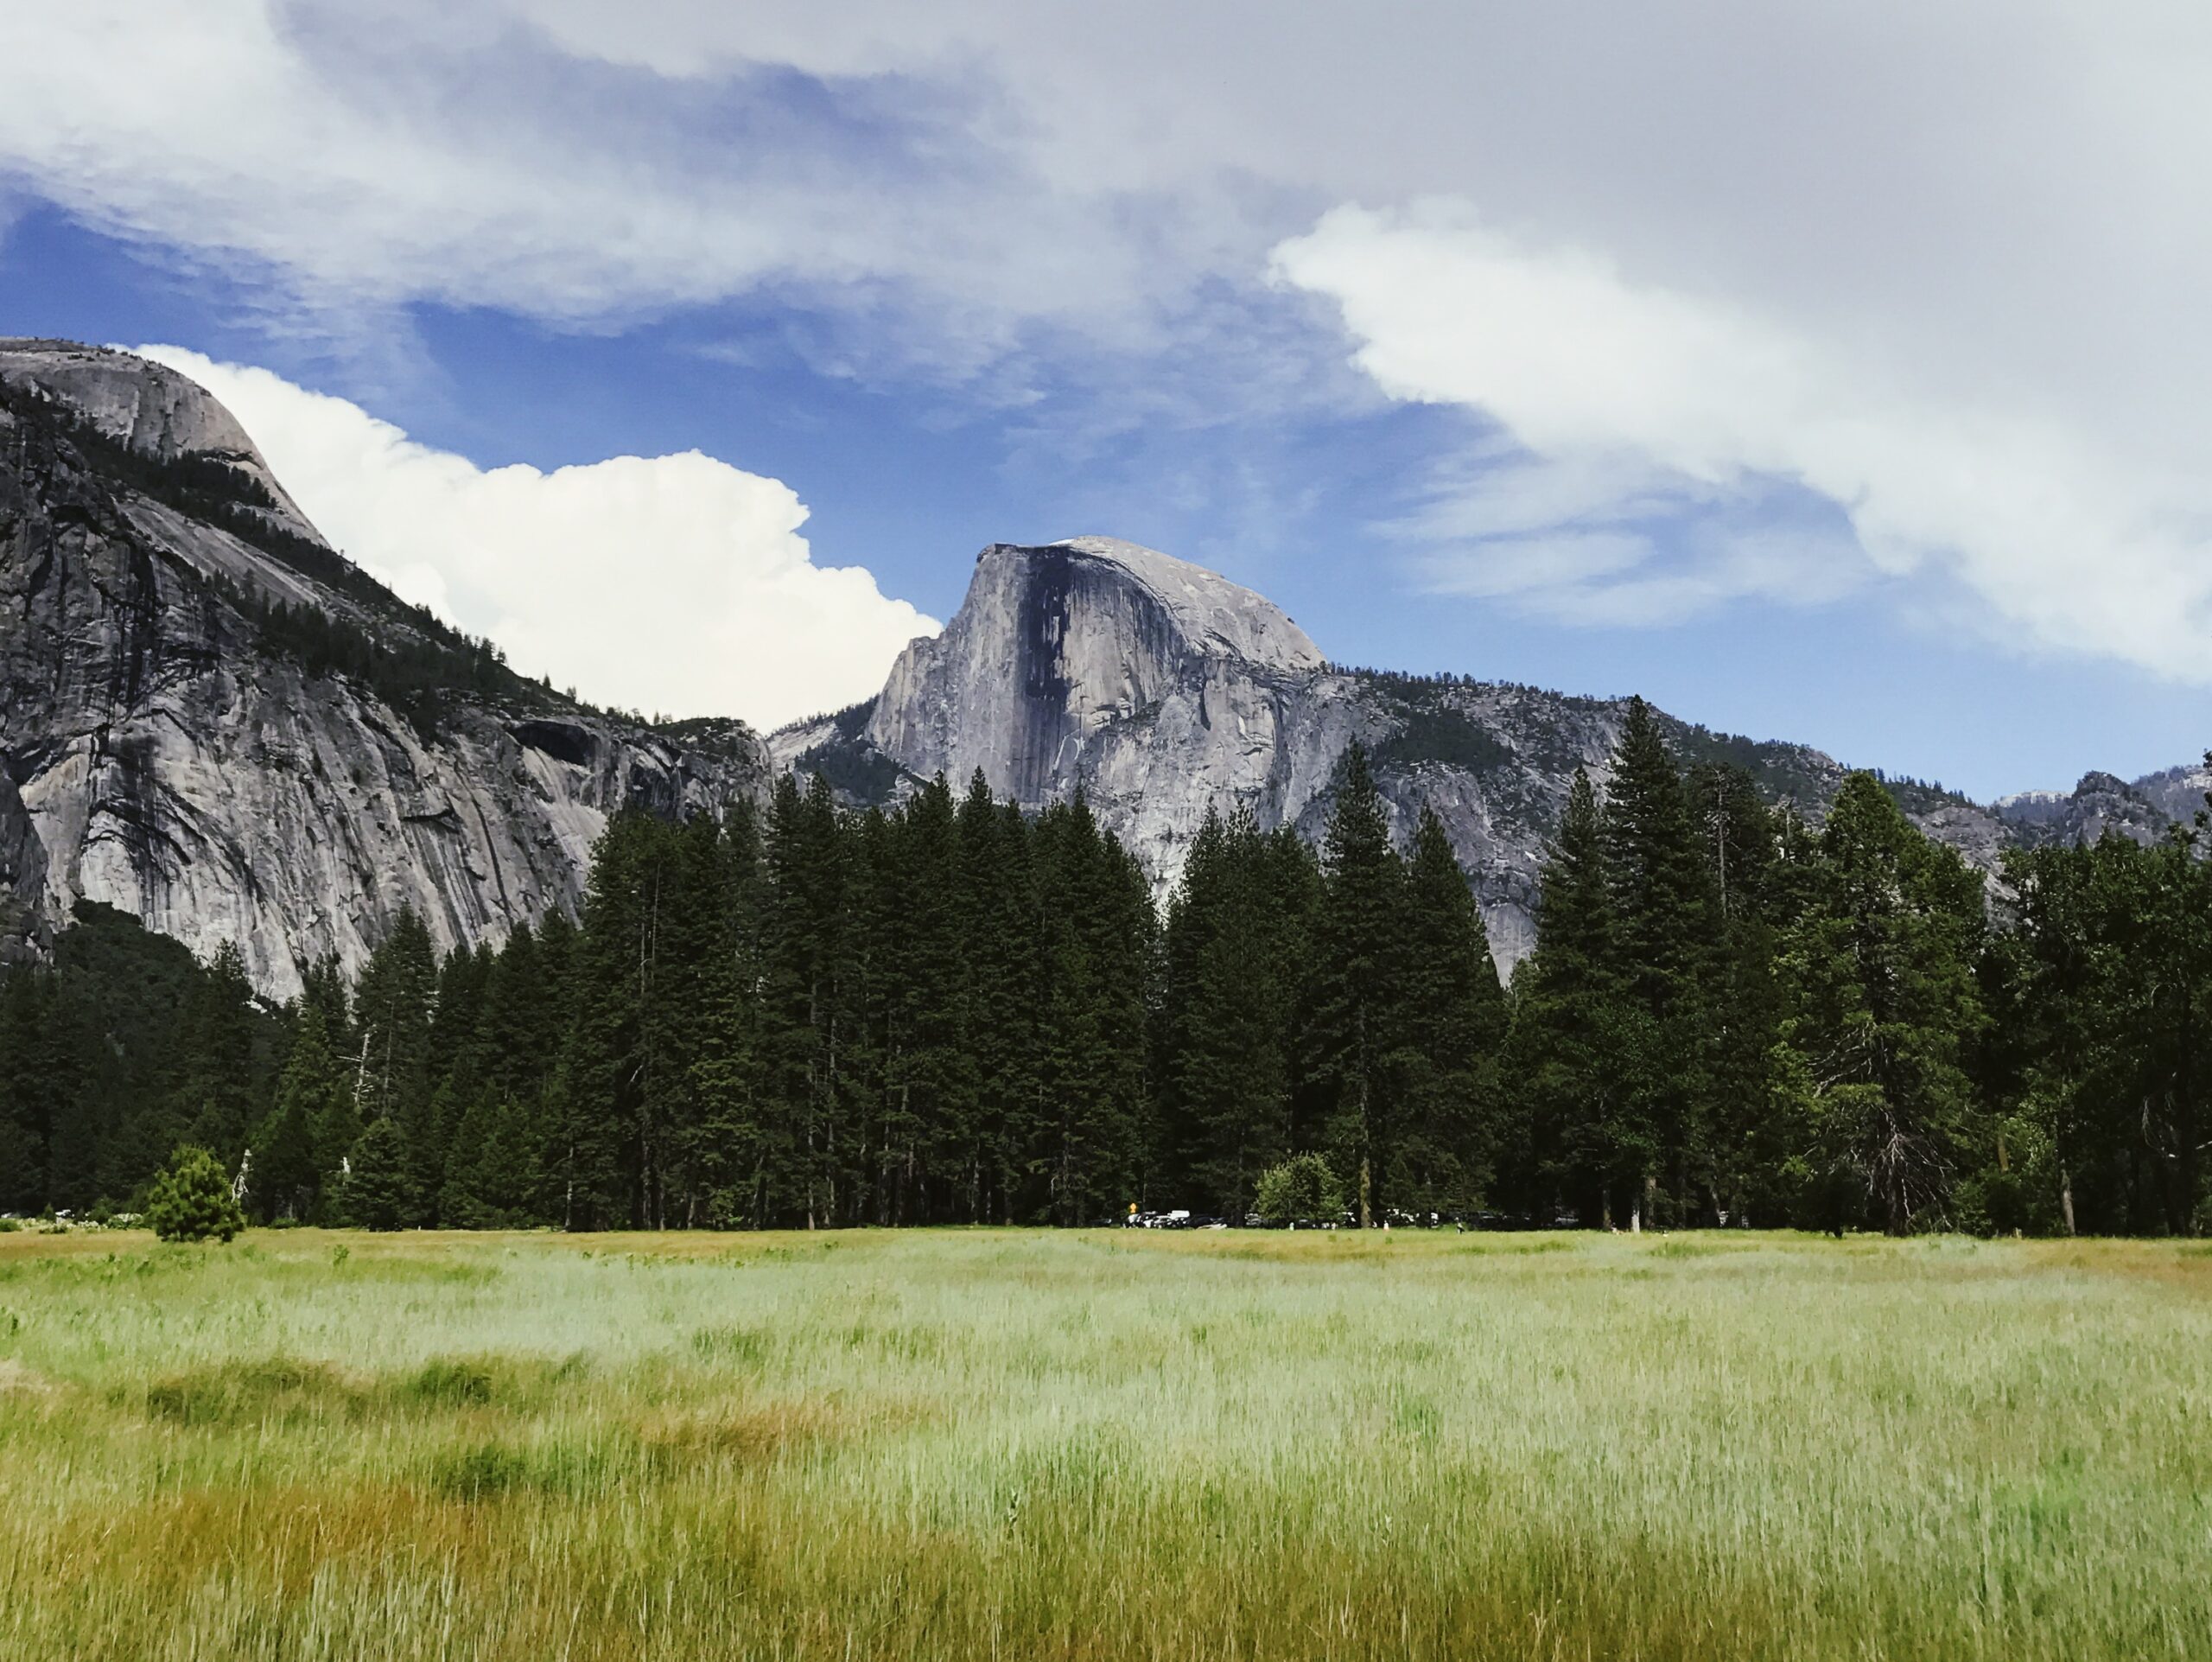
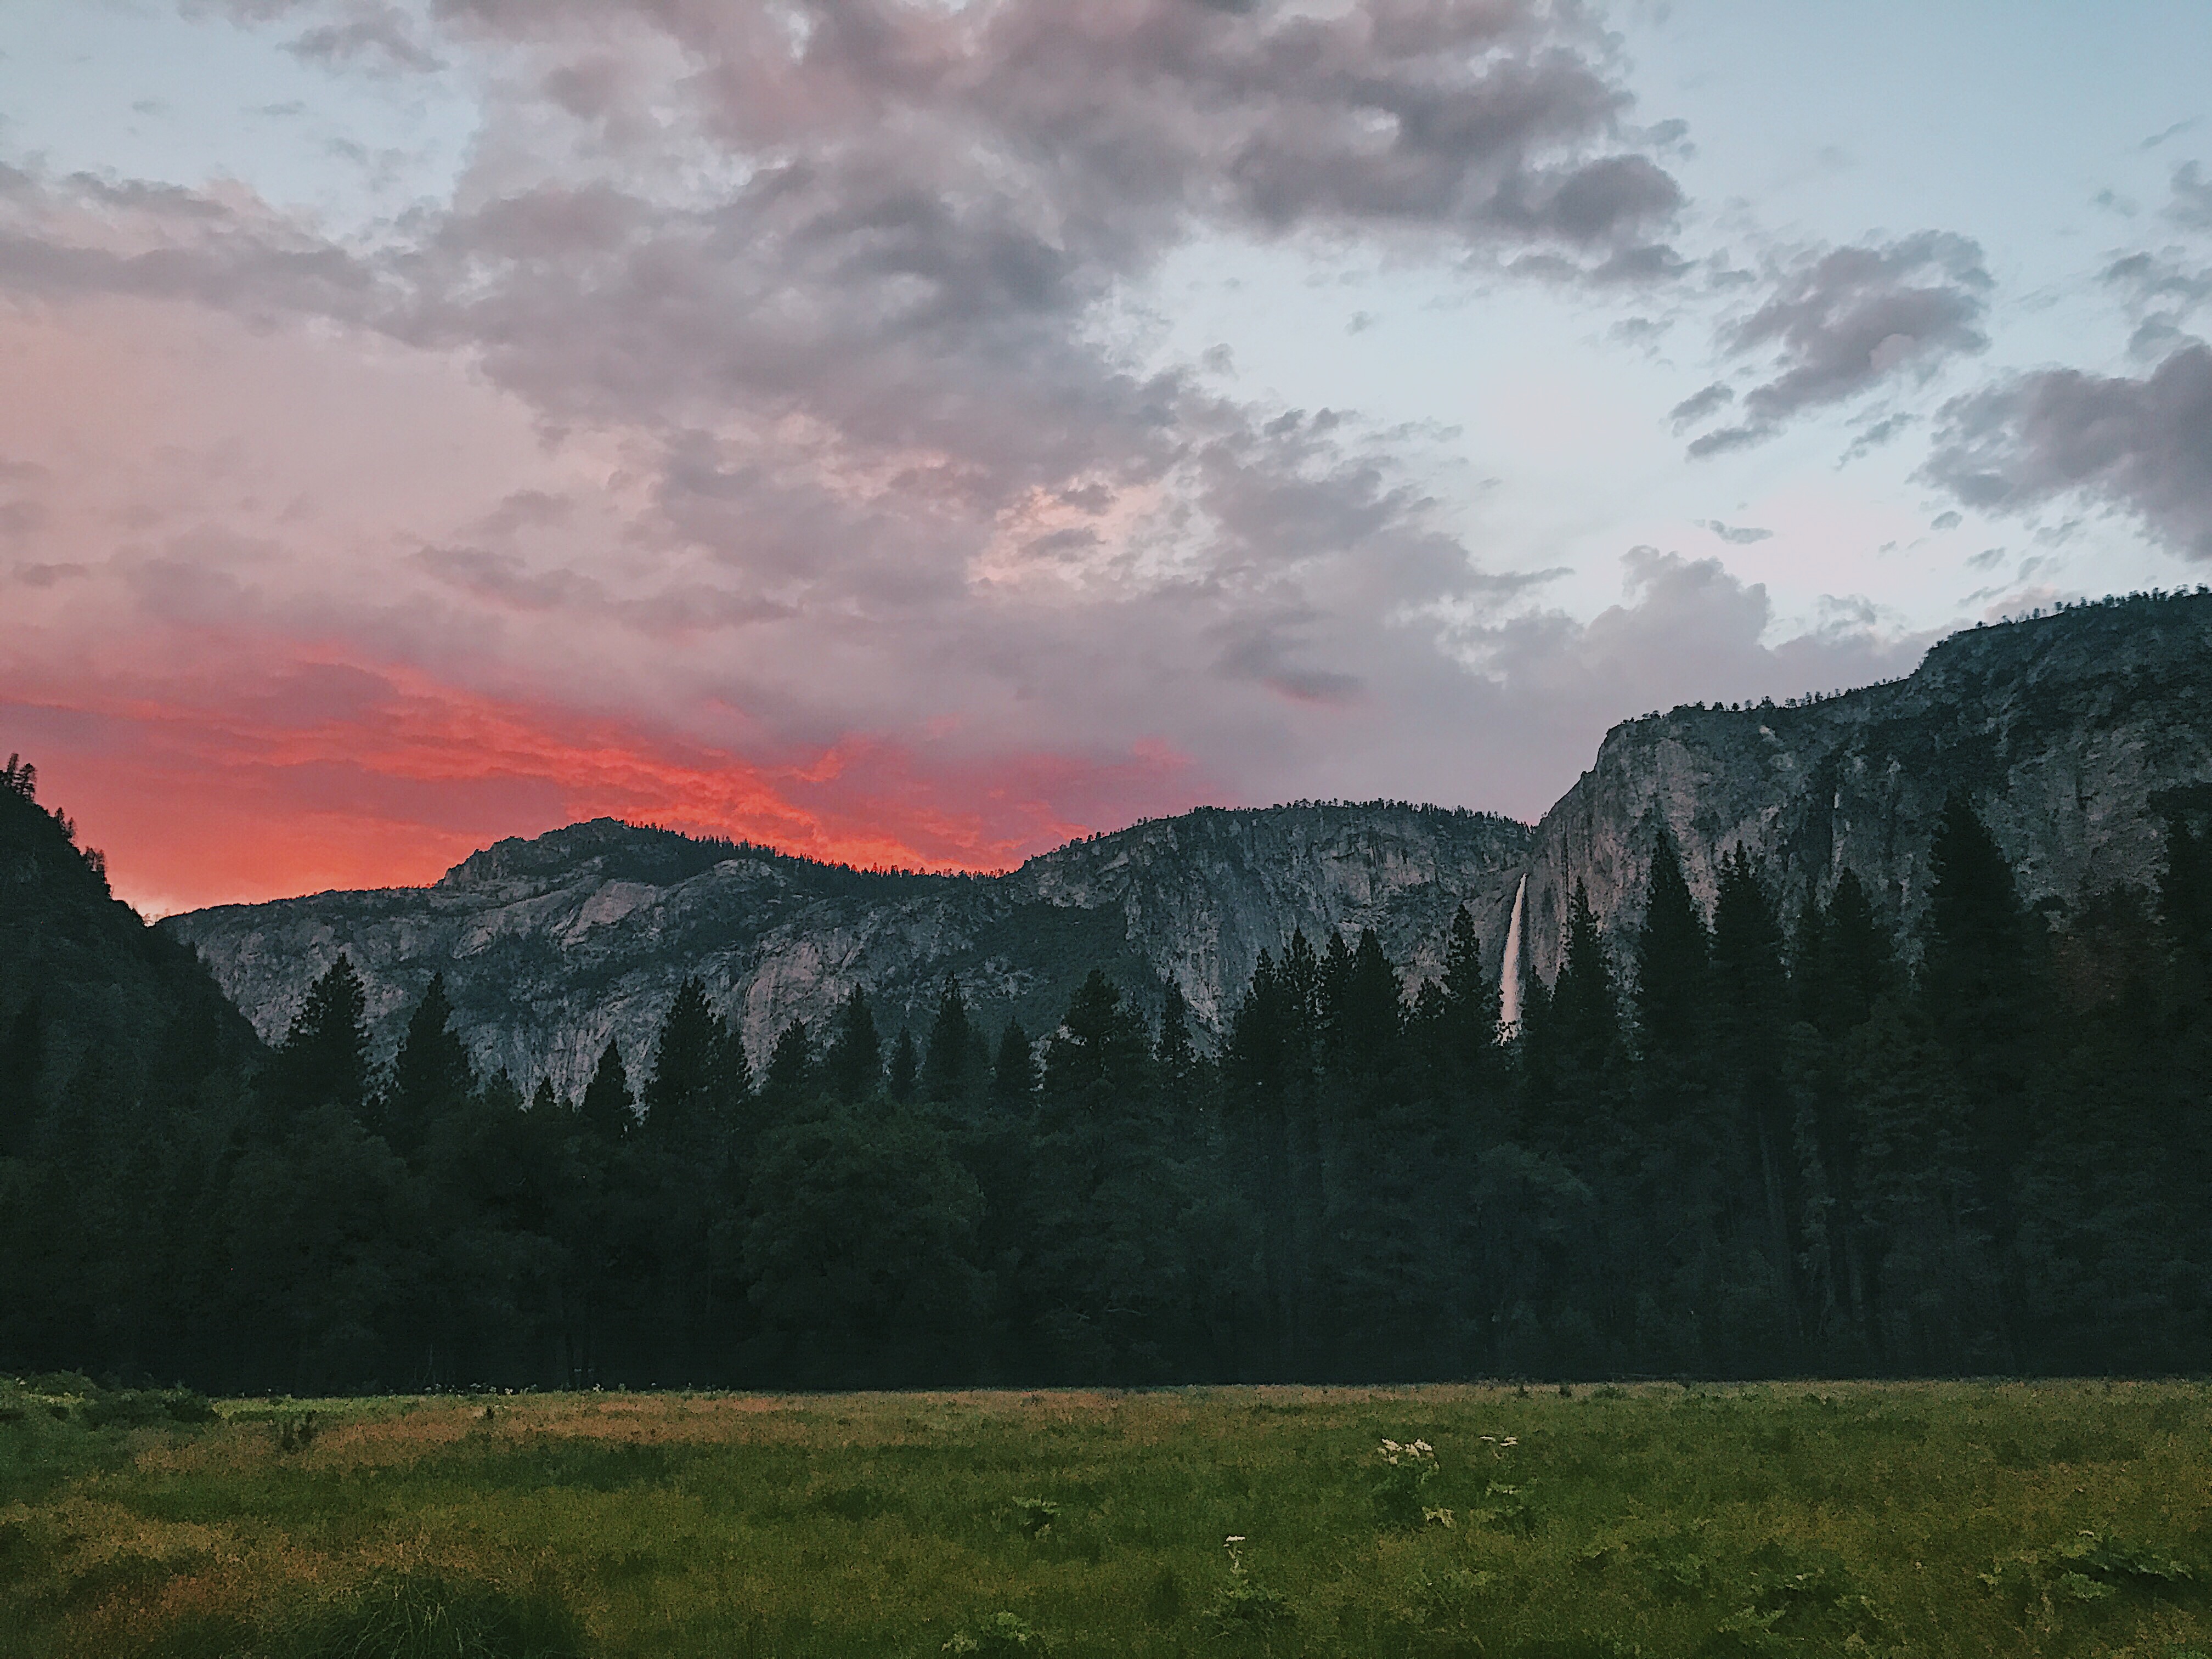
In today’s post, I’m sharing the ultimate Half Dome hiking guide.
The hike to the top of Half Dome is 14.6 miles round trip via the Mist Trail or 16.2 miles via the John Muir Trail (I’ll explain the difference between the two later in this post).
Depending on your group, the hike can take anywhere from 9-16 hours.
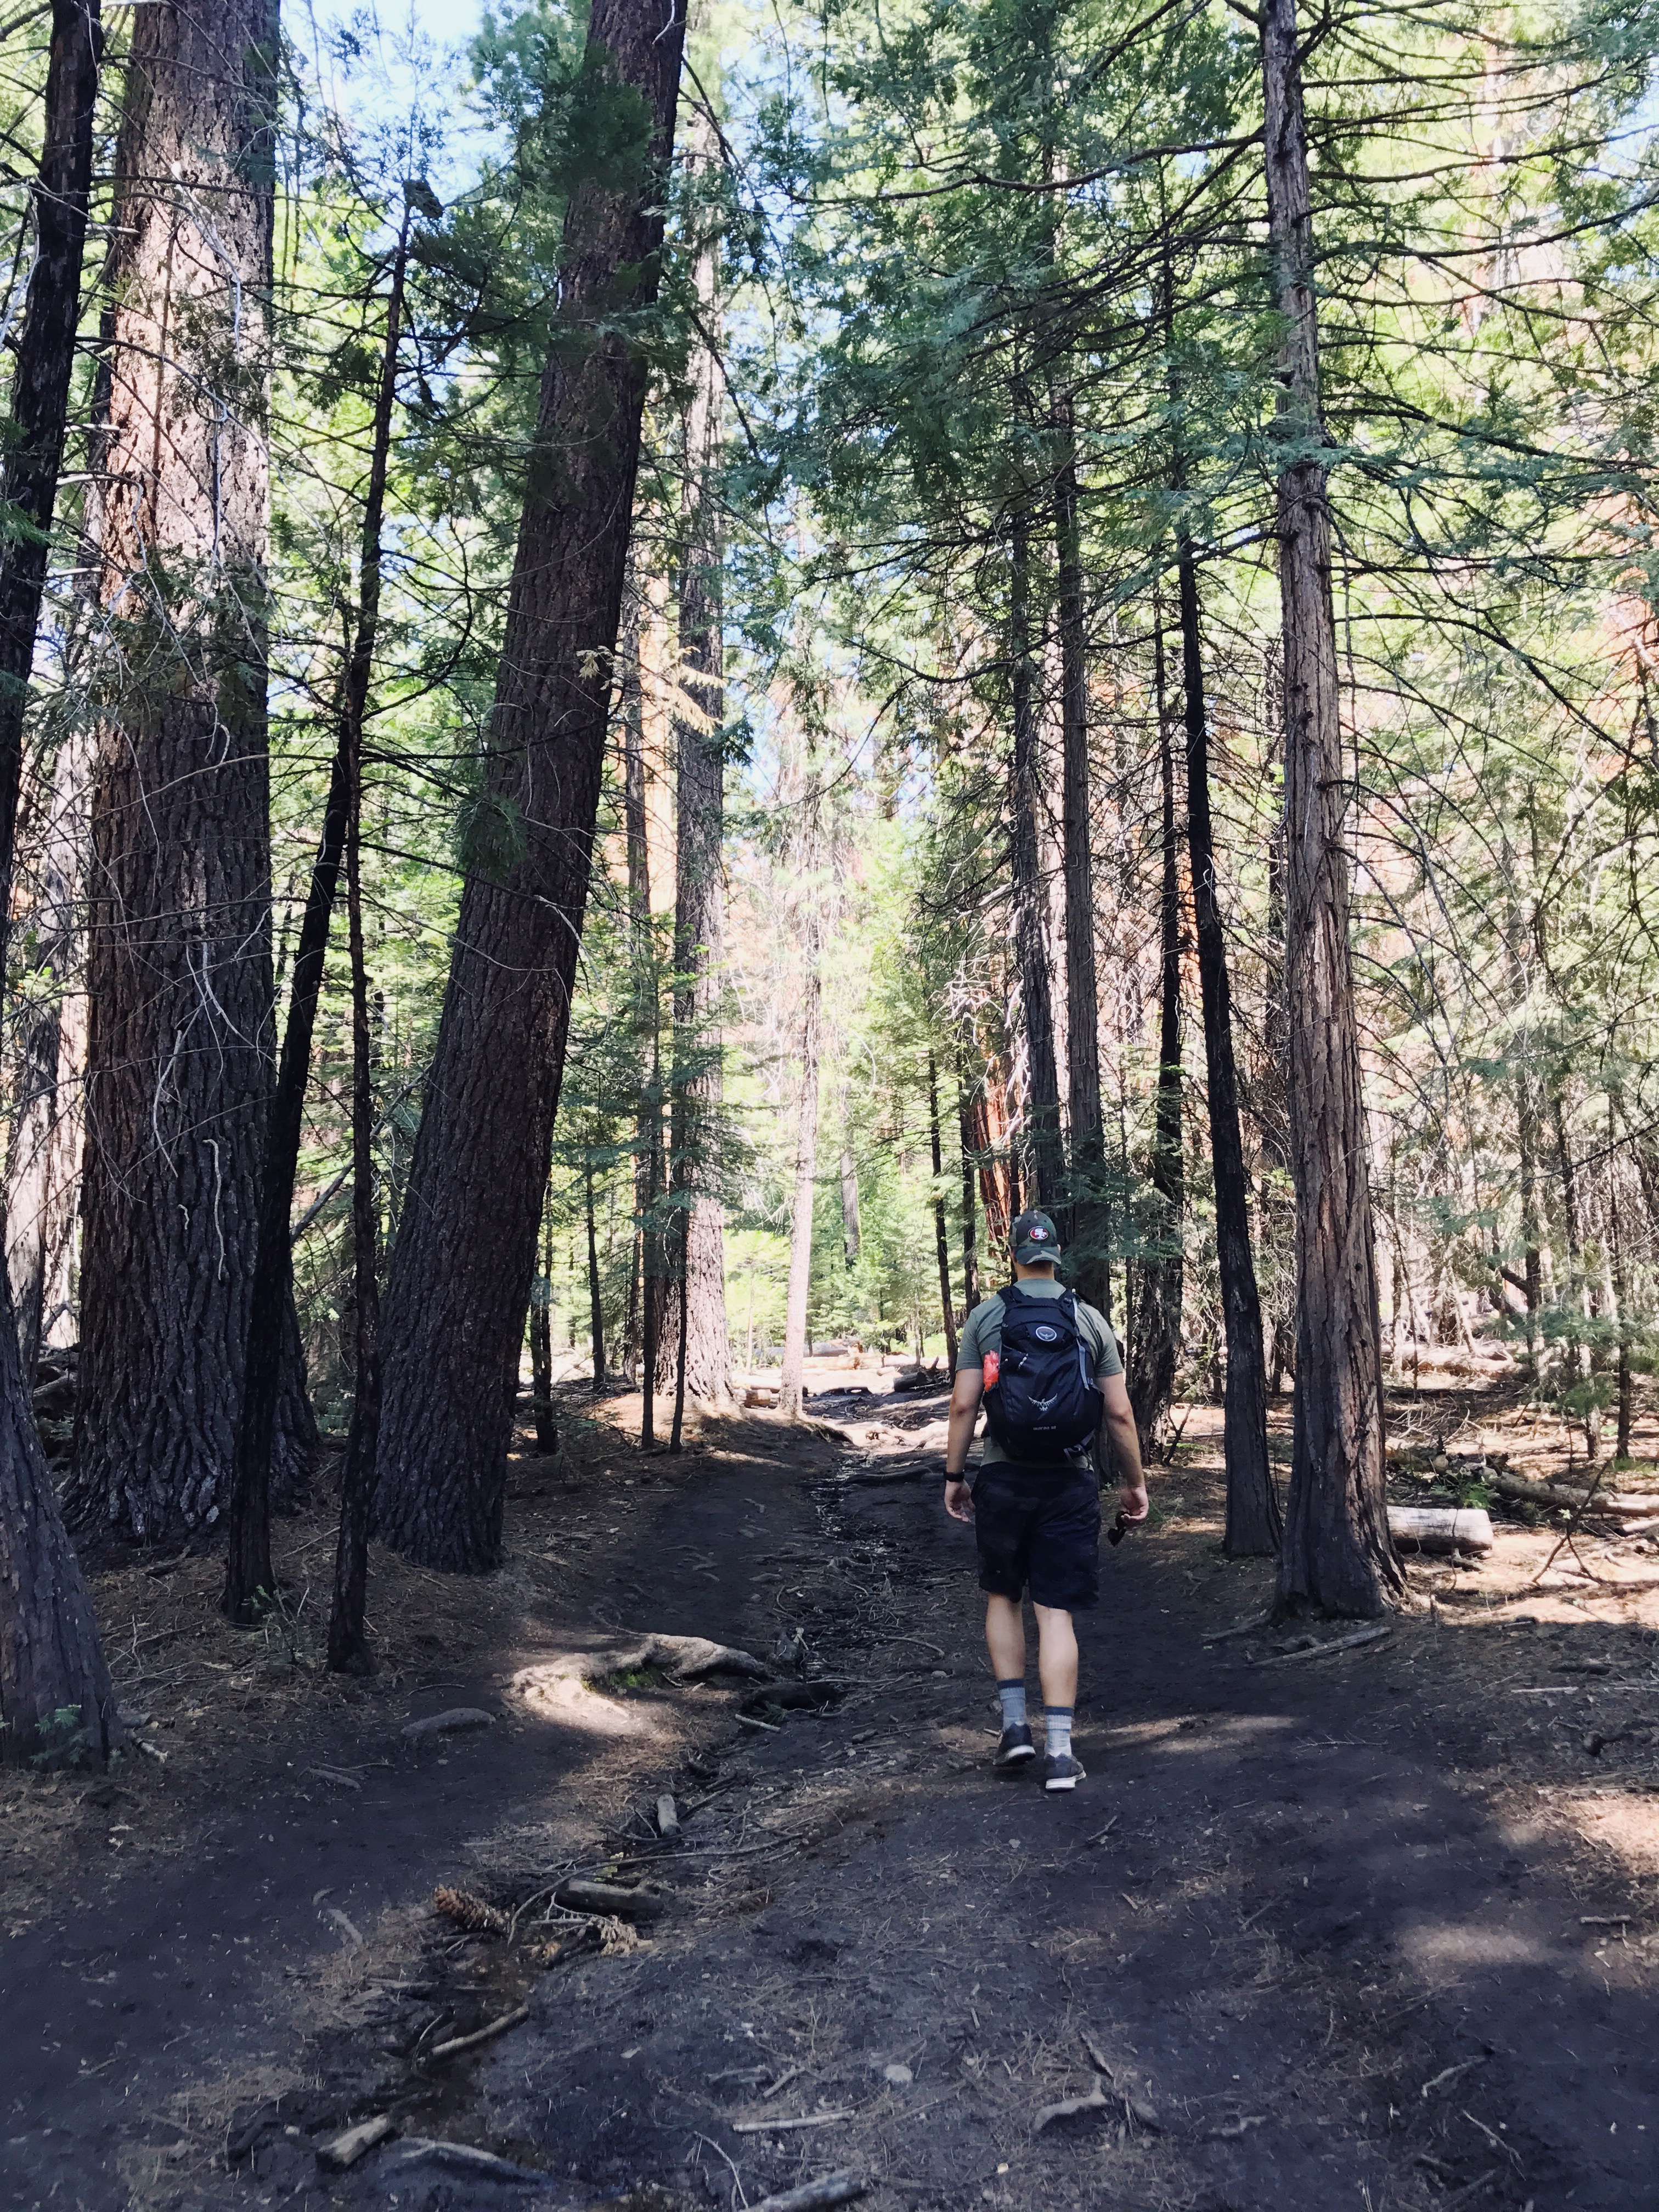
The trek will take you first to the top of the stunning Vernal and Nevada Falls and then up the backside of the iconic mass of granite that is Half Dome.
The last portion of the hike includes a steep and sketchy set of stairs and a cable-assisted ascent up near-vertical stretch of rock.
In this Half Dome hiking guide, I’m sharing everything you need to know about hiking Half Dome: how to plan your trip, get a permit, what to wear, and what to pack in your backpack. I’m also sharing my tips for making it up the cables without having a panic attack.
*And don’t forget to bookmark my full Yosemite travel guide!
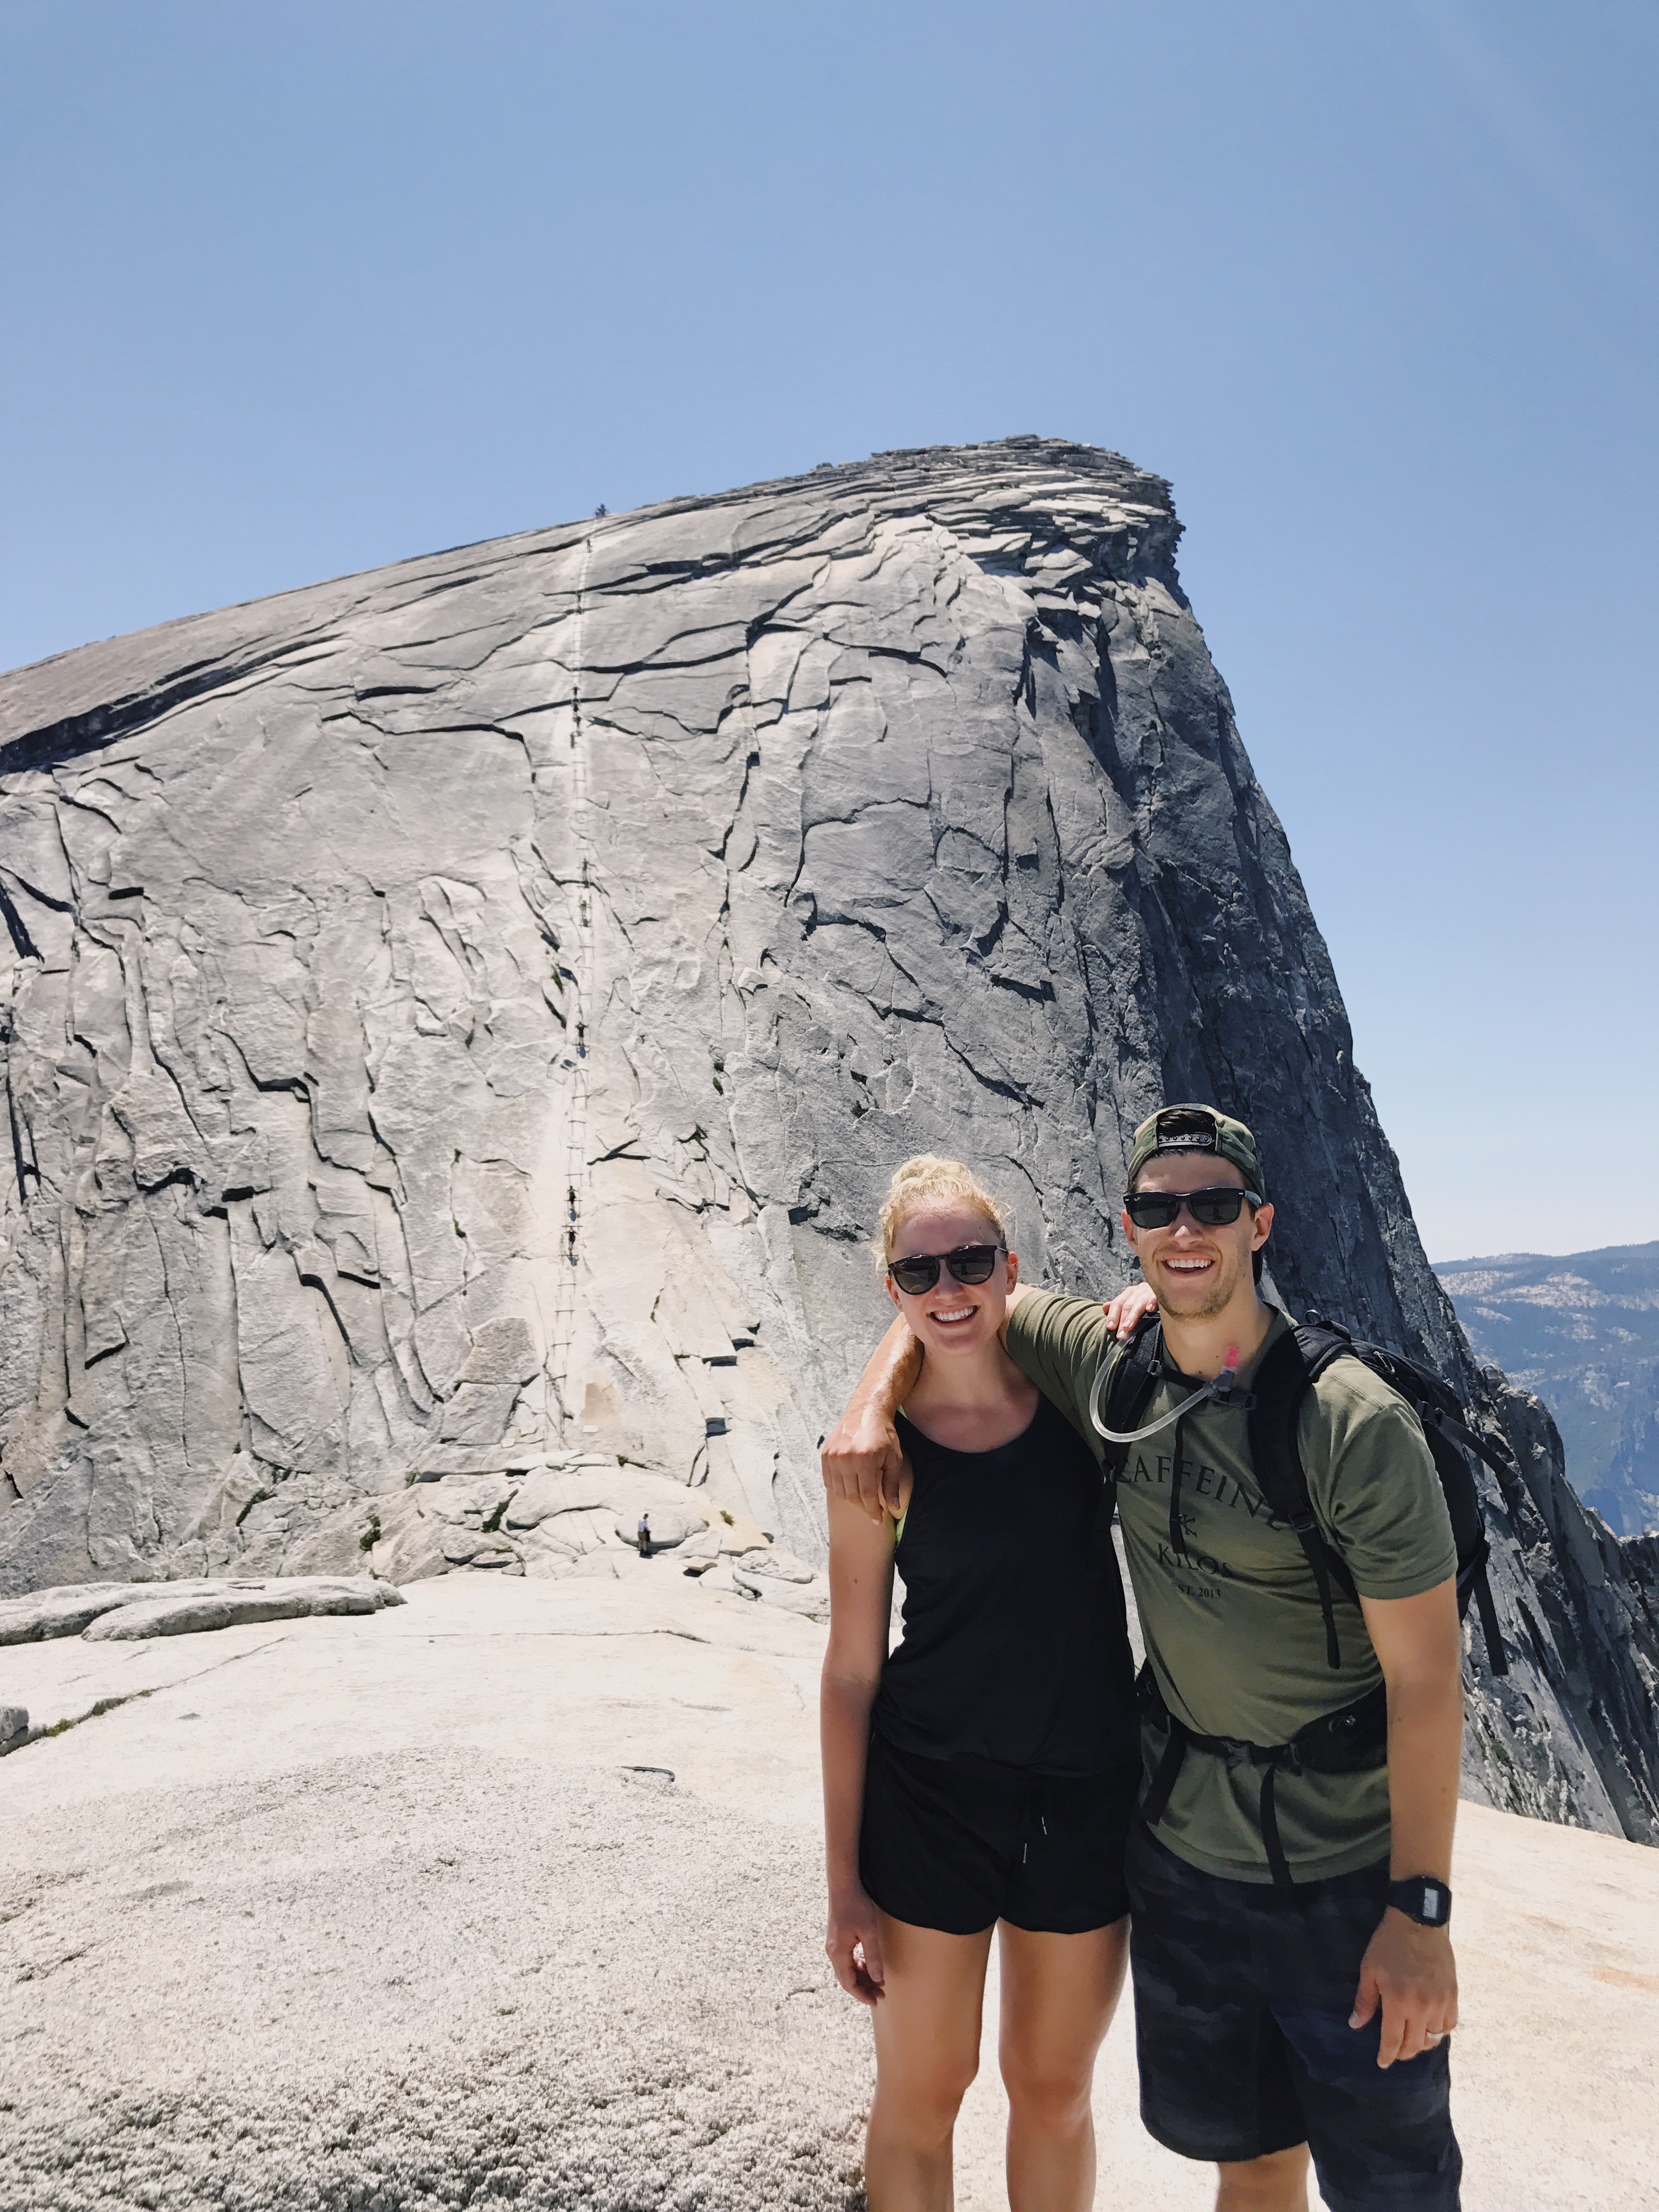
The first time I tried to climb Half Dome as a kid, I chickened out completely and waited in a pool of tears at the bottom of the cables while my dad and siblings marched up to the top. Not my best moment.
A couple of years after that failed attempt, I still cried a pool of tears at the base of the dome, but my older brother basically forced me to do it–and by that I mean he basically dragged me up each step of the way to make sure I made it to the top.
This time around, over a decade later, the story was very similar but with just a *few* less tears. As we came over the ridge right before the cables, I took one look at the slab of vertical granite in front of me, sat down, and cried.
I looked up at Tyler and my brother Kyle with wet, squinty eyes and said, “Actually guys, I’m good this year. I’ve already done it and I really don’t want to,” wiping snot with my dirt-covered hands and pretending to be nonchalant through my quivering voice. Another high moment for me.
My brother took a quick second to verbally slap me into shape, and Tyler assured me that he would stay right behind me the whole way I shakily grabbed a pair of leather gloves from the pile and started up the cables.
I was right behind my sister-in-law Aerielle who was carrying a 45 lb. backpack (for training) and right in front of my seven-year-old nephew who hadn’t peeped a complaint the entire day. If that’s not motivation, I don’t know what it is.
Regardless of its intimidation factor, this hike is something that we think everyone should do at least once in their lifetime.
How to Hike Half Dome: The Ultimate Half Dome Hiking Guide
We’ve broken down our best advice if you are planning on making the trek up to one of the most iconic peaks in the world.
When to hike Half Dome
In theory, you can do this hike ***up until the last quarter of a mile*** any day of the year. But you can only hike to the TOP of Half Dome during the summer because the cables at the end of the ascent are only up from the end of May through the beginning of October. Even if you are planning your trip in the summer, you’ll need a permit to get up the cables.
How to get a Half Dome permit
You’ll need to plan ahead if your summertime bucket list includes conquering this beast.
The National Park Service put the permit system in place a few years ago because the trail was getting WAY too crowded and really dangerous because of how many people were clogging up the trails.
The trail is much more bearable now. Between preseason lottery winners, daily lottery winners, and backpackers, there are about 350 people allowed to go to the top each day of the open season.
To get a permit, apply for the preseason lottery at recreation.gov during the month of March.
(Go ahead and skip down to the next section if you don’t need these logistics just yet).
Pro tip: You can apply for a group of up to 6 permits each season. If you are planning on hiking with a group of 6 people, have EVERY person apply for 6 permits. That way, you’ll have a much better chance of winning the lottery. You can also select up to 7 days of availability, in order by your preference. Each person in your group could all put different days as their top choices, if you have the flexibility in your schedule.
Also, Saturdays are requested three times more than any other weekday. Wednesdays and Thursdays will give you the best odds of winning.
I can’t stress enough how important it is to have everyone in your group apply for these permits. We had five people apply for 7 different dates, and only ONE person got the permits for a group of 6 for ONE day. It was my dad, of course.
If you lose the preseason lottery, there is still just the slightest glimmer of hope left. Apply for the daily lottery two days in advance of the day you want to climb. They award 50 or so of these for each day.
Where to stay in Yosemite
It’s extremely difficult to get a campsite on the valley floor, so this section probably deserves an entire post that I will likely tackle later on. But do everything in your power to stay on the valley floor so you can get an early start on the trail.
If you can’t find anything in Yosemite Valley, stay in Wawona or El Portal, or really anywhere in Yosemite National Park, but you’ll have to get up an extra hour early to drive to the valley floor.
If you are a backpacker (props), you can hike up about halfway the day before. You can sleep in Little Yosemite Valley to get an early start on the latter half of the hike before the day-hikers head up.
For more tips on finding lodging in Yosemite Valley, click here.
Training for Half Dome hike
I have to be honest. You will be absolutely miserable if you do not set aside some time to train for this hike in the months/weeks leading up to it. The climb is hard even if you’re in shape. It’s just hard to prep your body for something that takes THAT long.
It’s really dangerous to do the hike if you haven’t prepped for it. I know I sound like a mom right now, but you don’t want to have jello-legs and be huffing and puffing every step of the way up these dangerous steps. The last mile and half before the summit is the hardest part of the hike and takes a lot of strength and control.
The best thing you can do is come to Yosemite for a few days beforehand and do a couple of warm-up hikes. It’s the very best way to get used to the terrain and altitude.
We recommend hiking to the top of Yosemite Falls a few days before. This trail is annoyingly crowded and very hot, but it’s really steep and is the perfect way to train for Half Dome.
If you can’t come to Yosemite early, hit the gym and log 30 minutes on the stairclimber a few times a week if you don’t have time to do any actual hiking.
Start as early as you possibly can
This hike could take anywhere from 9 hours to a full 16 hours. It just depends on your pace and how quickly your group can move. But either way, you definitely want to give yourselves PLENTY of daylight.
It will more than likely be HOT on this hike (it was in the 90’s when we did it). There are a few long stretches, including the last 1.5 miles, that are completely unshaded. The early you can start, the easier the hike will be.
Also, heading down the trail in the dark can be really dangerous. You’re going to be tired, wobbly-legged, and probably starving, so plan on getting up early so you can head down the mountain at a steady pace without hurting yourself.
What to pack
Listen up, people. You are going to need a LOT of food. This is your time to shine. Pack every snack you can think of.
My personal favorite hiking snacks are: Trader Joe’s trail mix, Crave Beef Jerky (Chili Lime, obvi), and Goldfish (sue me). We also packed a few bars and two sandwiches each. I mean, this is an entire day of hiking.
The National Park Service suggests bringing a GALLON of water PER PERSON for this hike. I think even a little more than that is necessary if it’s hot that day (it will be).
Seriously, don’t mess around with the water thing. Just bite the bullet and get a backpack with hip straps to distribute the weight. You will drink every last drop. OR you can bring some of those water-purifying tablets or even a filter and fill up at the springs along the trail up.
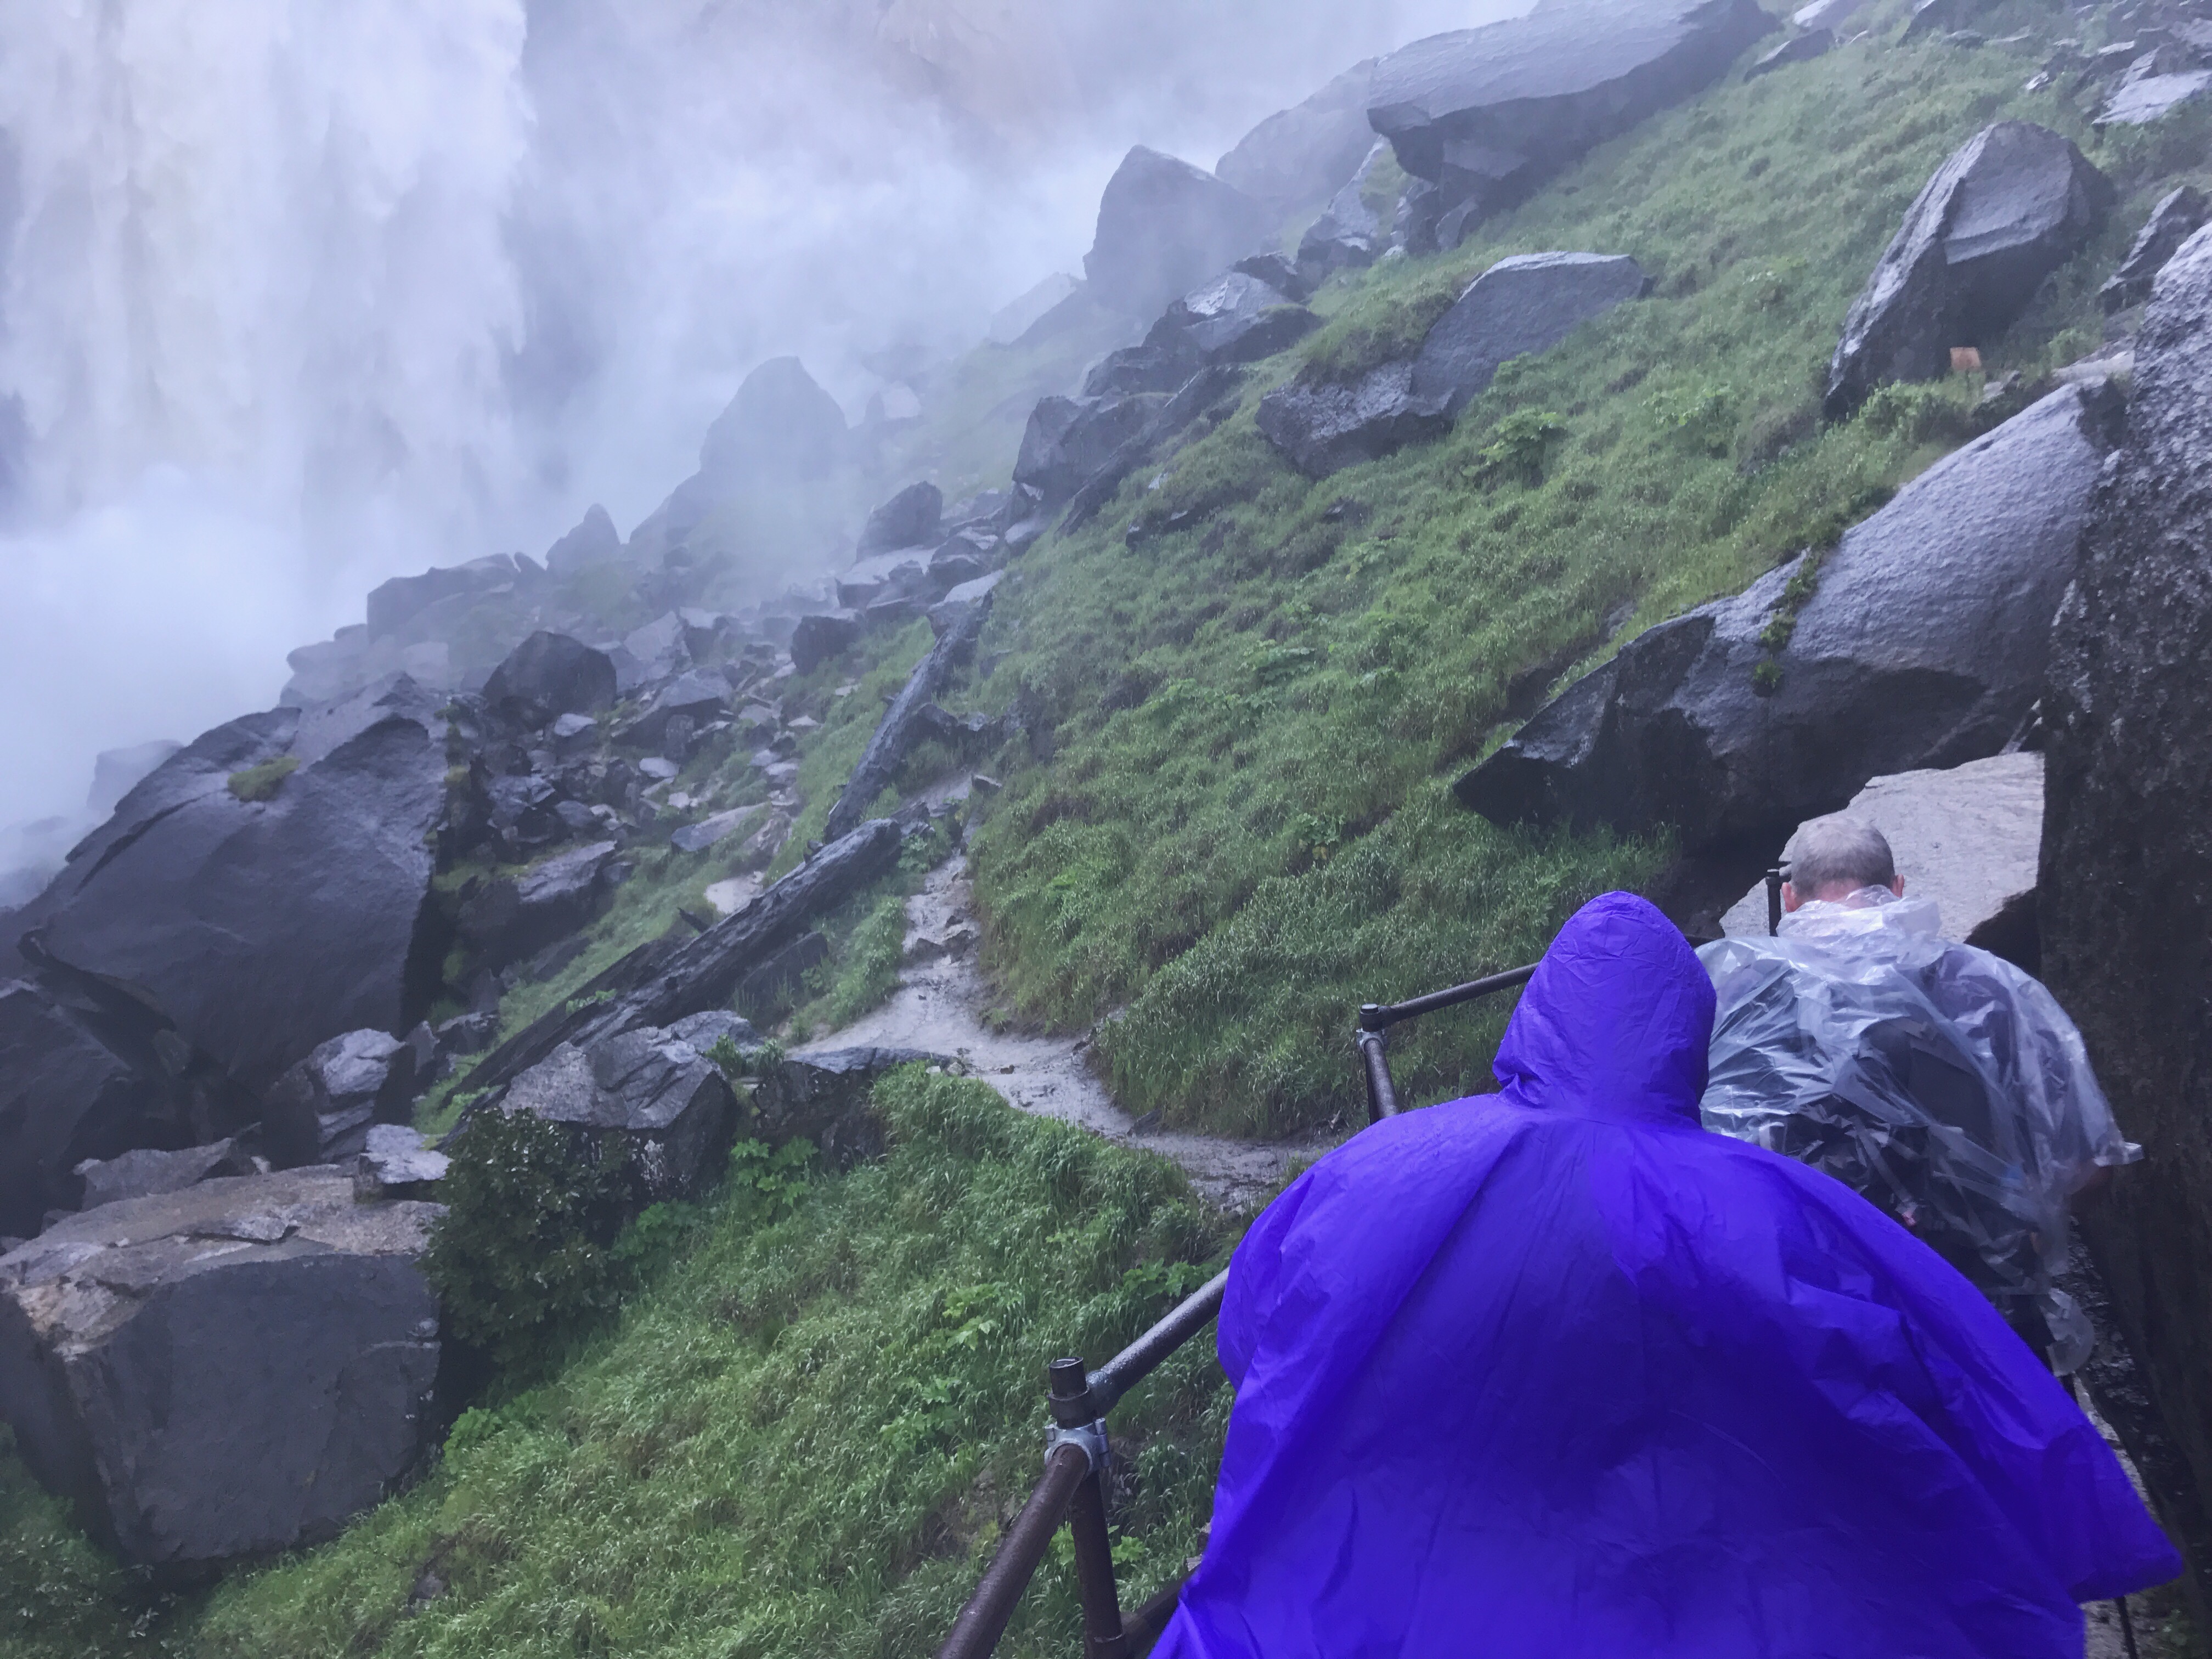
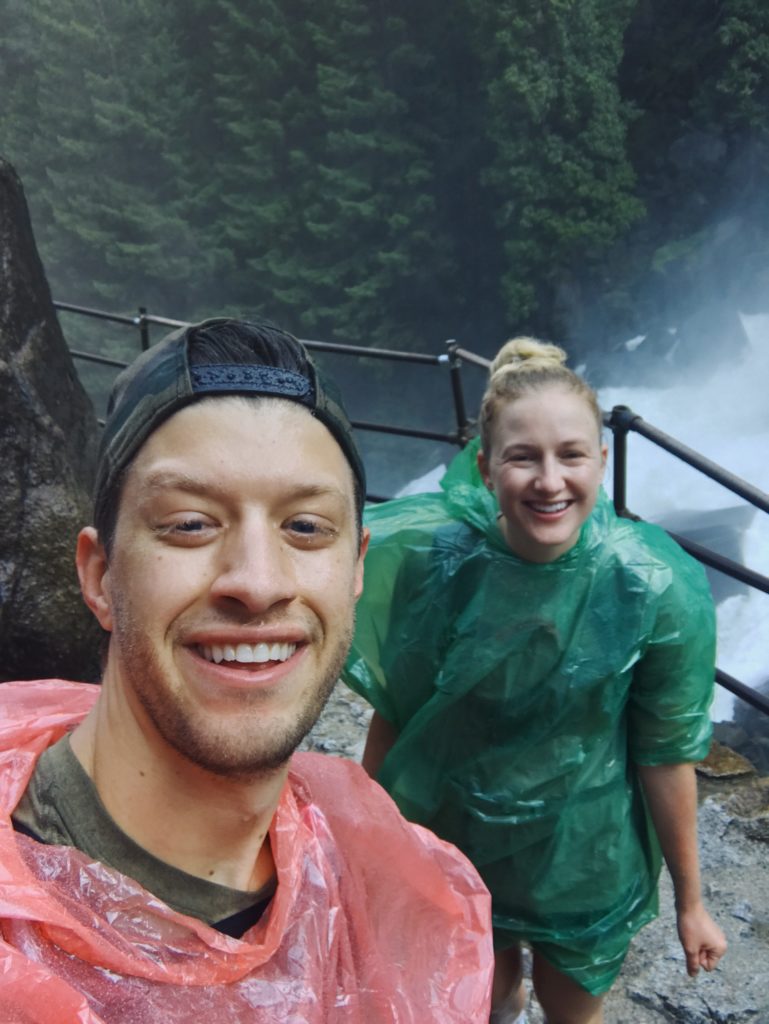
If you are taking the Mist Trail, you might want to bring a poncho.
We also suggest wearing tall socks. Tyler brought a second pair to change into after the Mist Trail, and I wished I had, too.
We both wore t-shirts to protect our shoulders from the sun and backpack straps, but I also brought a dry fit tank to change into for the hottest parts of the day. My sister-in-law and brother both wore super lightweight long sleeve shirts from Outdoor Research for sun protection and loved them.
Now, for shoes. I wore an old pair of Brooks running shoes, and it was sort of a mistake. I mean, I was fine in them the entire day, EXCEPT for the way down the cables. They just had no grip whatsoever, and I was slipping and sliding all over the place. Now, this may have been because they were really old and worn down, but I was really wishing I wore something with better grip. Tyler wore an older pair of Nike’s, and he was sliding quite a bit too.
I don’t think it’s necessary to wear full-on hiking boots for this hike, but if you have them and are comfortable in them, go for it! My sister-in-law and brother both wore Asic trail runners and were really happy with them. They recommend these for any hike that you don’t need heavy boots for.
Put your phone on low battery mode or even airplane mode to save in case of an emergency. Bring (and wear) a ton of sunscreen, for obvious reasons. Also, DO NOT forget mosquito repellent. You’ll definitely need that.
Pick your route
When planning your route, you can choose between the Mist Trail (14.6 miles round trip) or the John Muir Trail (16.2 miles round trip). Both options start and end at the same place, at the Happy Isles trailhead. There is also a trail from Glacier Point (20 miles) or Tenaya Lake (23 miles), but I recommend starting on the valley floor, at the trailhead across the river from Happy Isles.
Both the Mist Trail and the John Muir Trail will take you to the bridge below Vernal Falls, about a mile up the path. After the bridge, you can choose which route to take to get to the top of Nevada Falls. The trails meet again at the top of Nevada Falls, and then there’s just one way to the top from there– about 4.5 miles left!
If you take the Mist Trail, you’ll climb a very precarious, very wet set of stairs RIGHT alongside Vernal Falls to the top, where you can look straight down the waterfall. Honestly the word “wet” doesn’t even begin to describe the deluge of water you’ll get soaked in on this route (ESPECIALLY this year, after all the snow pack we’ve had). Once you get to the top of Vernal Falls, you will follow the trail over to the other side of the river and climb to the top of Nevada Falls.
The John Muir Trail is much more laid back. You’ll embark on a seemingly never-ending set of switch-backs before crossing the side of a ridge towards the top of Nevada Falls.
I suggest taking the Mist Trail UP the trail. This will save a little time, and you’ll get the once in a lifetime experience of climbing up a staircase next to an insane waterfall.
Then, on your way DOWN, take the John Muir Trail. The view of Nevada Falls and the back of Half Dome from the John Muir Trail is one of my favorites in Yosemite. You’ll be able to relax a little more without having to worry about falling off the slippery steps of the Mist Trail (which will likely be very crowded in the afternoon when you are heading down from Half Dome).
A little note about trail etiquette: If you are on a narrow trail, and you come across hikers headed in the opposite direction, the person who is going up the trail should go first. The person going down should step to the side and let them pass.
Half Dome cables
The last 400 feet of the climb is so steep that the NPS installed a set of two cables for hikers to use to hold onto and pull themselves up. The two metal cables are a few feet apart, and there are poles holding the cables up every 8-10 feet. At each set of poles, there is a 2X4 attached to the ground, so you can rest before heading up the next set.
You can borrow a pair of gloves from the pile at the foot of the cables, or bring your own. Either way, definitely use a pair to protect your hands and ensure that you have a firm, non-sweaty grip as you are pulling yourself up.
You can scale these cables in as little as 15 minutes, or you can take an hour. The important thing is not to rush, and just take it step by step.
I literally could not have done it without Tyler talking me through every step. But I do have some tangible advice for anyone else who may be scared out their mind like I was: Don’t look up, and don’t look down.
I was REALLY freaked out before I started up the cables, but once I began climbing, I just kept telling myself, “Don’t look up. Don’t look down.” And that helped a TON.
If you don’t look up, you don’t realize how steep the thing you’re climbing is. And if you don’t look down, you don’t have the chance to see how far you’d fall and have your mortality flash before your eyes.
Just focus on each step and getting to the next 2×4 to rest. And if you do that, it’s just like doing a really hard workout at the gym! Almost.
Also, stay as vertical as possible, and the climb will be easier. Force your legs to do the work instead of trying to use your arms to pull yourself up the entire way.
I have the same advice for going down: just focus on the ground in front of you and on each step. And face backwards. Just hold onto the cables and shuffle down. Going down was more physically difficult for me because my shoes were so slippery, and I had to take teeny, tiny steps. I had to be SO controlled and hold onto the cables really tightly.
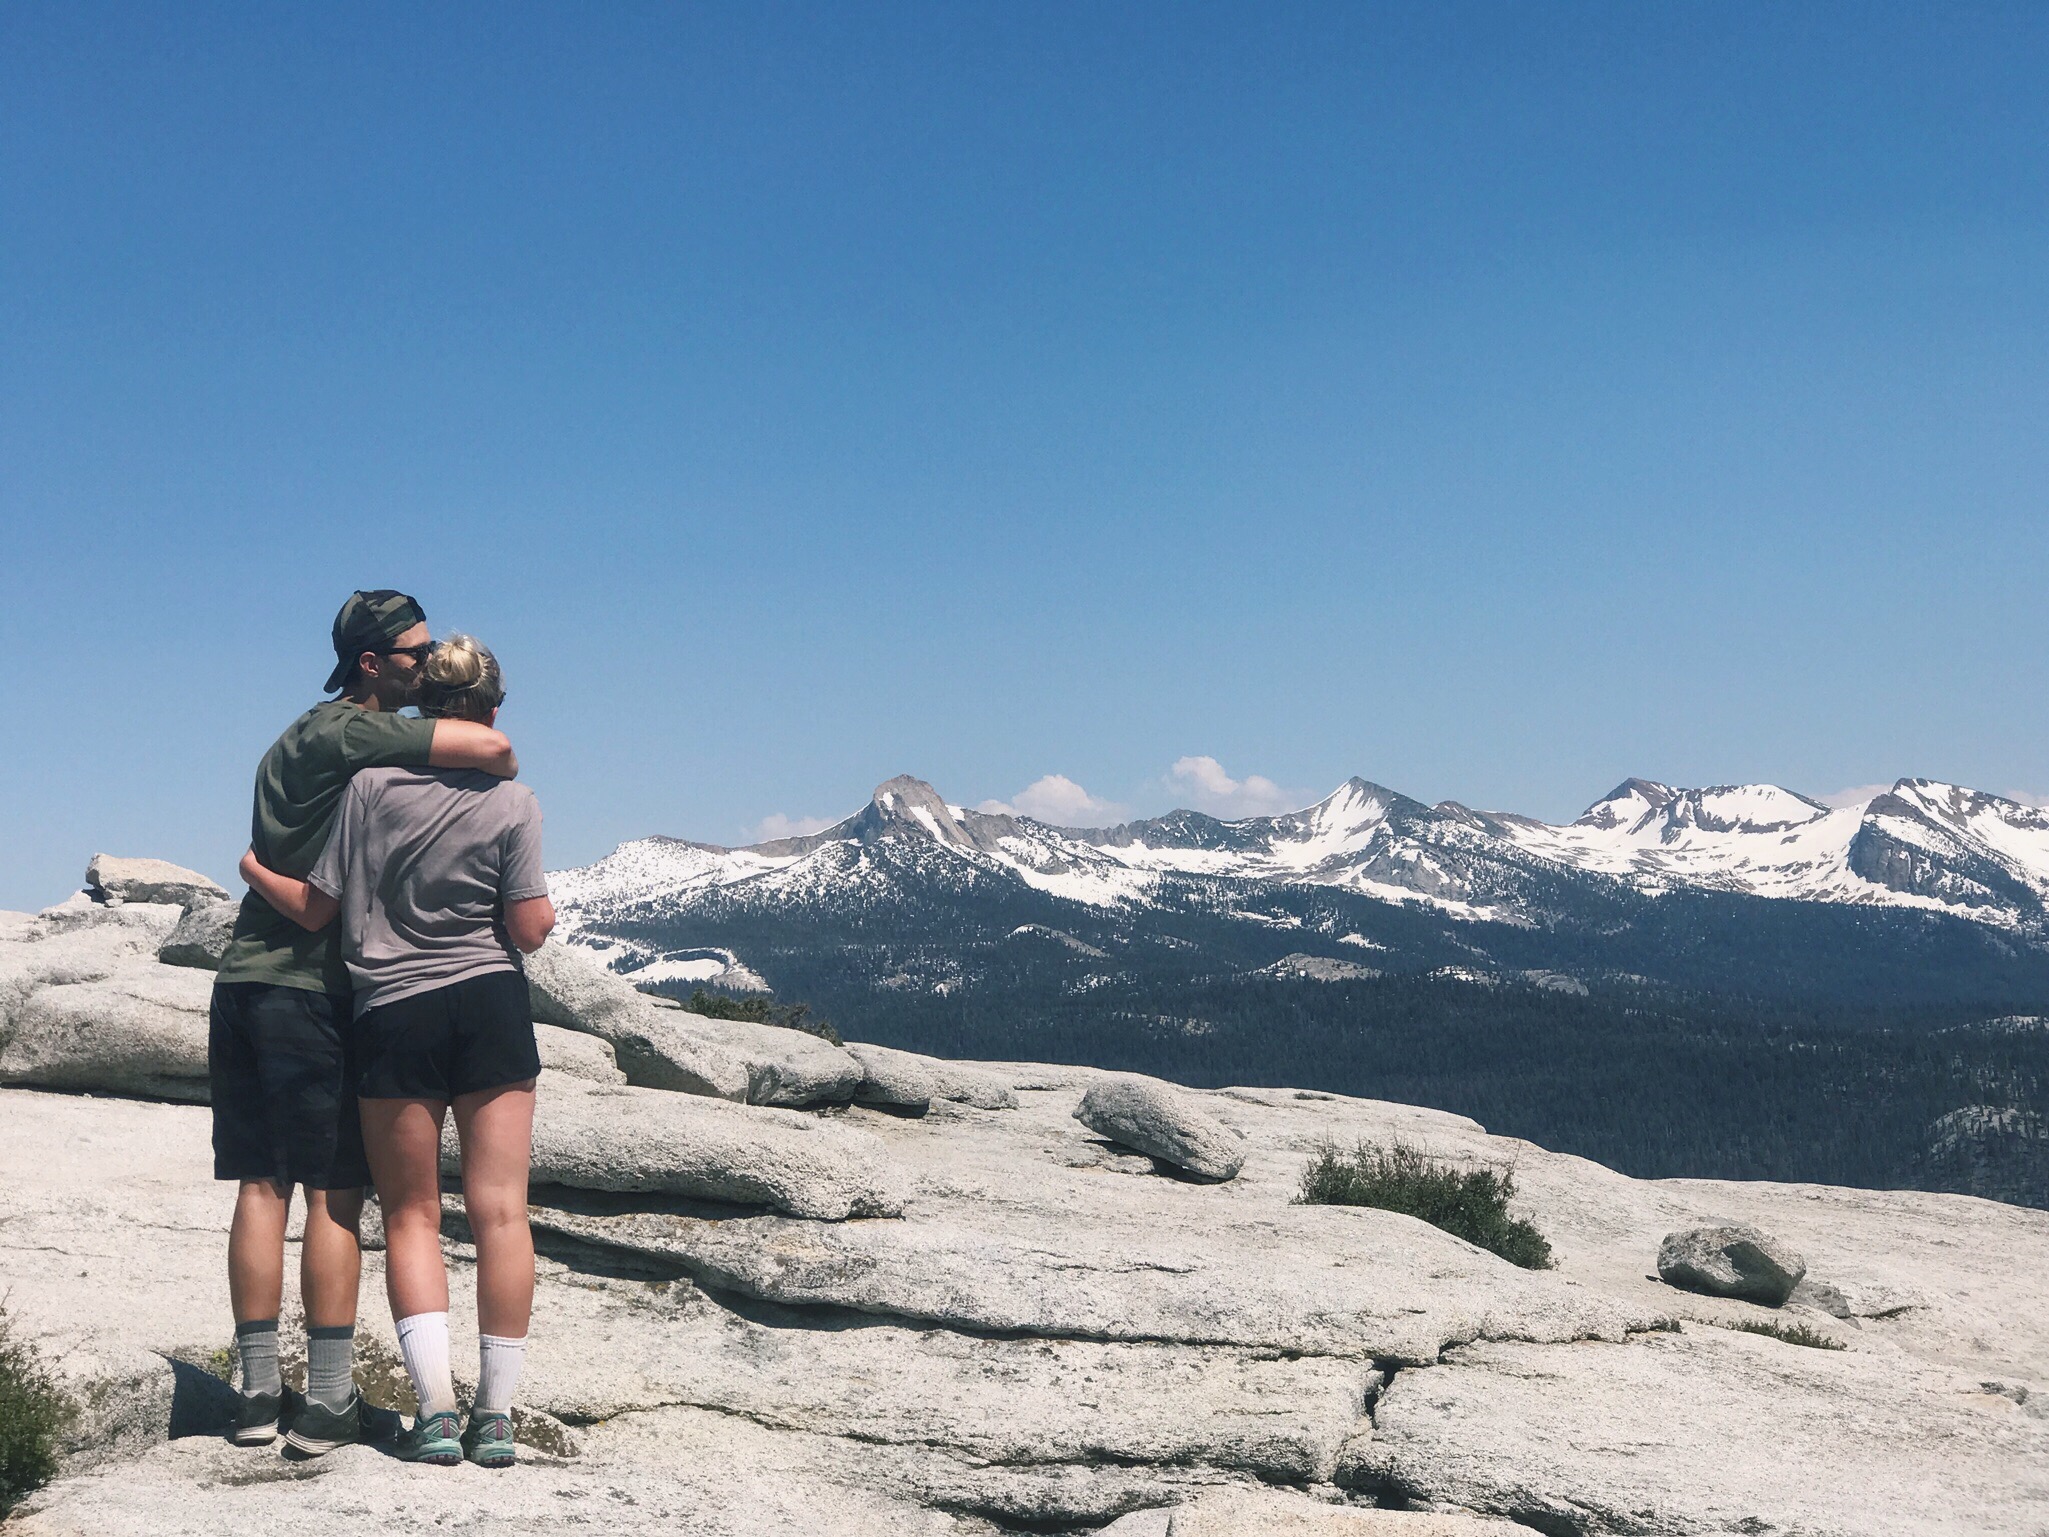
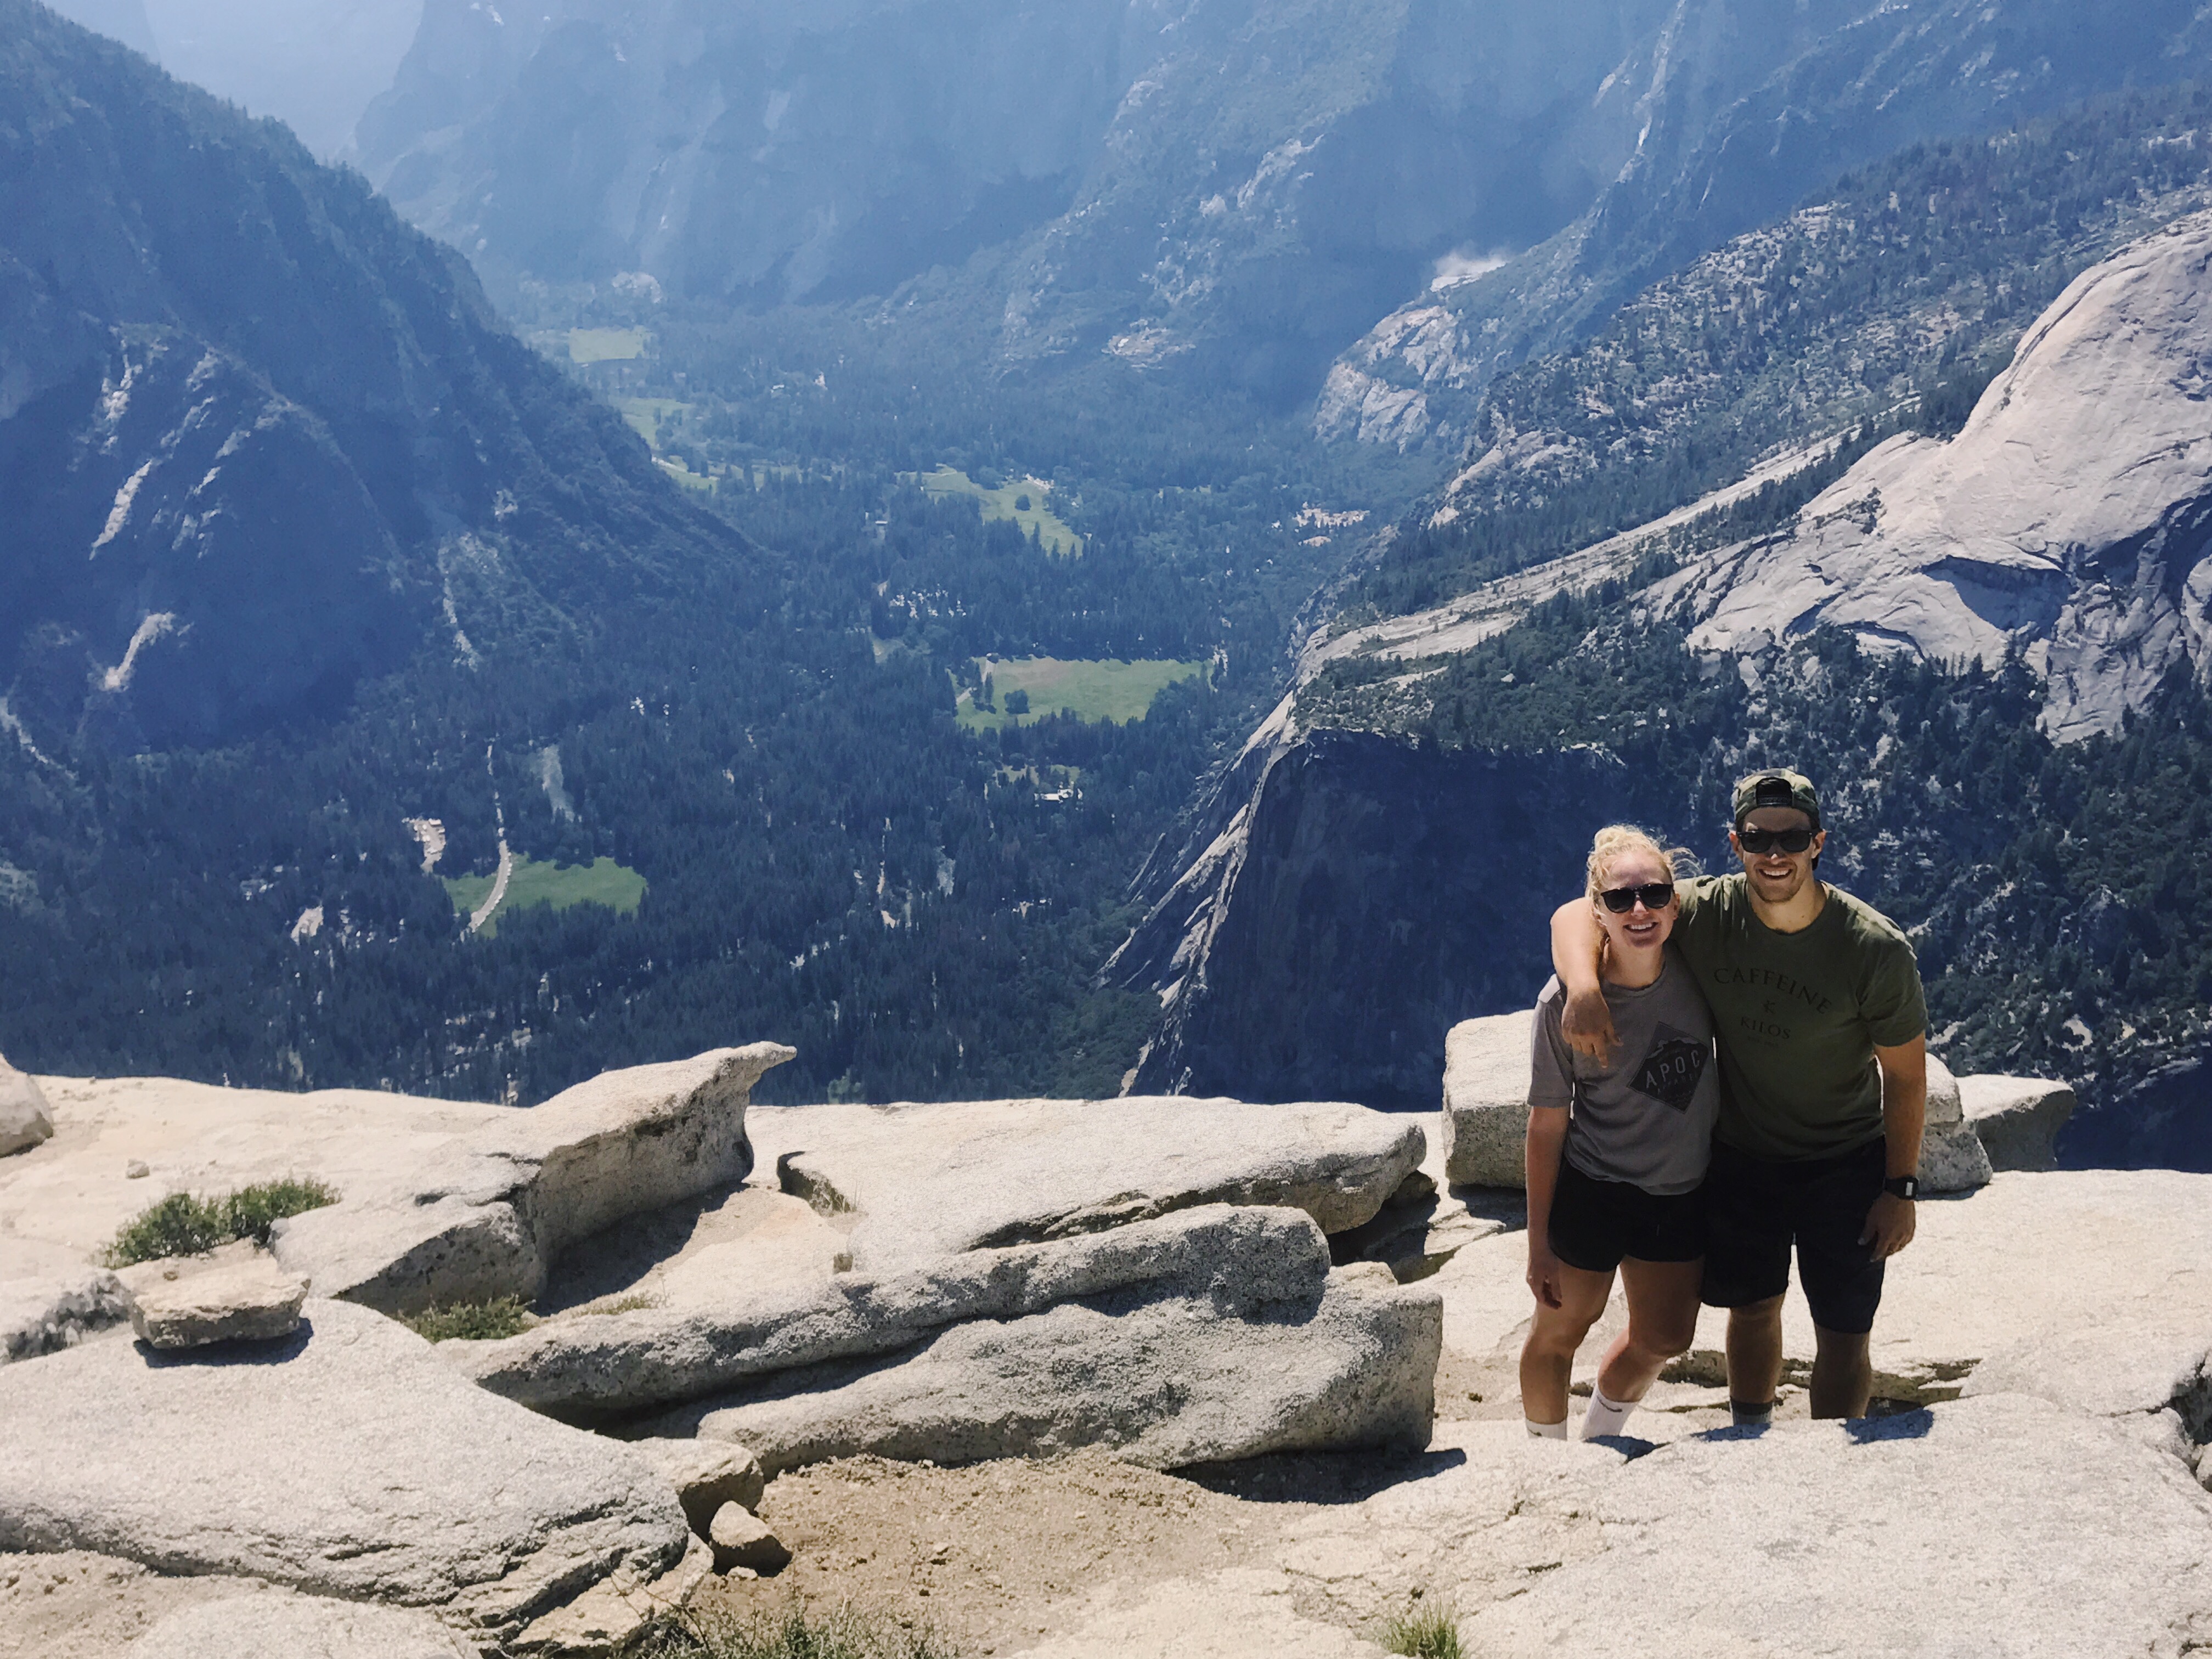
The view from the top is absolutely breathtaking from every direction. The feeling of accomplishment as you look over Yosemite Valley (and beyond!) is 100% worth every step of this hike.
Let us know if we missed anything important in our Half Dome hiking guide! And we’d love to hear about your experiences climbing Half Dome too!!
On that note…
Yosemite travel guide
It’s a pre-weekend pick me up: just a little note with links to the latest blog posts, what I’m reading lately, and products I’m obsessed with. Think of it as a friend dropping off a surprise latte in the morning--you know?
